- Hook: Daiichi 1750 size 6-10
- Thread: white 8/0 uni thread
- Tail: white marabou blood quill
- Body: white chenille (lead optional)
- Hackle: white whiting saddle cape or strung saddle

Tying the Reverse Tied Wooly Bugger:
 |
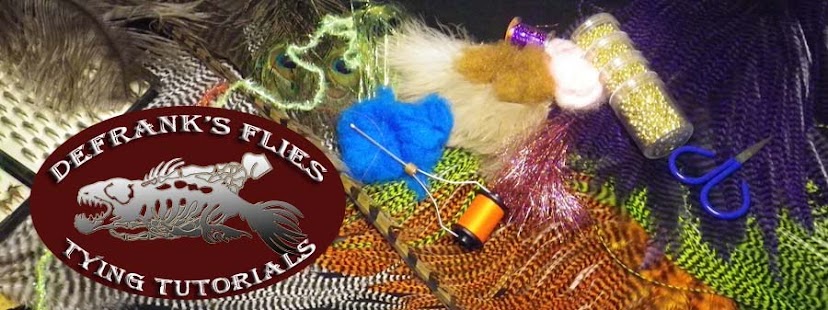
| Step One: Lay thread base. Add lead (optional). |
 |
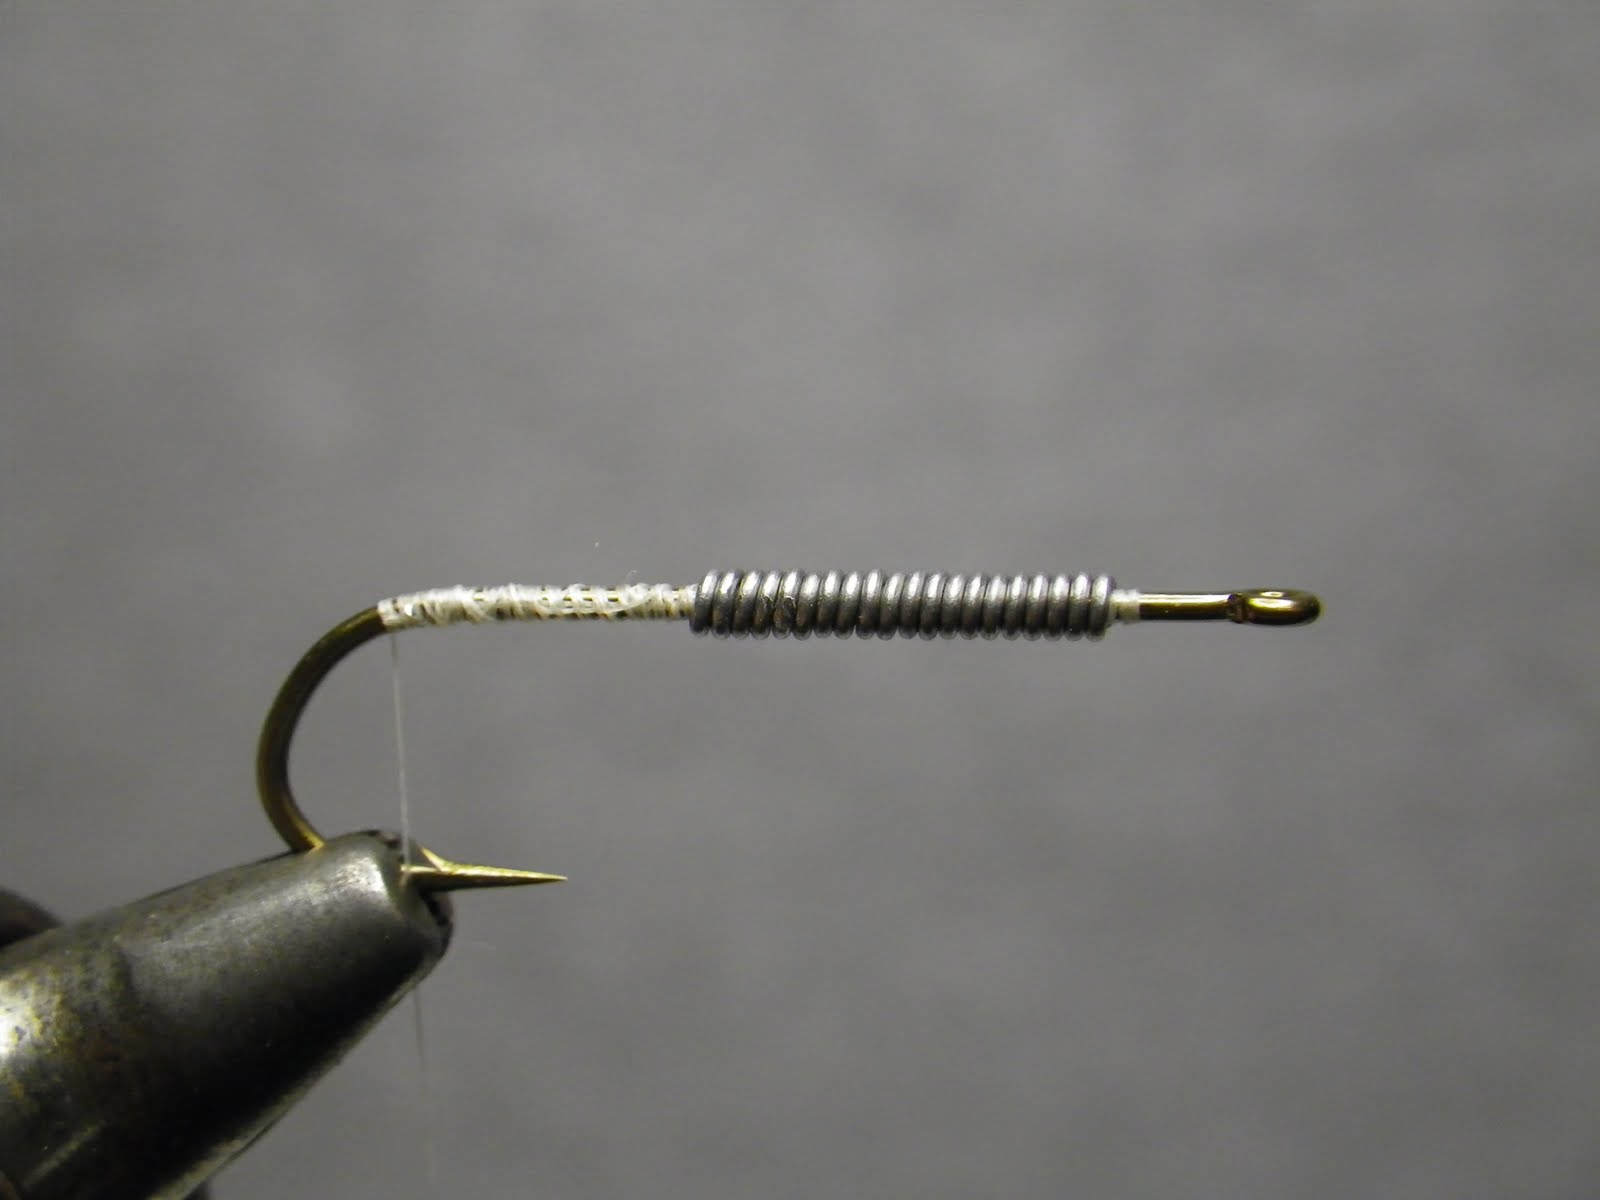
| Step Two: Advance thread to the front of the lead. Tie in Marabou. Wrap back to the bend of the hook. This will keep the body uniform, as opposed to tieing in the marabou at the bend of the hook and creating a bulge. |
 |
| Step Three: Tie in 4 strands of Krystal Flash. |
 |
| Step Four: Wrap back, separating evenly on both sides of the tail. |
 |
| Step Five: Advance thread to the eye of the hook. |
 |
| Step Six: Tie in the base of the hackle stem directly behind the eye. |
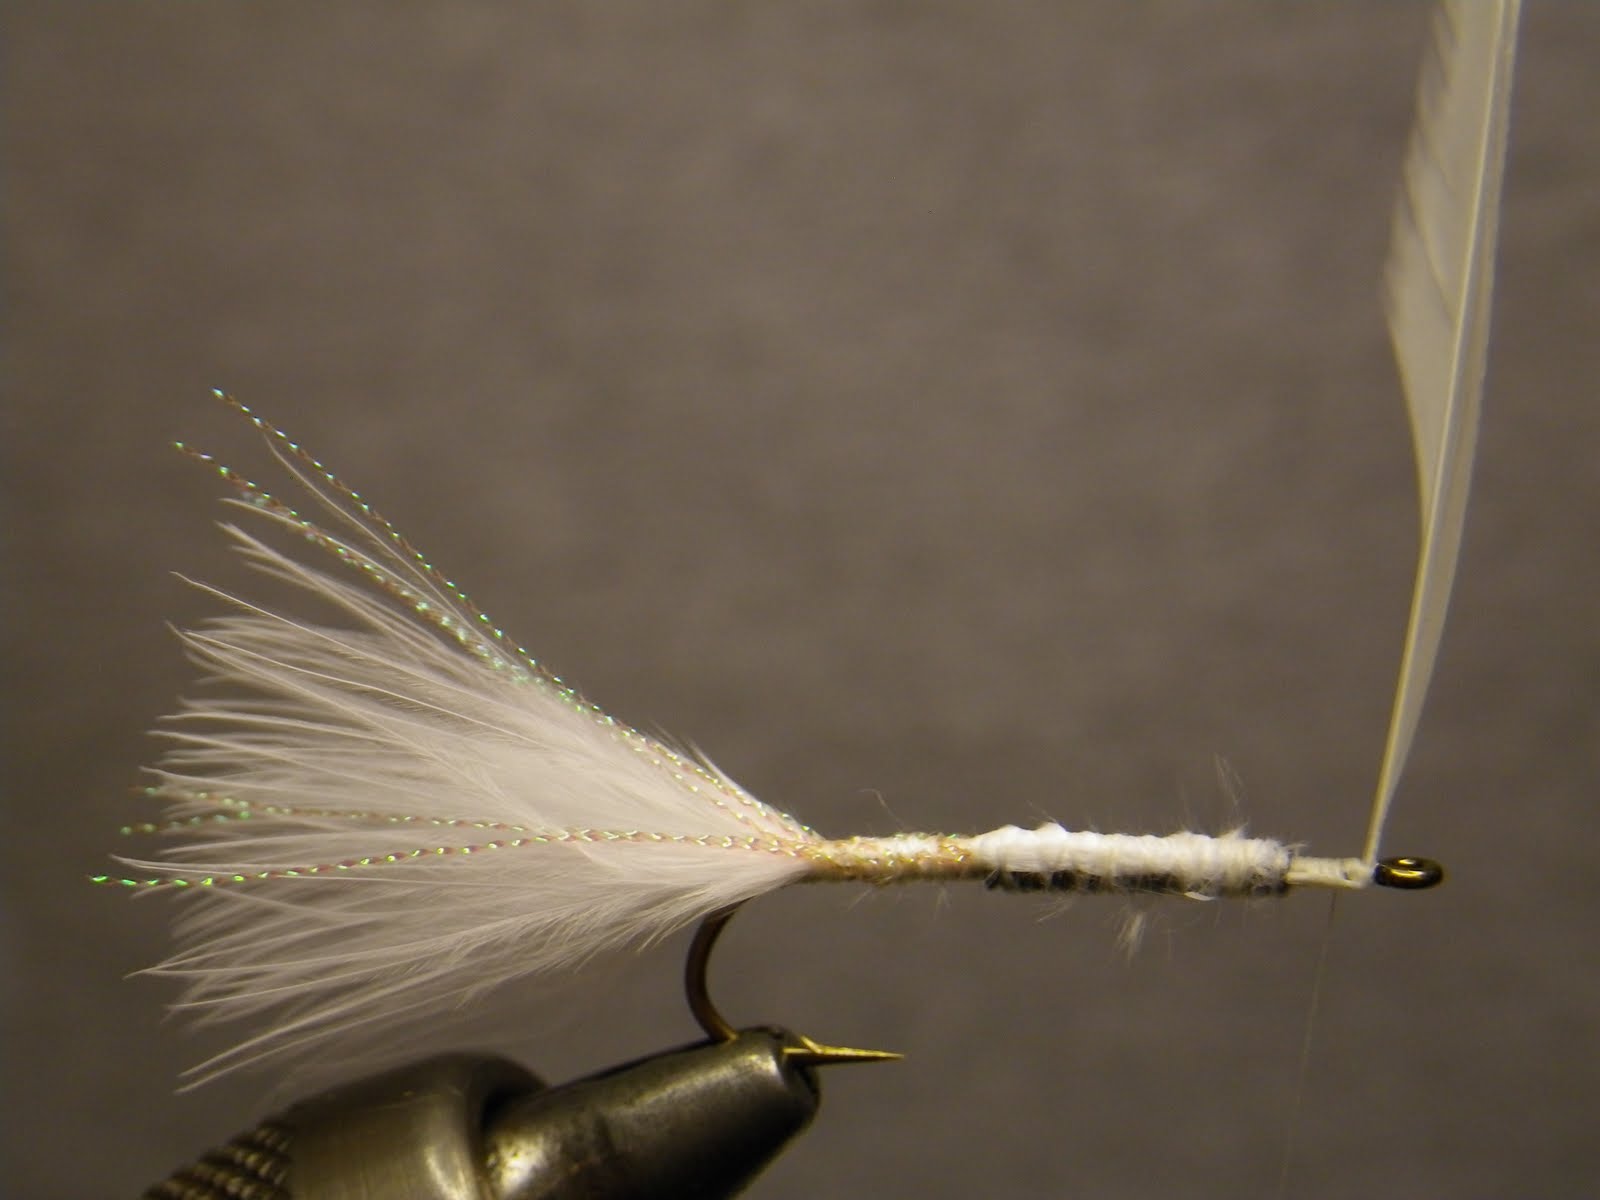 |
| Step Seven: Secure bare hackle stem to the shank by wrapping toward the back of the hook. This will ensure a solid tie-in of the hackle without slipping. |
 |
| Step Eight: Expose the thread core of the chenille before tieing in to reduce bulk. Tie in chenille behind hackle. |
 |
| Step Nine: Advance thread to tail. |
 |
| Step Ten: Wrap chenille back and tie off with three tight wraps of thread. |
 |
| Step Eleven: Wrap four turns of hackle at the eye and palmer the remaining hackle back. Secure hackle with three tight wraps. |
 |
| Step Twelve: Palmer thread up through the hackle. This will reinforce the hackle, the main reason why I prefer to tie this fly in reverse. Comb hackle back and build a thread head. Whip finish. |
|
| Finished Wooly Bugger |
No comments:
Post a Comment