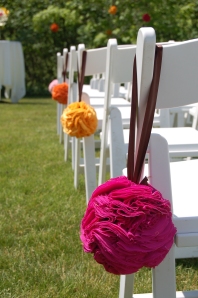
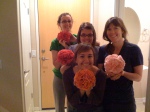
 This has been one of my ongoing projects this past year. To say it has been satisfying would be an understatement. For me, there is something magical about these pomanders that make them more beautiful than the real thing. My sister-in-law used them in her wedding at Punderson State Park in Ohio. I apologize that in this instructional many different colors of fabric are used. I decided to start this blog after I made these pomanders. So I don’t have a full set of photos with just one color. Even though the colors are different, the steps are the same.
Materials:
The materials listed here are for one fabric pomander.
- 3 inch Styrofoam ball (Fun fact about Styrofoam and why it must be capitalized)
- Eye Hook
- Ribbon of your choice to be used for hanging
- 100 Quilting Needles (I bought mine at Wal-Mart, they were difficult to find)
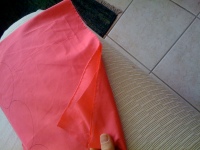
- 2 yards of Broadcloth in any color that fancies you. (Broadcloth is a type of densely woven fabric which is extremely sturdy, very soft and doesn’t easily fray )
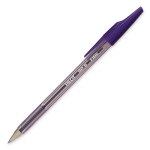
- Ball Point Pen
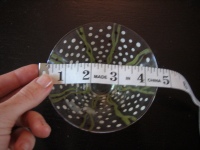
- Bowl to trace (My bowl was approximately 5 inches in diameter.)
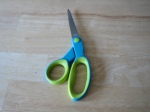
- Fabric Scissors
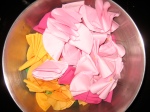
- Big bowl or laundry basket
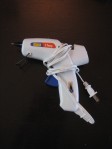
- Hot Glue Gun and obviously Glue
- Time (This is a labor intense project perfect for watching the latest season of your favorite show on Netflix Instant. It takes me approximately 2.5 hours to complete one pomander depending on what show I’m watching )
Instructions:
Preparing the Styrofoam Ball
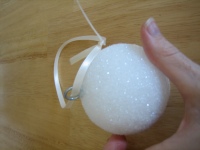
By inserting an eye hook this allows you to change the size, length, or color of your ribbon simply by cutting the old ribbon off and tying a new one on. That way these pomanders can be used for multiple occasions. Other instructions out there simply have you hot glue the ribbon directly to the ball which I don’t find as durable or accessible as the eye hook.
- Plug in hot glue gun
- Pull out Styrofoam ball, eye hook, and ribbon
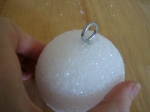
- Puncture Styrofoam ball with eye hook and then take out the eye hook
- Fill the hole you just made with hot glue.
- Reinsert eye hook (some hot glue will come out the top, and that’s no problem)
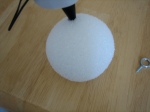
- Set ball aside for later.
Tracing and Cutting the Fabric :
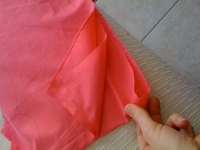
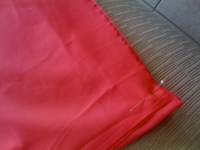
- Fold the 2 yards of broadcloth so that there are 8 layers of fabric. Or however many layers your scissors will comfortably cut through. The more layers the faster the cutting will go!
- Pin the edges of the fabric so the fabric doesn’t shift as it is traced and cut out.
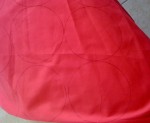
- Using the bowl start tracing circles on the fabric, making consideration to the fact you want to fit as many circles as possible on the fabric.
- Once the tracing is complete start cutting. As you are cutting it is best to stay slightly on the inside of the pen markings, that way markings don’t show on your final project.
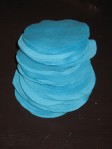
- Once you have a huge stack of fabric circles cut out, take a break. Your hand probably hurts 🙂
Folding the Fabric :
- Gather together your cut fabric, quilting pins, and something to put the folded fabric into such as a laundry basket.
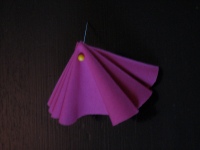
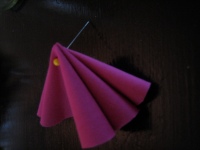
- Take one circle and fold it in half and then in half again to make a quadrant or another name for it would be a Quarter Arch.
- After you make 3 of those stick a pin through the point of all three and place in the laundry basket.
- Repeat the folding and pinning steps until all are made into quadrants. One 3 inch Styrofoam ball takes about 75-100 pins.
Attaching the Fabric to the Ball:
- Find a bit of ribbon or scrap fabric you can use to thread through the eye hook so that once all the fabric is attached it will be easy to locate the eye hook.
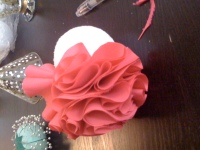
- Start by going around the eye hook and sticking the Styrofoam ball with the pins, alternating the direction the folds lay. It’s best to think of a flower at this point and imagine how organic and free-flowing the lines would be if this were made of real flowers. There would be petals overlapping and it wouldn’t look uniformed. If it looks to uniform it will look like you tried too hard.
- Continue to stick the ball until the whole thing is full.
- Now you are finished and you will most likely want to make another one, so invite some friends over, open some wine and create!
Please leave any questions or comments about this project, I would be glad to clarify anything that didn’t make sense.




Lauren those are gorgeous!! I love them!
Thanks Valisa!
I am enjoying this site Lauren!
Lauren,
Thanks for the blow by blow directions. Your instructions are so well laid out and photographed that I don’t feel the least bit intimidated in doing this myself. I shall pass this site on to my girlfriends at home.
Fancy stuff, girlfriend!
Thanks mom 🙂
wow i liked the real flower pomanders but i really love these fabric one, im thinking about making some for my wedding.
Thank you so much for putting this up!