Tag: Prairie Bonnet tutorial
The Joy of Having a Grandmother who Sews
Laura Ingalls Bonnet Tutorial
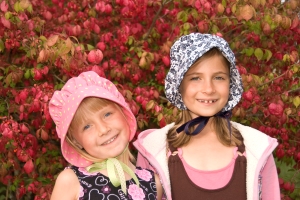
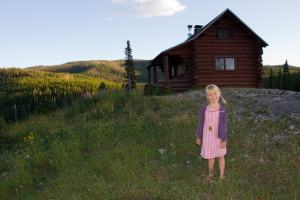
Several weeks ago Angela and Stephen took our granddaughters on a trip to Yellowstone and the Grand Tetons. From the photos and stories, it appears that one of the delights was living in a rustic cabin. This experience brought to life the stories of Laura Ingalls Wilder. It sounds as if they played the part in every possible way.
Here’s an account of our first phone call after they arrived home:
Caitlin: “Ramma (that’s Grandma), can you make me a Laura Ingalls bonnet? And one for Mira too?”
Me: “I’m sure I can, I’ll just need to find a pattern.”
Caitlin: “Ramma, I want mine to be brown calico with little dots on it.”
Me: “I’m not sure if I have any fabric like that, but when you come to visit for Uncle Shaun’s wedding, you can see if there is some other fabric you might like me to use.”
Caitlin: “Well I want it to be brown calico with little dots.”
Me: “OK, I’ll see what I can do.”
Caitlin: “If you don’t have fabric with dots on it, I know how to sew and I can help to sew the dots on the fabric.”
*************************************************************
Now that’s a girl who believes anything is possible and will do what is needed to get the desired result!
When Catie and Mira came to visit, they eagerly went through my 3×5 fabric swatch cards. Based on my guidance on what type of fabric would be appropriate for a bonnet, they touched and stretched the fabric swatches and sorted the cards into piles. In case you’d like the same direction, I told them the fabric couldn’t be stretchy like a T-shirt or shiny like for a party dress. It worked.
After careful consideration each of them made a selection. Catie’s wasn’t brown (no surprise here because I never purchase brown fabric) but it had dots on it. Whew, we didn’t need to sew on all of those little dots!
As I’m sure you would do, I searched the internet for a free pattern or tutorial and found this great Laura Ingalls Wilder Bonnet Tutorial which spared me a trip to a fabric store.
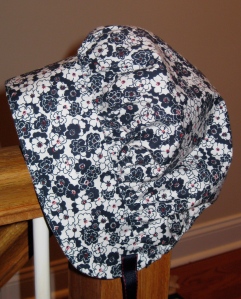
Tutorial Additions:
If you decide to make a bonnet such as this, here are a few changes which I would whole heartedly recommend.
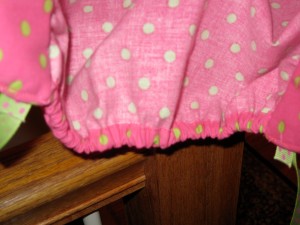
- Add 3/4″ to the length of the crown piece (will be 17-3/4″ long) to make an elastic casing.
- Fold the casing and sew in place.
- Run an 8″ piece of elastic through the casing and secure the ends.
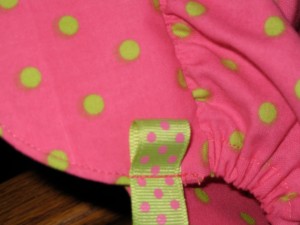
- Now sew the brim to the crown.
- On the side which will be attached to the crown, cut the interfacing 1/2″shorter than the brim pieces. This allows you to fold the fabric over the interfacing when attaching the brim to the crown and reduces bulk.
- Top stitch the edge of the brim – it gives a nice finished look.
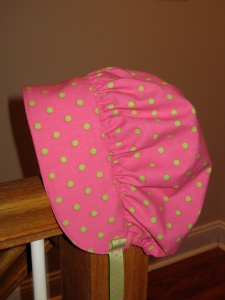
So in the end, it’s not brown calico with hand-sewn dots, but the bonnets sure are cute. They’re off in the mail and I can’t wait to see photos of the girls who will likely wear them when their parents lovingly read them the Laura Ingalls stories. What a joy it is to create treasures and hopefully “grandmother memories” such as this.
