Oh wait, I have to tell you something else first... you'll see in these pictures, and my Not Me Monday picture, that I have a tiny kitchen and that when I make a three-layer cake AND twenty giant stackable cookies (with 160 pedals on them and four different colors of royal icing) it is a WRECK. Just a warning. It took me two nights to clean it up, and I got major help from my sweet husband. And we never leave a kitchen mess overnight - this was just too much for us and our poor dishwasher to handle!
SO, here's how I decorated the cake and made a huge mess...
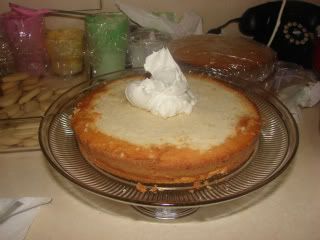
First, I leveled the cakes. I don't have a fancy turntable, so I just put my glass cake stand on some parchment paper (I ♥ parchement paper) and turned it while using a sawing motion with a large serrated knife to level off the cakes. I used the most level cake as the bottom layer.
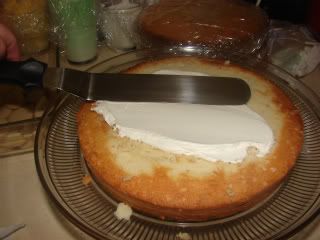
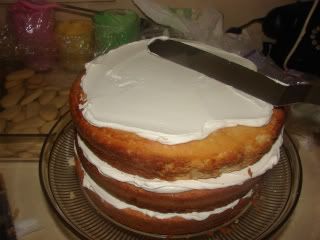
Then I stacked the cakes and used buttercream (recipe here) between the layers.
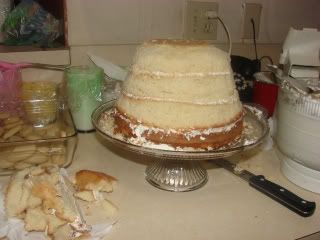
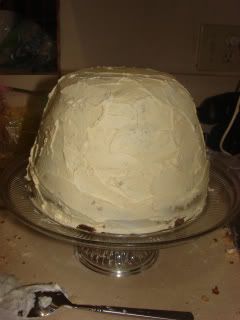
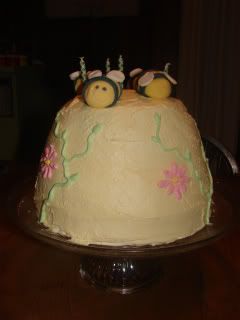
Then I carved the cake into a rough bee hive shape. I think I could have done a better job of this, but oh well - as the Nester says, it doesn't have to be perfect... Anyway, I used a pound cake, because they're nice and dense and easy to carve.
Then I crumb-coated the cake. This is a really important step - don't skip it when you're icing a cake! Just cover the whole cake in a layer of icing to "catch" all the crumbs, that way you won't end up with any in your final coat.
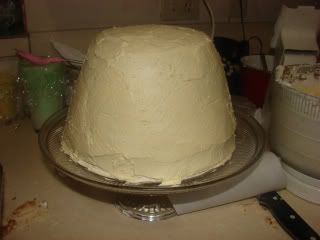
I used buttercream with yellow paste food coloring to frost the whole cake. I didn't really want a perfectly smooth finish, and I wanted to add some pattern but was too lazy to try anything too fancy at this point (about 2 am) so I pressed a paper towel with a diamond pattern onto the cake, and it left an impression. It kinda worked like I wanted it to.
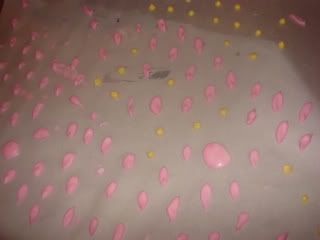
I was also too lazy/tired to make nice flowers (I love making icing flowers, but it takes patience and concentration - I'm not the Cake Boss!) So I used some of that royal icing from the cookies to make round blobs and long blobs (also, again, far from perfect) onto parchment paper (I ♥ parchment paper).
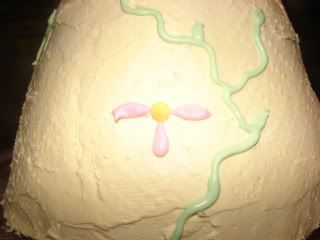
After they dried, I picked the most pedal-y looking blobs and stuck them on the cake to make flowers.
And here is my finished product
Sophia loved it, which was the most important thing to me! Well, that and having really yummy cake to eat ha ha! We'll just call this It Doesn't Have to Be Perfect to Be Beautiful, Cake Edition :)
p.s.
Did you think I forgot Veggie of the Week? Well, I did... but then I remembered - tomorrow, I promise!






4 comments:
This is great! You are such a good mommy...and talented too! You did a great job on this...and thanks for sharing it with us!
Love to you...
You did a beautiful job Vera!!! It looks just perfect!
-Summer
NICE JOB!!! Mate you should be proud of that!!! You did an awesome job on that cake!!! Where do we place orders....... :))
I am so glad Sophia loved it, it looks beautiful! You are super talented...I can only dream.
Post a Comment