
I’ve heard people say that woodworking is an expensive hobby. Right now, I’d say yes and no to that suggestion as I think most woodworking enthusiasts would. It is expensive if you believe that you require all the very best of equipment, a vast library of books, and a bunch of one week intensive classes. It is expensive if you can’t decide what interests you the most as your starting point. It is expensive if you spend most of your life investigating how to use more refined methods and acquiring more optimum tools. If the latter is your path, then welcome woodworking into your life as something more important and then see how it fits for you not as hobbyist or weekend warrior, but as an artisan woodworker. That is where I’m at in terms of desiring to replicate antiques and yet embracing Woodcarving as a way to individualize my work.
If you do enough research to build a tool box, bookcases, boxes for storage, or opt to build an end table or coffee table you can find it affordable cost wise. The challenge is sorting through the information and finding a plan that works for you. The challenge is to assemble a basic set of tools through a diligent search of new and used equipment and being smart about their cost. It’s a passion where asking the right questions makes the difference. Can a used hand plane with perhaps a new plane iron give satisfactory results when compared with a more expensive new one? It can, if you educate yourself on the old hand planes and take the time to find one in acceptable condition. If you get inspired you can even create a wooden plane that will produce great results, provided you make the investment to learn how. We are truly blessed that the information is out there online and in print.
I’ll be a dinosaur here. During my Junior High and High School years, I learned a lot in what was called industrial arts/woodworking classes. Whatever I learned from my dad who was a handyman at home, I went the next level at school. Back in the late 60’s and early 70’s we weren’t allowed to build anything in school without drawing up a plan. The approved drawing gave us access to the lumber rack of oak, maple, poplar, cherry, walnut, and Honduras mahogany.
You may not have had access to a Woodworking class in school. Over the years litigation concerns drove many public schools to sell off equipment and turn shop classes into technology classes with significantly reduced use of machines. While those changes have occurred, there has been a great interest in antique furniture and reproducing those pieces. Building Shaker tables, chairs, and cabinets, Country furniture, Windsor chairs, and Arts and Crafts furniture have all been taught in through magazines, books, and classes. Woodworking shows have occurred around the country for years that bring together artists, woodworking instructors, and suppliers from around the country. Some suppliers of specialty woodworking tools often have shows or an open house to encourage people to come and check out their products.
Not only that but many famous woodworkers got their start from studying old furniture and doing demonstrations at historic sites. It proves that if you fall in love with furniture from a specific time period and spend enough time in museums, you get a following of those who appreciate reproductions of antique pieces. Part of my path in woodworking was blessed by giving demonstrations at historic sites in Upstate New York, Ohio, and now North Dakota.
There is also another important aspect to woodworking and Woodcarving, community has always been an important part of learning in the arts. I’ve lived in a bunch of places over the years and it is always wonderful to build friendships with other woodworkers. Some may be immensely talented and well paid too, but since there are so many applications it doesn’t matter. You don’t have to travel extensively because interested woodworkers might be in your congregation or in your community. If you do have to drive, it might be just a state away to find a Woodworking club or a Woodworking class. What matters is that woodworking can be either an interest or an occupation depending on the doors it opens in our lives. I continue to be amazed at the commitment clients can have to owning pieces of furniture that are diligent copies of antiques.
But I’m also amazed at how people of different abilities, can still express a sense of wonder at seeing how a simple box can be made of pine boards using hand tools. I get to demonstrate woodworking using hand tools and my audiences include youth and adults at historic sites as well as through an organization that helps the developmentally disadvantaged. They all remind me of the blessings we as woodworkers have in acquiring, tuning, and using old tools. How fortunate to own tools that are 100s of years old and yet see them complete some task in our hands. I don’t know about you, but I find that very neat as an experience and not surprisingly contagious to others.
Blessings on your woodworking and creative endeavors!


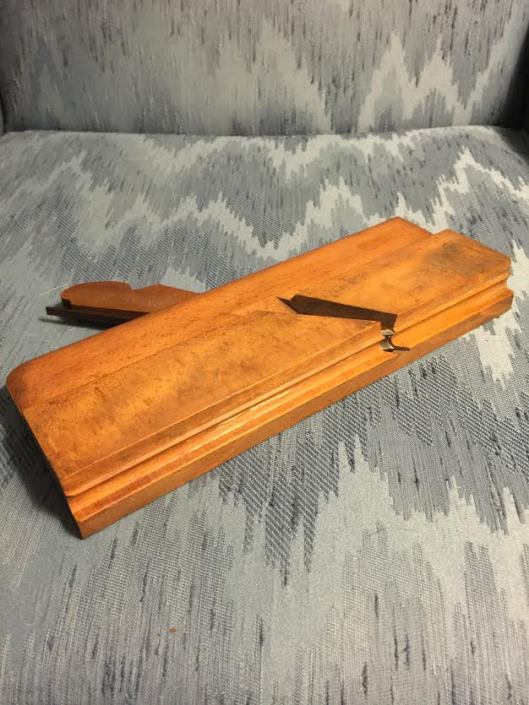
 I am planing to do most of the joinery by hand so it is authentic in appearance. I look forward to using hand planes to cut the ogee sided grooves that are distinctive on the stiles, rails, and muttins.


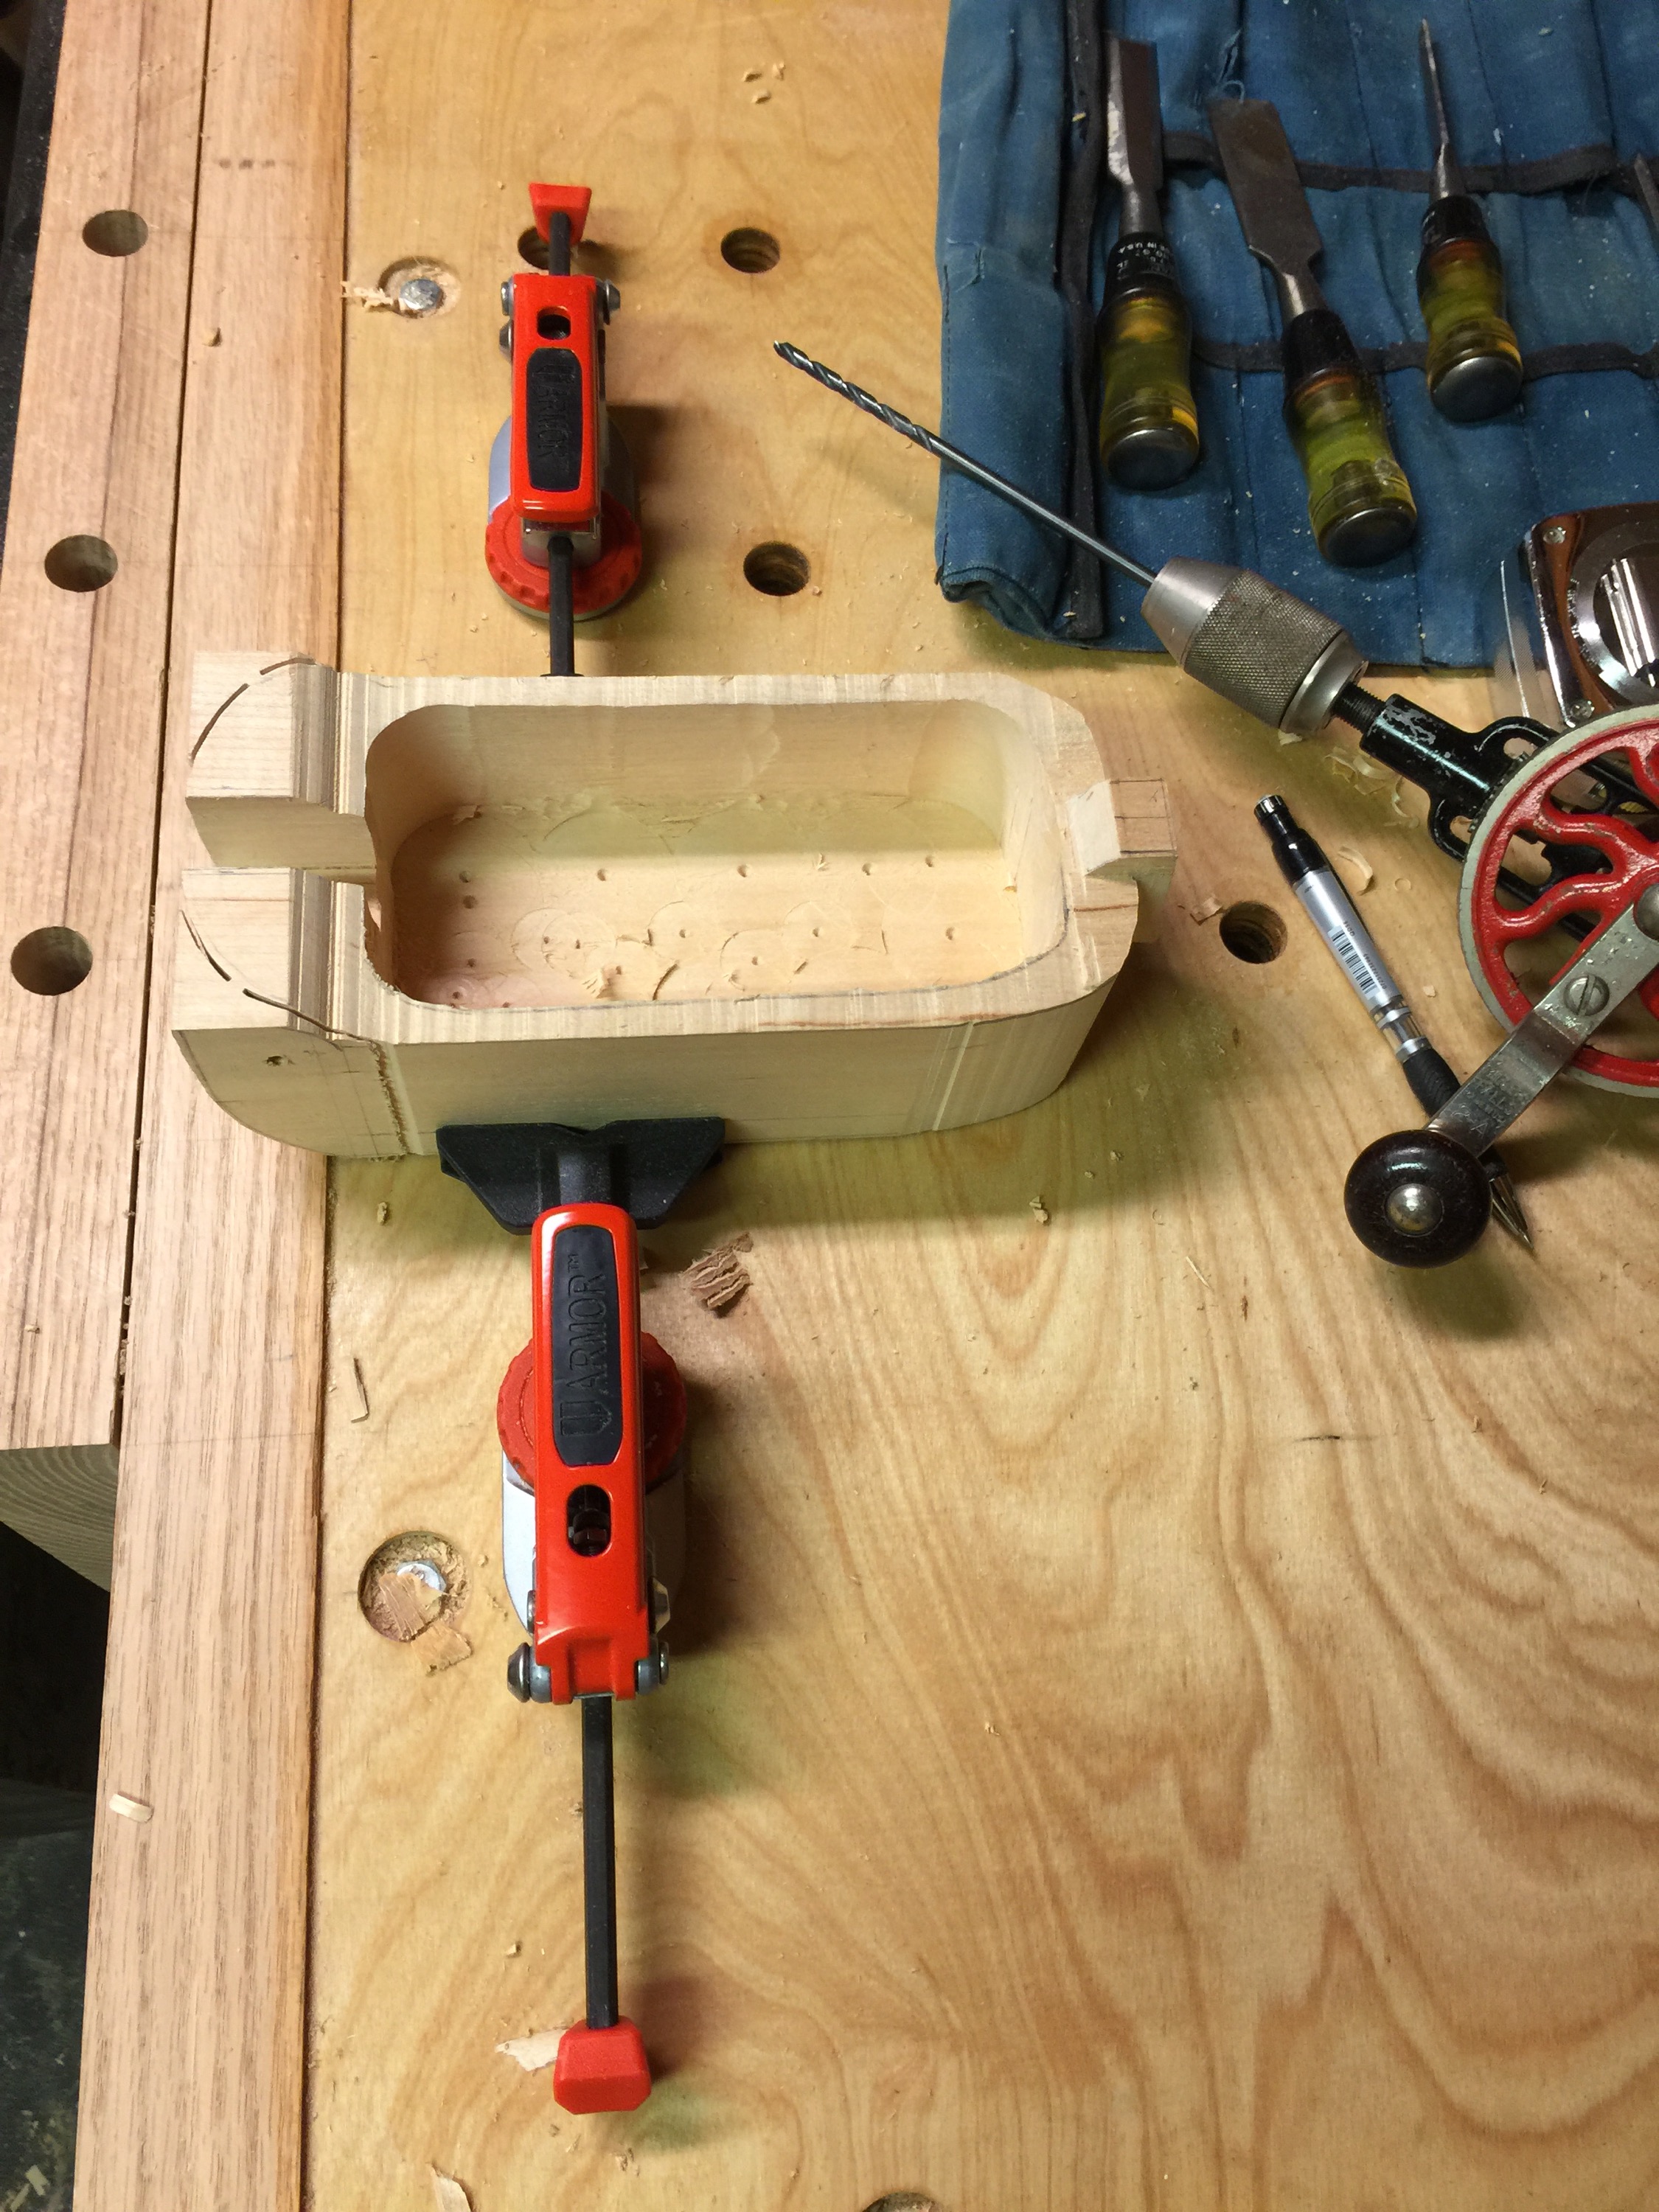
 the DVD by Peter Follansbee many times on building oak boxes and also utilized his article in February 2018 issue of Popular Woodworking. I’ve benefitted too from the blogs that Follansbee regularly post. Even with great help like that there is still much more to know which only comes from your experience of doing it yourself.
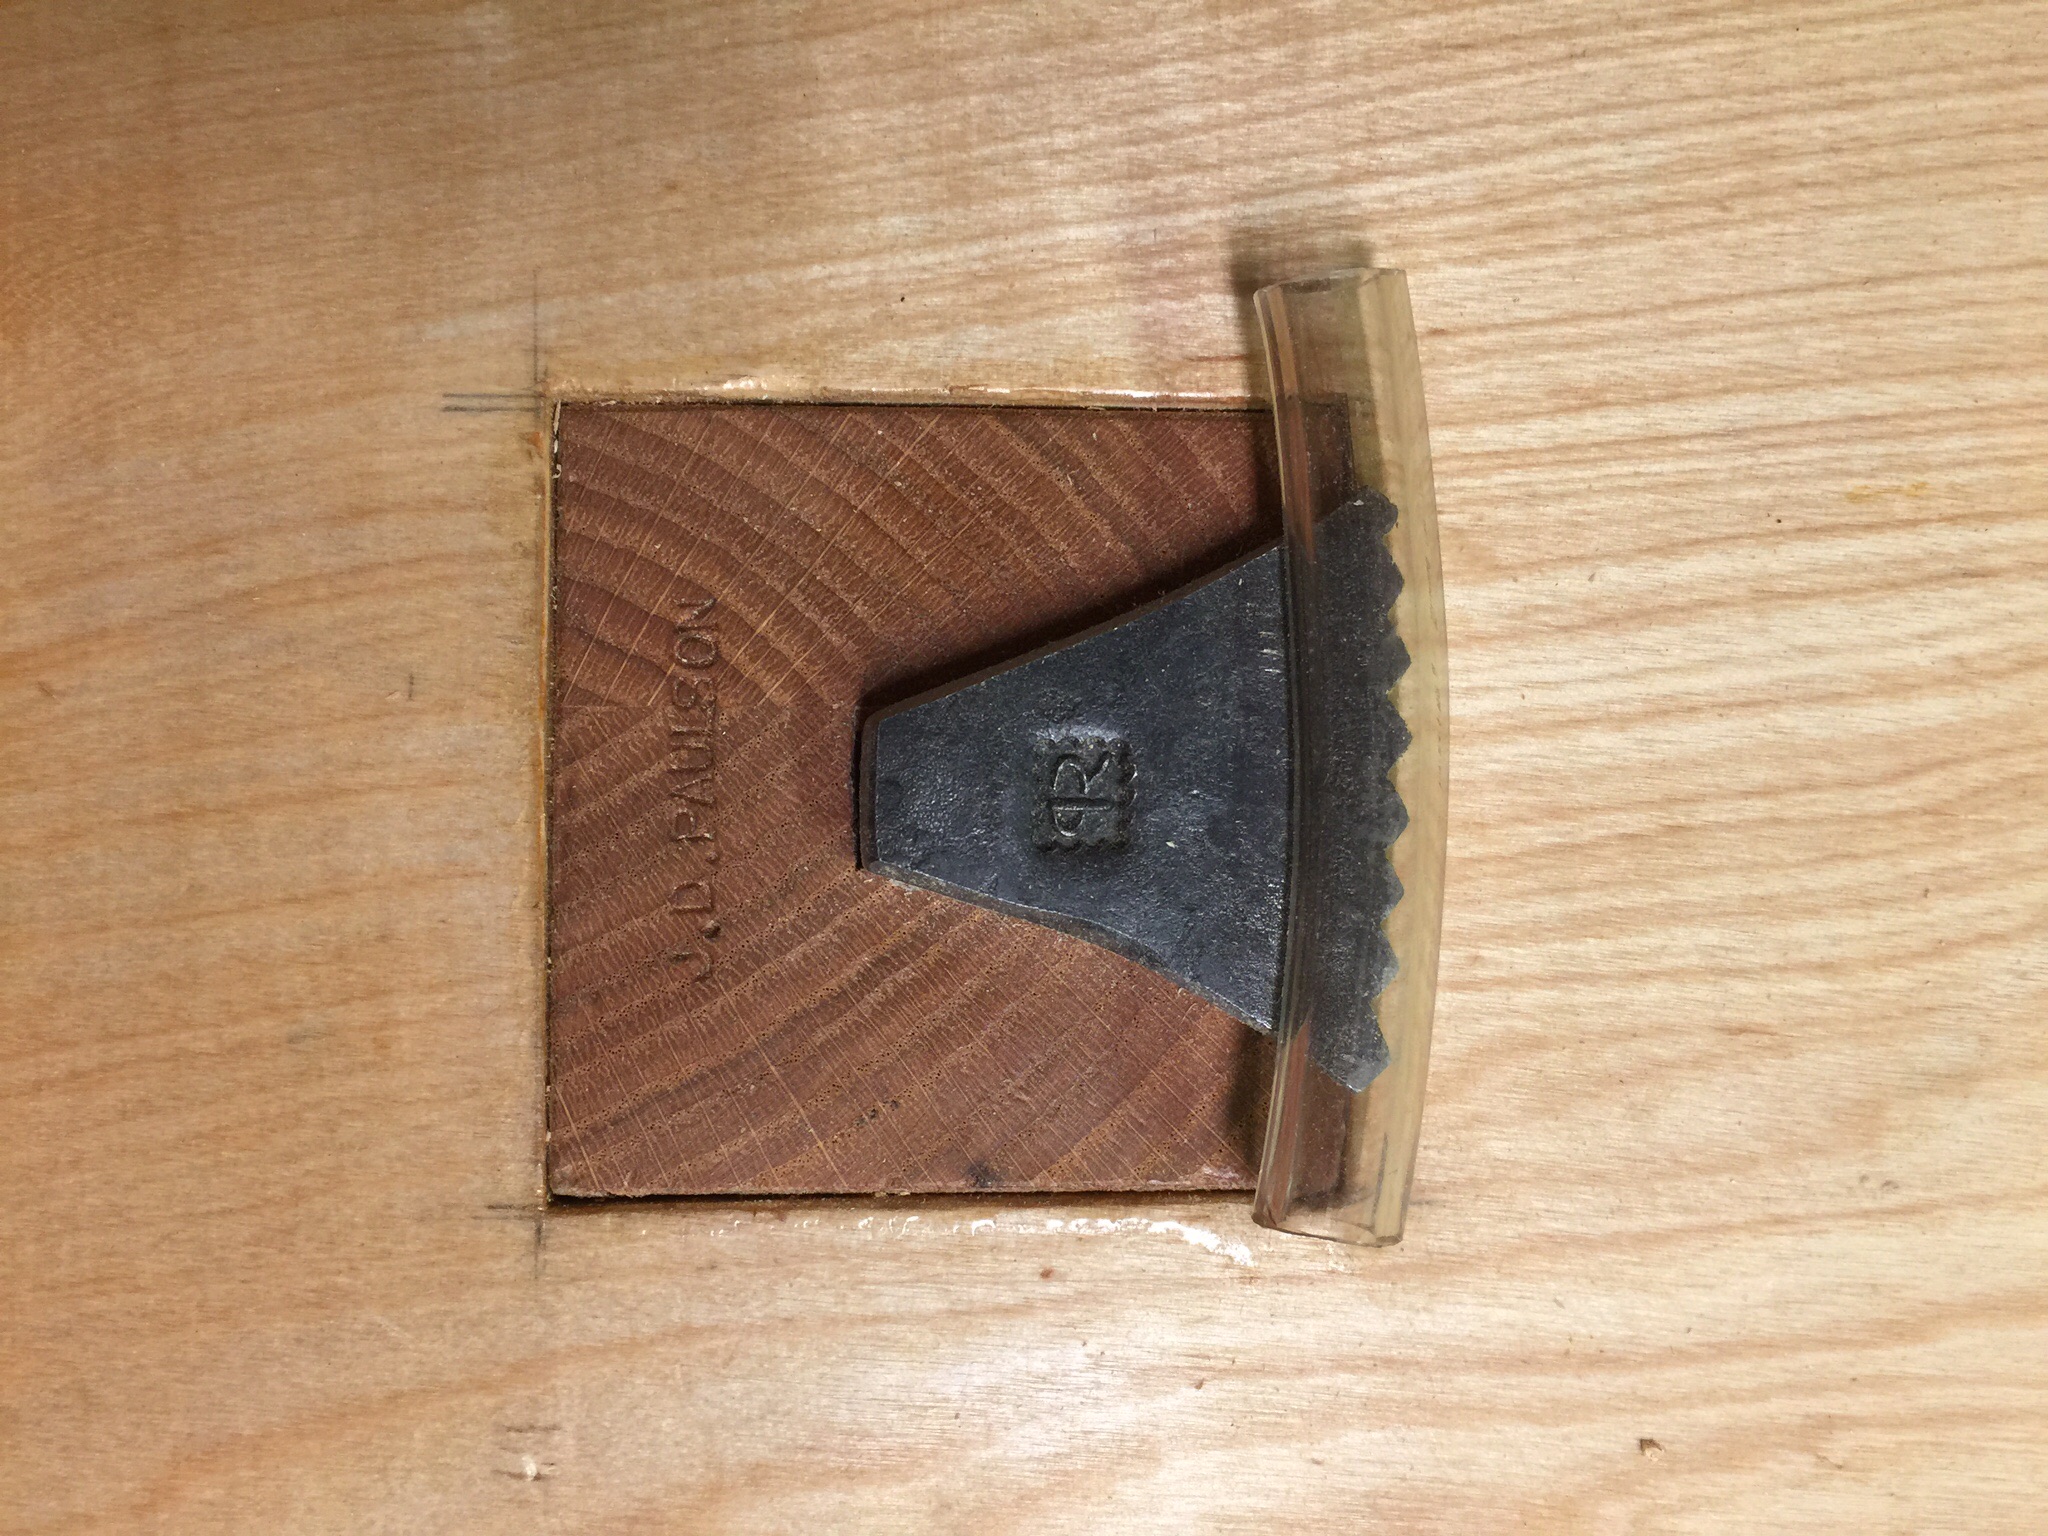
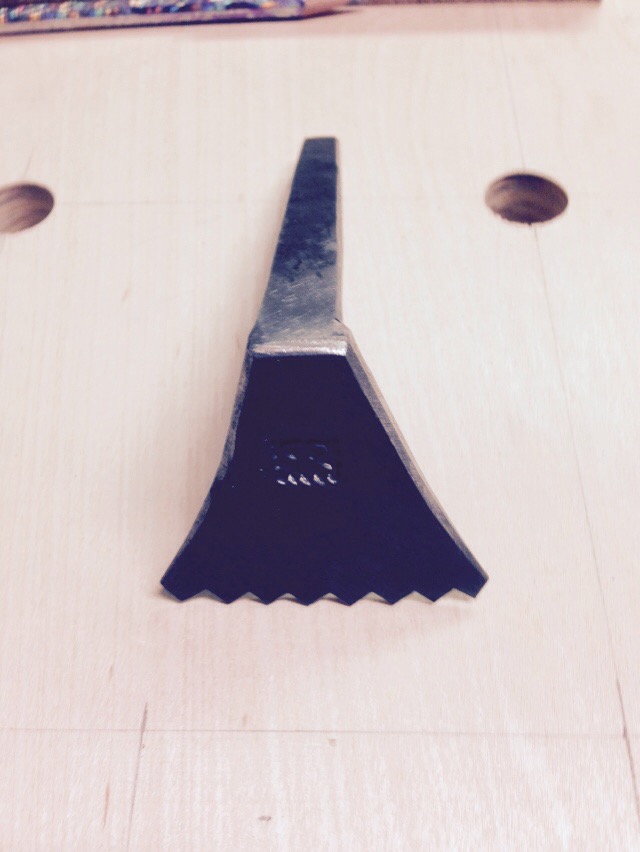
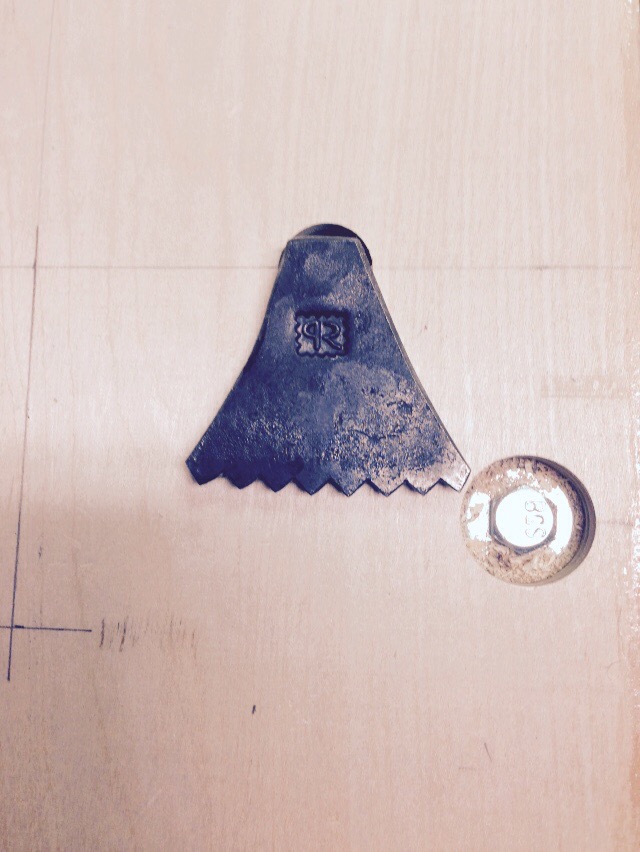
 Now I split pegs with a peg cleaver that was made by blacksmith Tom Latane, of Pepin, Wisconsin, which gives me improved control. It was somewhat awkward to use a large froe to split pegs as I recently did. Tom does beautiful work and the details on the handle are cool. If you haven’t looked at one, they a fairly hefty tool, and weight is a key aspect since they aren’t a cutting tool as Tom mentioned to me. I’ve watched Peter Follansbee use one on a DVD, and like a froe you can drive the cleaver with a club or mallet. You can also split stock by using the weight of the tool itself. I am clearly making the commitment to take on 17th Century furniture projects, probably because the carving really speaks to me.
 I know that I’m one of many in saying this, but I am getting progressively more interested in the carving designs utilized in the 1600s. Perhaps in some way I’m feeling a connection with some of my dad’s Scandinavian family who arrived in Delaware in the 1656 timeframe. They were around English style oak furniture in the colonies and became more and more assimilated into English culture though political changes and intermarriage. Anyway, I finally acquired a copy of Living with Oak: Seventeenth Century English Furniture Then and Now by John Fiske and Lisa Freeman, 2005, and as I flipped the pages I was thrilled to learn more about English oak carving from that period. The Belmont Press out of Belmont, Vermont is the publisher. I’ve clearly got the bug to master this kind of carving. I like it enough to order the more recent book on the same subject, When Oak was New, again by Fiske (2013). I’m looking forward to scouring the many hundreds of photos in it. After looking at other sources, I purchased it through the Fiske and Freeman website and even spoke with John Fiske over the telephone.


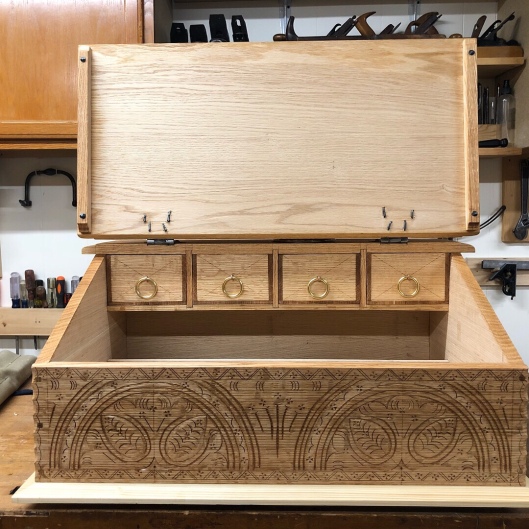
 When you don’t carve that often you can easily make more mistakes when you re-emerge yourself into it. I had a super busy week at church, and although I have watched the Follansbee DVD numerous times on oak desk boxes, it didn’t stop me from goofing on my v tool work. According to the original 17th Century oak desk box, the outside lines on the tulips are supposed to stop short of the point on the leaf design. My outside lines were carried too far and are curved somewhat. I was looking at the line drawing and forgetting that the chopped accents are what makes the curvature at the ends of the lines. Oh well, you can’t see both sides at the same time anyway.
 As I said in my last post, I’ve been looking at different ways to make steel punches that I can use for carvings. So far my materials include O1 drill rod from Enco, hot rolled and cold rolled stock from Menards, an old screwdriver, and a 3″ cut nail. I feel like I’m either getting closer to the goal or expecting too much.
 If you like 17th Century carving on oak boxes then you know about using a steel stamp on the backgrounds. I’m now a dabbler in making punches that can stamp a Maltese cross or add a decorative background on my carvings. So far I’ve made two punches for stamping a Maltese cross using some drill rod. However, those now seem oversized so I used smaller diameter materials to make two more. I also invested in a couple knife shaped files for cutting the rest of my steel stamps. My last two stamps were made using a worn out screwdriver and a large cut nail. It is harder than it looks to carefully file away the metal so it gives you the desired impression when struck with a hammer.
 Do forgiving eyes help cheer us on when attempting new techniques? I worked on the front of the oak desk box project today. Personally, I will trust that human eyes will be forgiving on this first carved desk box. Thank you Jennie Alexander for reminding us though that our eyes tend to be forgiving of mistakes. Because it matters that we might not recognize artistic value which comes from things planned or unplanned in our furniture work.


