Drawings Repository – People

The final installment of drawings focuses on people; historic and otherwise.

Arts & Crafts Style Cabinet

20171005_153630

Were were in need of a storage cabinet for my daughter to use in the reading room to store her art supplies and other odds and ends. I designed a small cabinet to fit with our current Arts & Crafts themed study.

W

20170921_113503

Work for me invariably begins in my sketchbook, sometimes making a stop in SketchUp but sometimes for simple one-off projects, straight to the tools. In this case, I am using the dimension from the sketchbook to ensure I am placing the mortises in the correct locations in the side rails.

20170922_151348

Once the components are cut, the dry fit takes place to ensure things are correct.

I love traditional joinery and I try to use mortise and tenon and dovetails in all of my pieces. Sometimes I can’t because of cost or material constraints, but these traditional joints ensure a lifetime of use.

The top, doors, and drawers are where the real time lies in these types of projects.

The piece is finished with shellac for the main carcass and drawers with polyurethane for the top to avoid rings and damage from wet glasses.

Overall, a fairly quick cabinet that will serve its purpose for many years to come.

Magazine Tables

20170906_134140

My grandmother used one of these style magazine tables as long as I knew her. She used it every day and sat her coffee and crossword puzzle on it as well as a tiny Christmas tree during the holidays. It was passed down to my father and I inherited it upon my Mom downsizing to move into her apartment. Needless to say, it was a perfect project for me to take on in the hopes of passing on a few of these to my family.

20170825_150525

The original table on the left and the reproduction on the right.

The work began with creating a template for the sides and for the profiles of the  magazine racks.

I used a router and template guide to trace the main shapes and refined the pieces with rasps and sandpaper to get a reasonable finish in the tighter curves.

Production runs like there are best done with very precise steps with minimal fussing about. The time you spend properly setting up is multiplied by each piece you are working on, so taking the time to do it right is essential. Very different from my usual one-off production I usually work on.

Glue up and finishing were fairly straightforward for the four tables.

20170906_134352

Grandfather surrounded by grandchildren.

It was a fun project and one I really enjoyed.

20170906_134140

Drawings Repository – Landscapes

The penultimate installment of drawings from my website. These are a catchall category of images mostly involving the icons and landscapes of Montana (except for the barn which was located in the Tetons in Wyoming.


TV Stand

20180622_091723We have needed a new TV stand for our living room, even though we don’t have cable and only use it to watch the occasional movie, it was getting pretty cluttered so we needed a better solution.

I started the same old way, developing an idea in my sketchbook and then transferring it to SketchUp to figure out the lumber required to build it.

TV stand V2

SketchUp design of the new cabinet. I changed my mind and went with plywood panels for the doors to help hide the clutter.

I opted for a plywood carcass with solid wood doors, drawers, and top. So the first step was creating the carcass.

20180607_133926

Dry fit of the carcass components.

20180607_134546

The drawer guides were set into dados in the side panels to help create some strength.

20180611_101706

The dovetailed drawers are being fit into their openings.

IMG_20180621_085323_806

The finish is applied. I opted for a very light dye in the shellac and a water-based acrylic finish for the top.

IMG_20180622_092238

The completed TV stand installed.

Drawings Repository – Birds

Continuing my uploading of my drawings with the Birds.


Graphite Pencil Drawings: Animals

Below is a sampling of the graphite pencil drawings of animals I have created. I am still in the process of updating the linked pages to describe the drawing process, my approach to graphite pencil art, and hopefully, share a bit of my love of nature with those interested in such things. I hope you enjoy looking through these drawings.

Ice Cream Cart

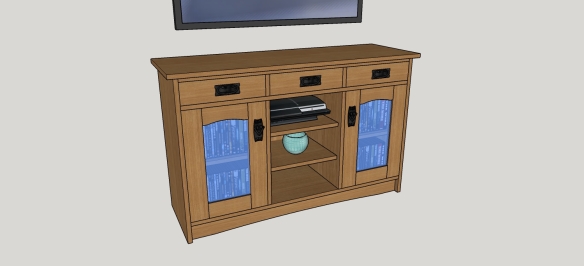
I was recently hired to build an mobile ice cream cart by BRICS, a locally owned ice cream shop here in Indy. They were looking for something that could be used at shows and would support the weight of a fully loaded ice cream scooping chest. We began the process by creating a 3D model of the idea in SketchUp.

festival-cart

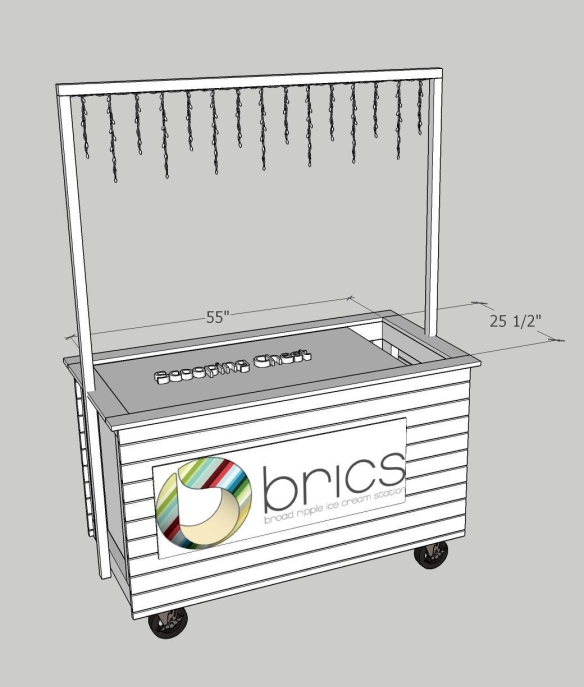
The SketchUp plan of the proposed cart design.

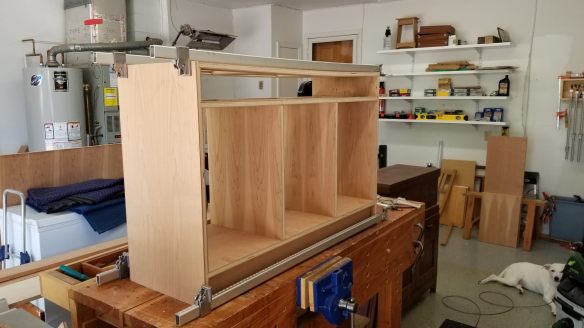
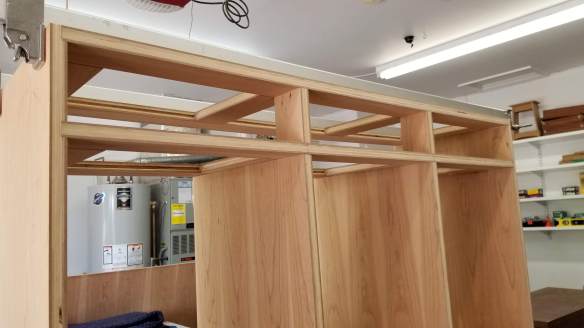
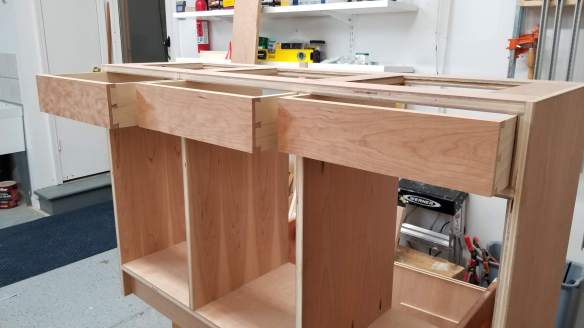
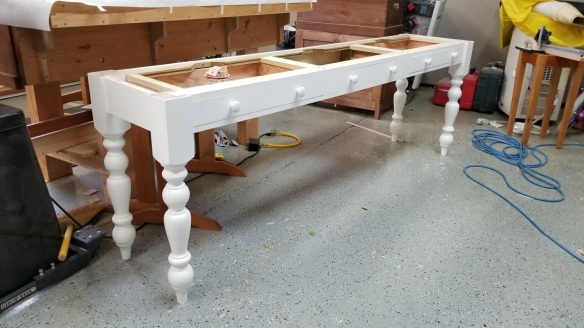
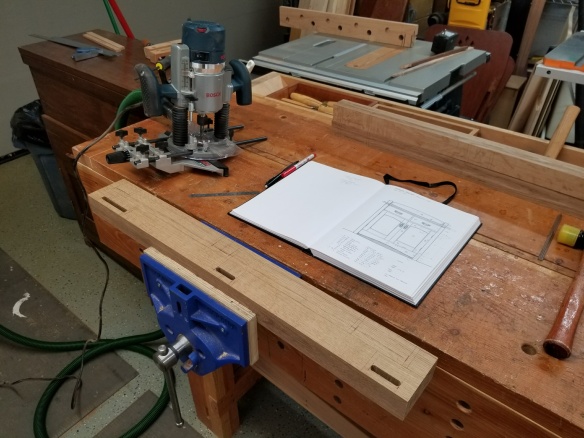
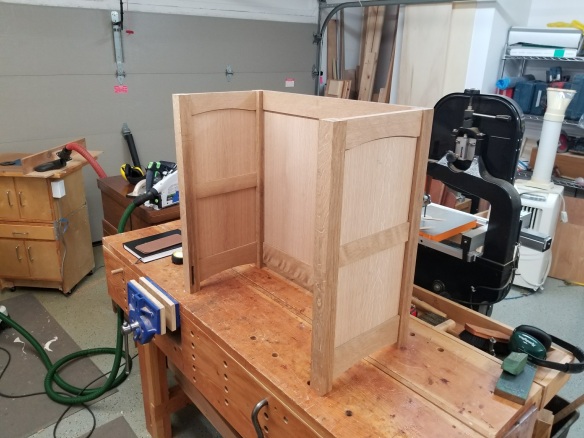
Once we had agreement on the design, I purchased the materials and began construction.

Once the build was complete, I had to figure out a way to create a barnwood / distressed / antique look. I was really reluctant to use a stain because of the extremely artificial look that these can sometimes produce. I did some research on the web and came up with something that looked intriguing, iron acetate, basically steel wood dissolved in vinegar… yep, sounds weird but I was determined to give it a shot…

20180511_145934

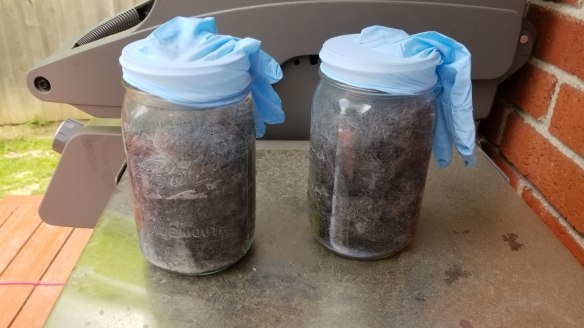
Steel wool pads slowly dissolving in white vinegar. The surgical gloves have holes in them to avoid the gas that is produced from the mixture from blowing the tops off.

After 4 days of stewing in the jars, the finish was ready to test. Here are the initial results.

20180514_160824

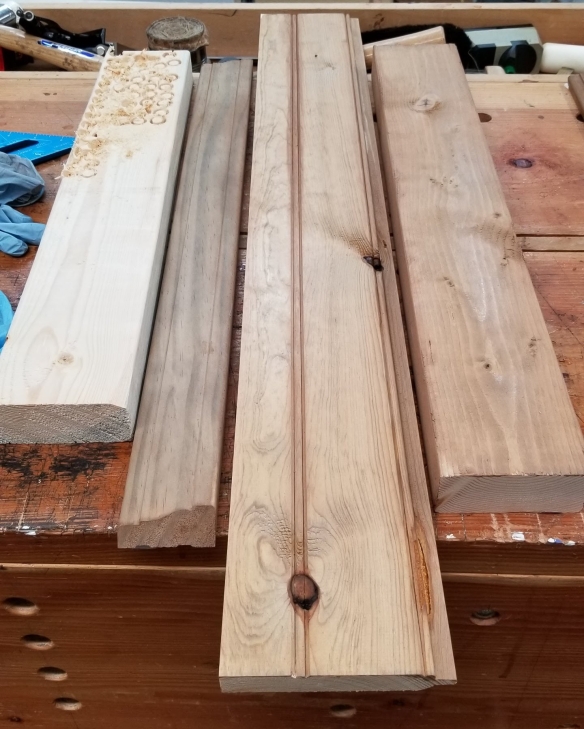
An unfinished board on the left, the individual pieces used in the project each finished to see how they might react.

It was a pretty solid result. I thought that with some oil finish applied over the top it just might work. The client gave the go ahead and it was on to the point of no return… applying the finish to the cart.

20180516_180927

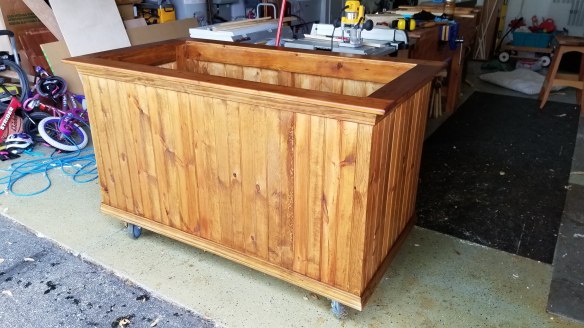
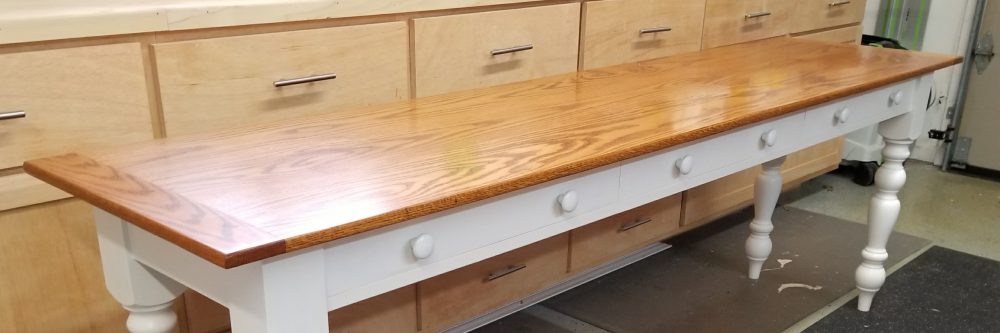
The finish created a fairly nice result.

With the build and finishing completed, it was time to deliver the project. This is the most stressful part for me usually but I was happy that it was received well.

It was really great working with such a great client and I hope we can work together in the future.

brics-cart

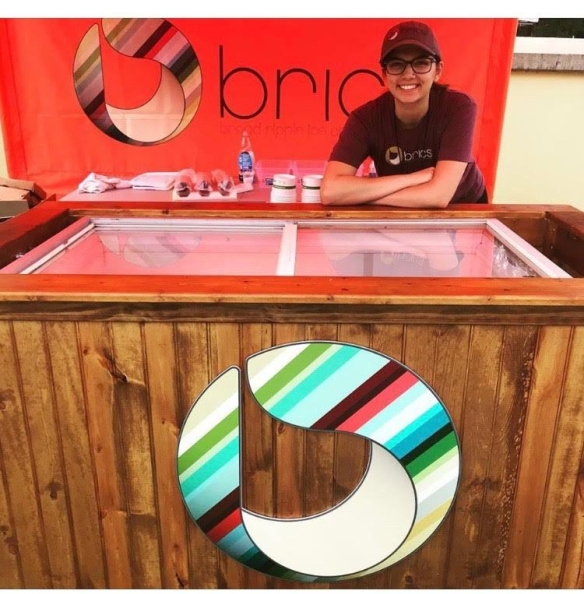
The completed cart with ice cream chest and company logo installed.
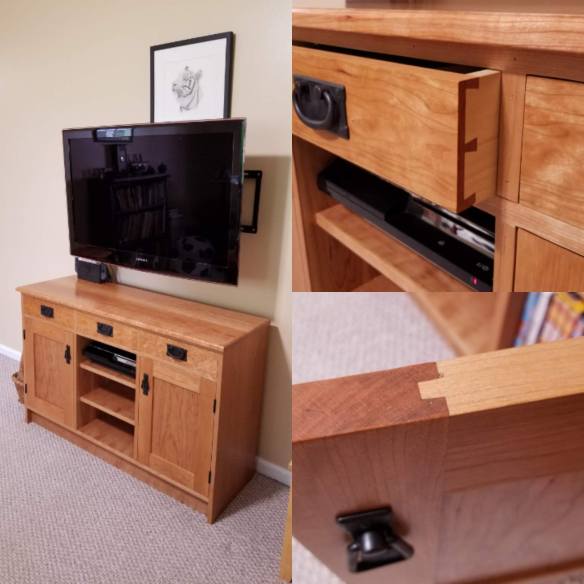
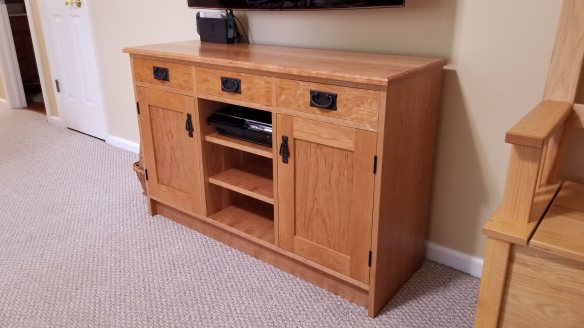
A Custom Table

I recently completed and delivered a custom table for a client. It was designed to fit a rather unique space inside a banister in her kitchen. The space was approximately 23″ deep and nearly 8 feet wide, creating a perfect opportunity for her to have a custom table built to solve this unique challenge.

20171117_130825.jpg

The completed table awaiting delivery.

The table was designed to match her existing decór as closely as possible: she has existing banisters that we wanted to simulate with the table legs, and there were hardwood floors in the remainder of the house (not in the kitchen) that we could simulate the stain for the top.

20171127_103234.jpg

The table installed in the client’s home.

The build process was lengthy with the large top and the two drawers. The photos below show the process to build the top. It included breadboard ends and was glued up from three red oak boards. A router was used to create the tongue and tenons of the table end and a small doweling jig helped create the mortises in the breadboard ends themselves.


The base itself took the most time as there were numerous structural members involved in getting a base as long as this to remain strong throughout its life.


In the end, the base was assembled and ready for finish. We decided on a painted base and a stained top. The base was first primed with a quality primer, sanded, and them painted with two coats of an interior satin paint. I ended up sanding this and applying a wax over the top to give it a bit of luster that more closely matched the top. I could have potentially used a semi-gloss and achieved a similar end result.

20171117_110229.jpg

The top was stained with a water-based dye stain and then sealed with shellac and finally received three coats of a durable water-based urethane finish. It was then rubbed with 0000 steel wool and waxed to give a nice matte sheen.


It was nice to finally deliver the table (thanks to my cousin John for the help!) and see the expression on the client’s face. She seemed pleased with the final result and I hope it brings her many years of enjoyment.