2018 Update

March 28th, 2018 Comments off

Well she sat for a bit. I got side tracked with some other projects, but over the last few weeks I’ve been back at it a bit on the C10. Before I delve into the new stuff, I should probably catch up the blog here on how some of the earlier big pieces of the project have held up so far. Some of this is not very uplifting unfortunately – and I swear that is not because I’m a negative nelly or a difficult customer. I just rolled the dice badly on some of the folks I paid to do work. I never once complained or asked for my money back because I’m not that guy. I tried to go with the “extreme budget” option and in the end, I paid the price. If there is one lesson I’ve learned working on the truck it is that the inexpensive option is almost never a truly viable option.

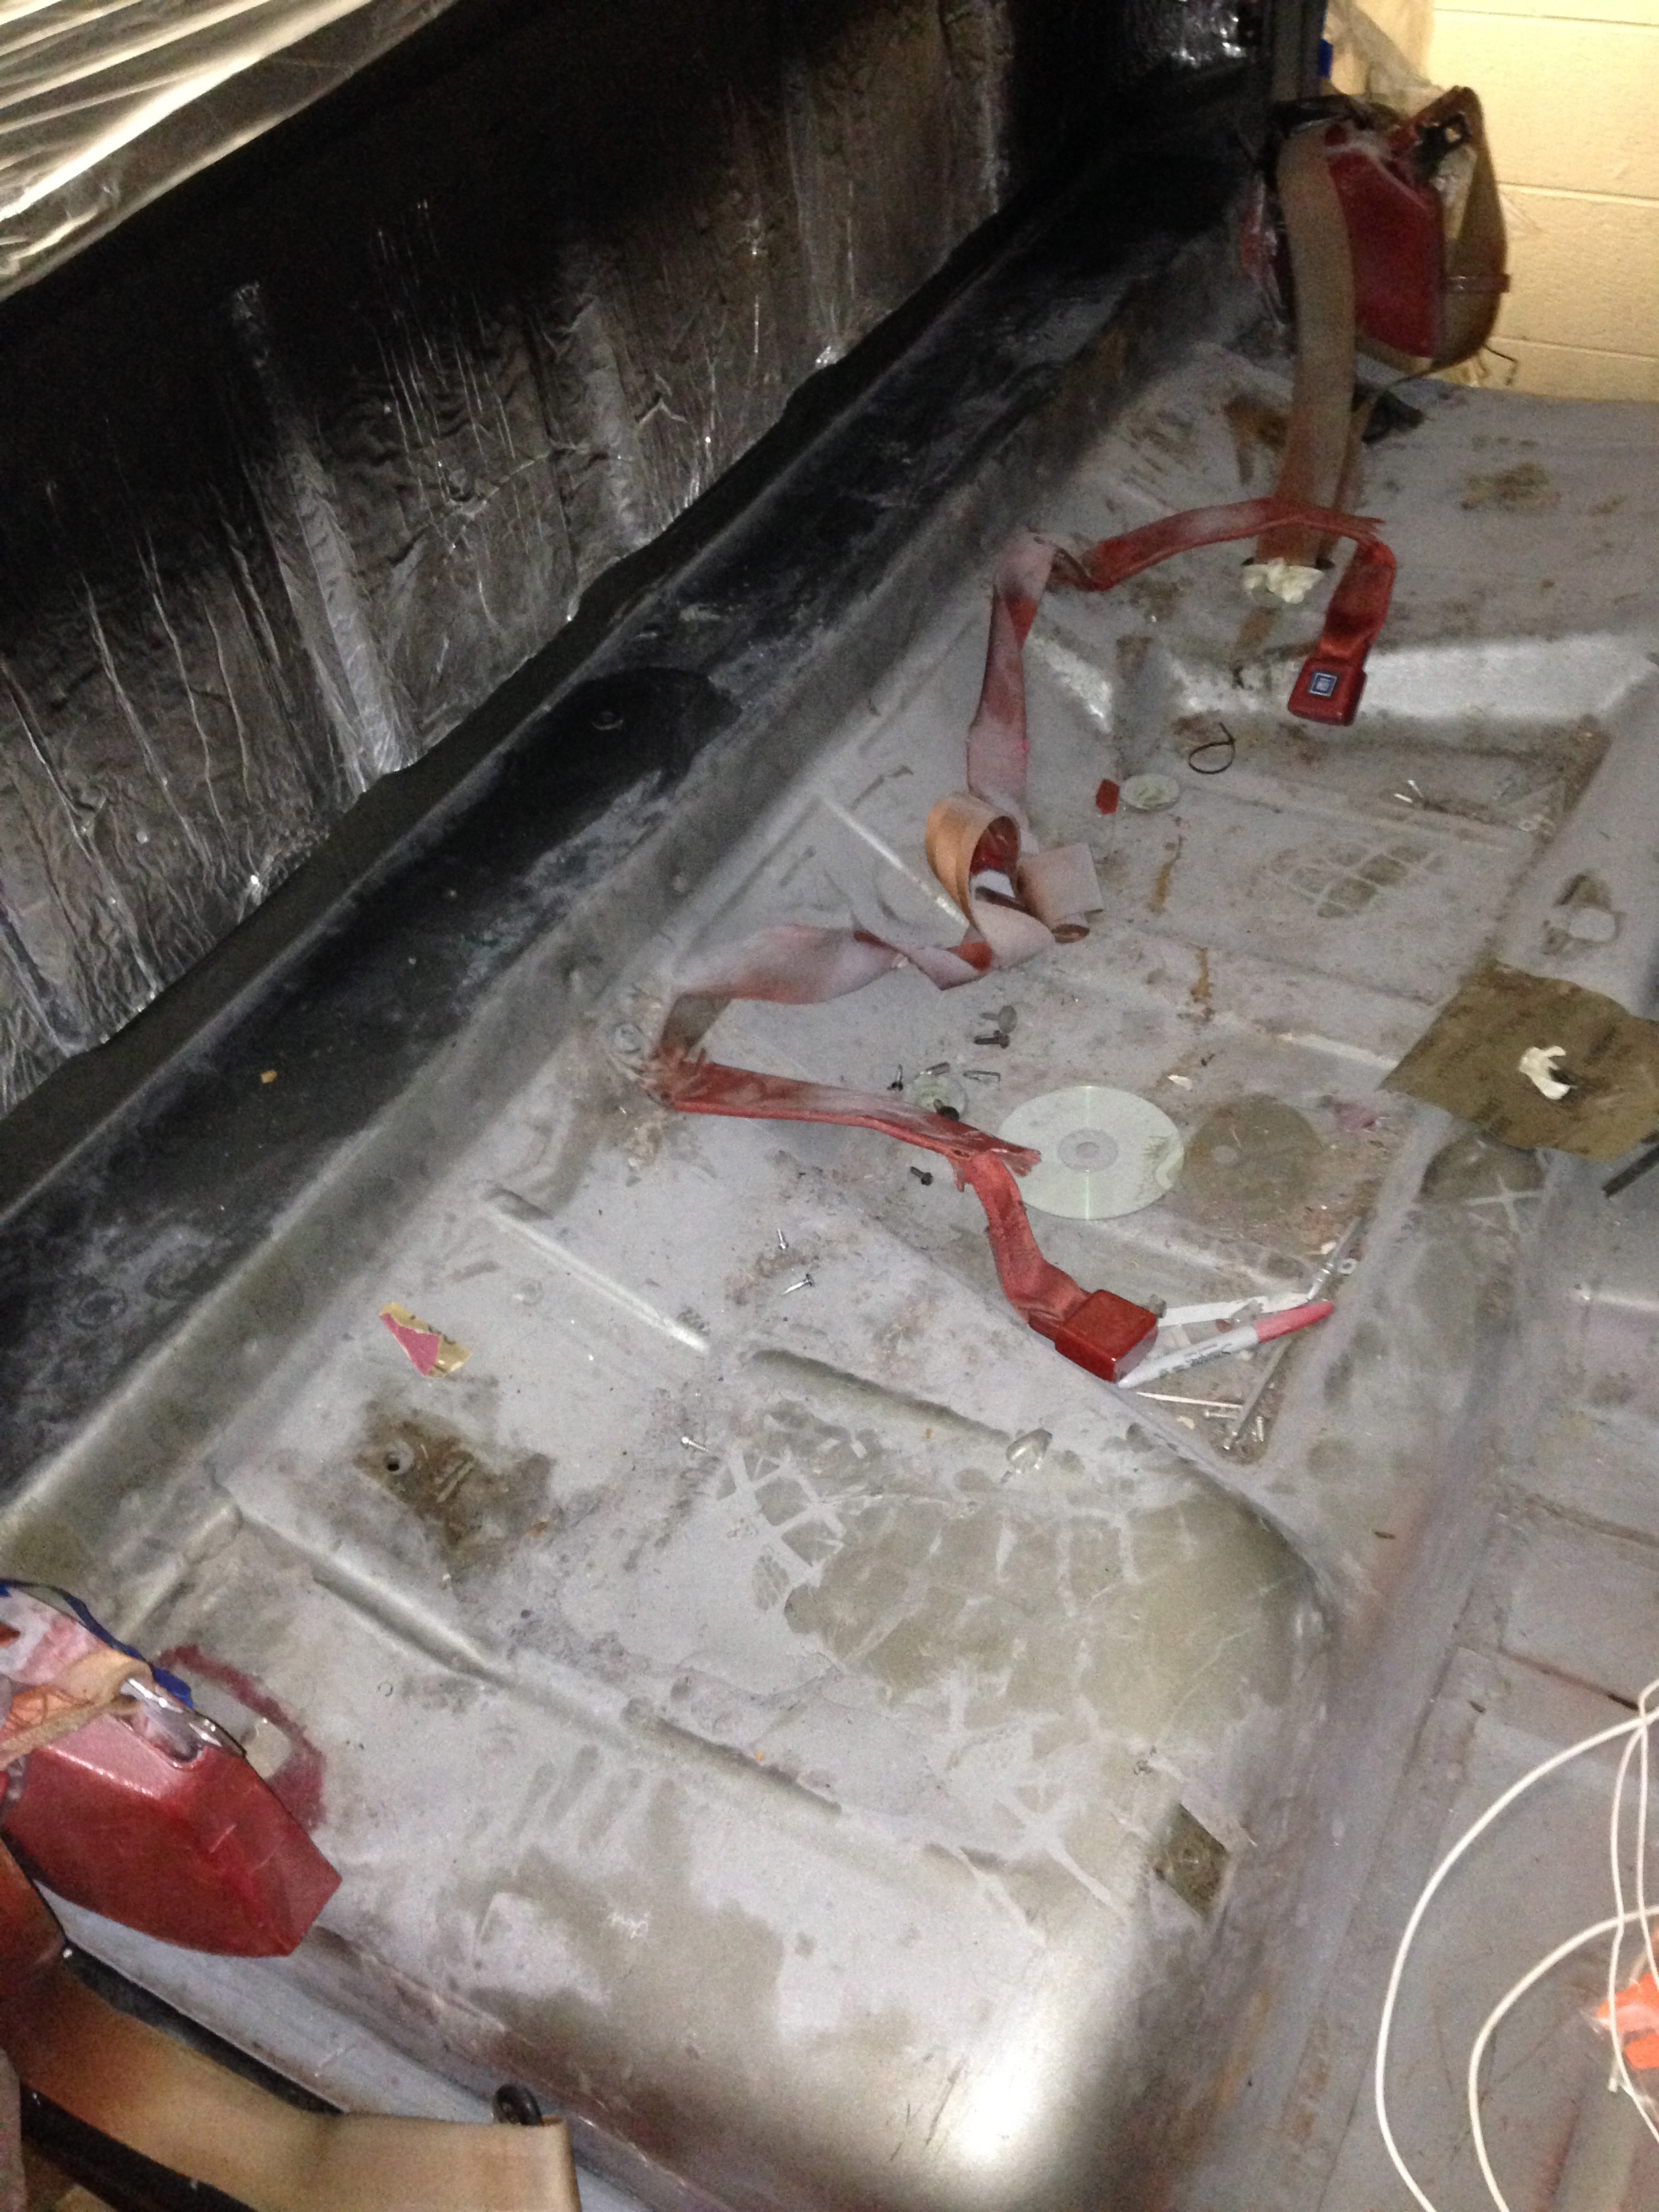
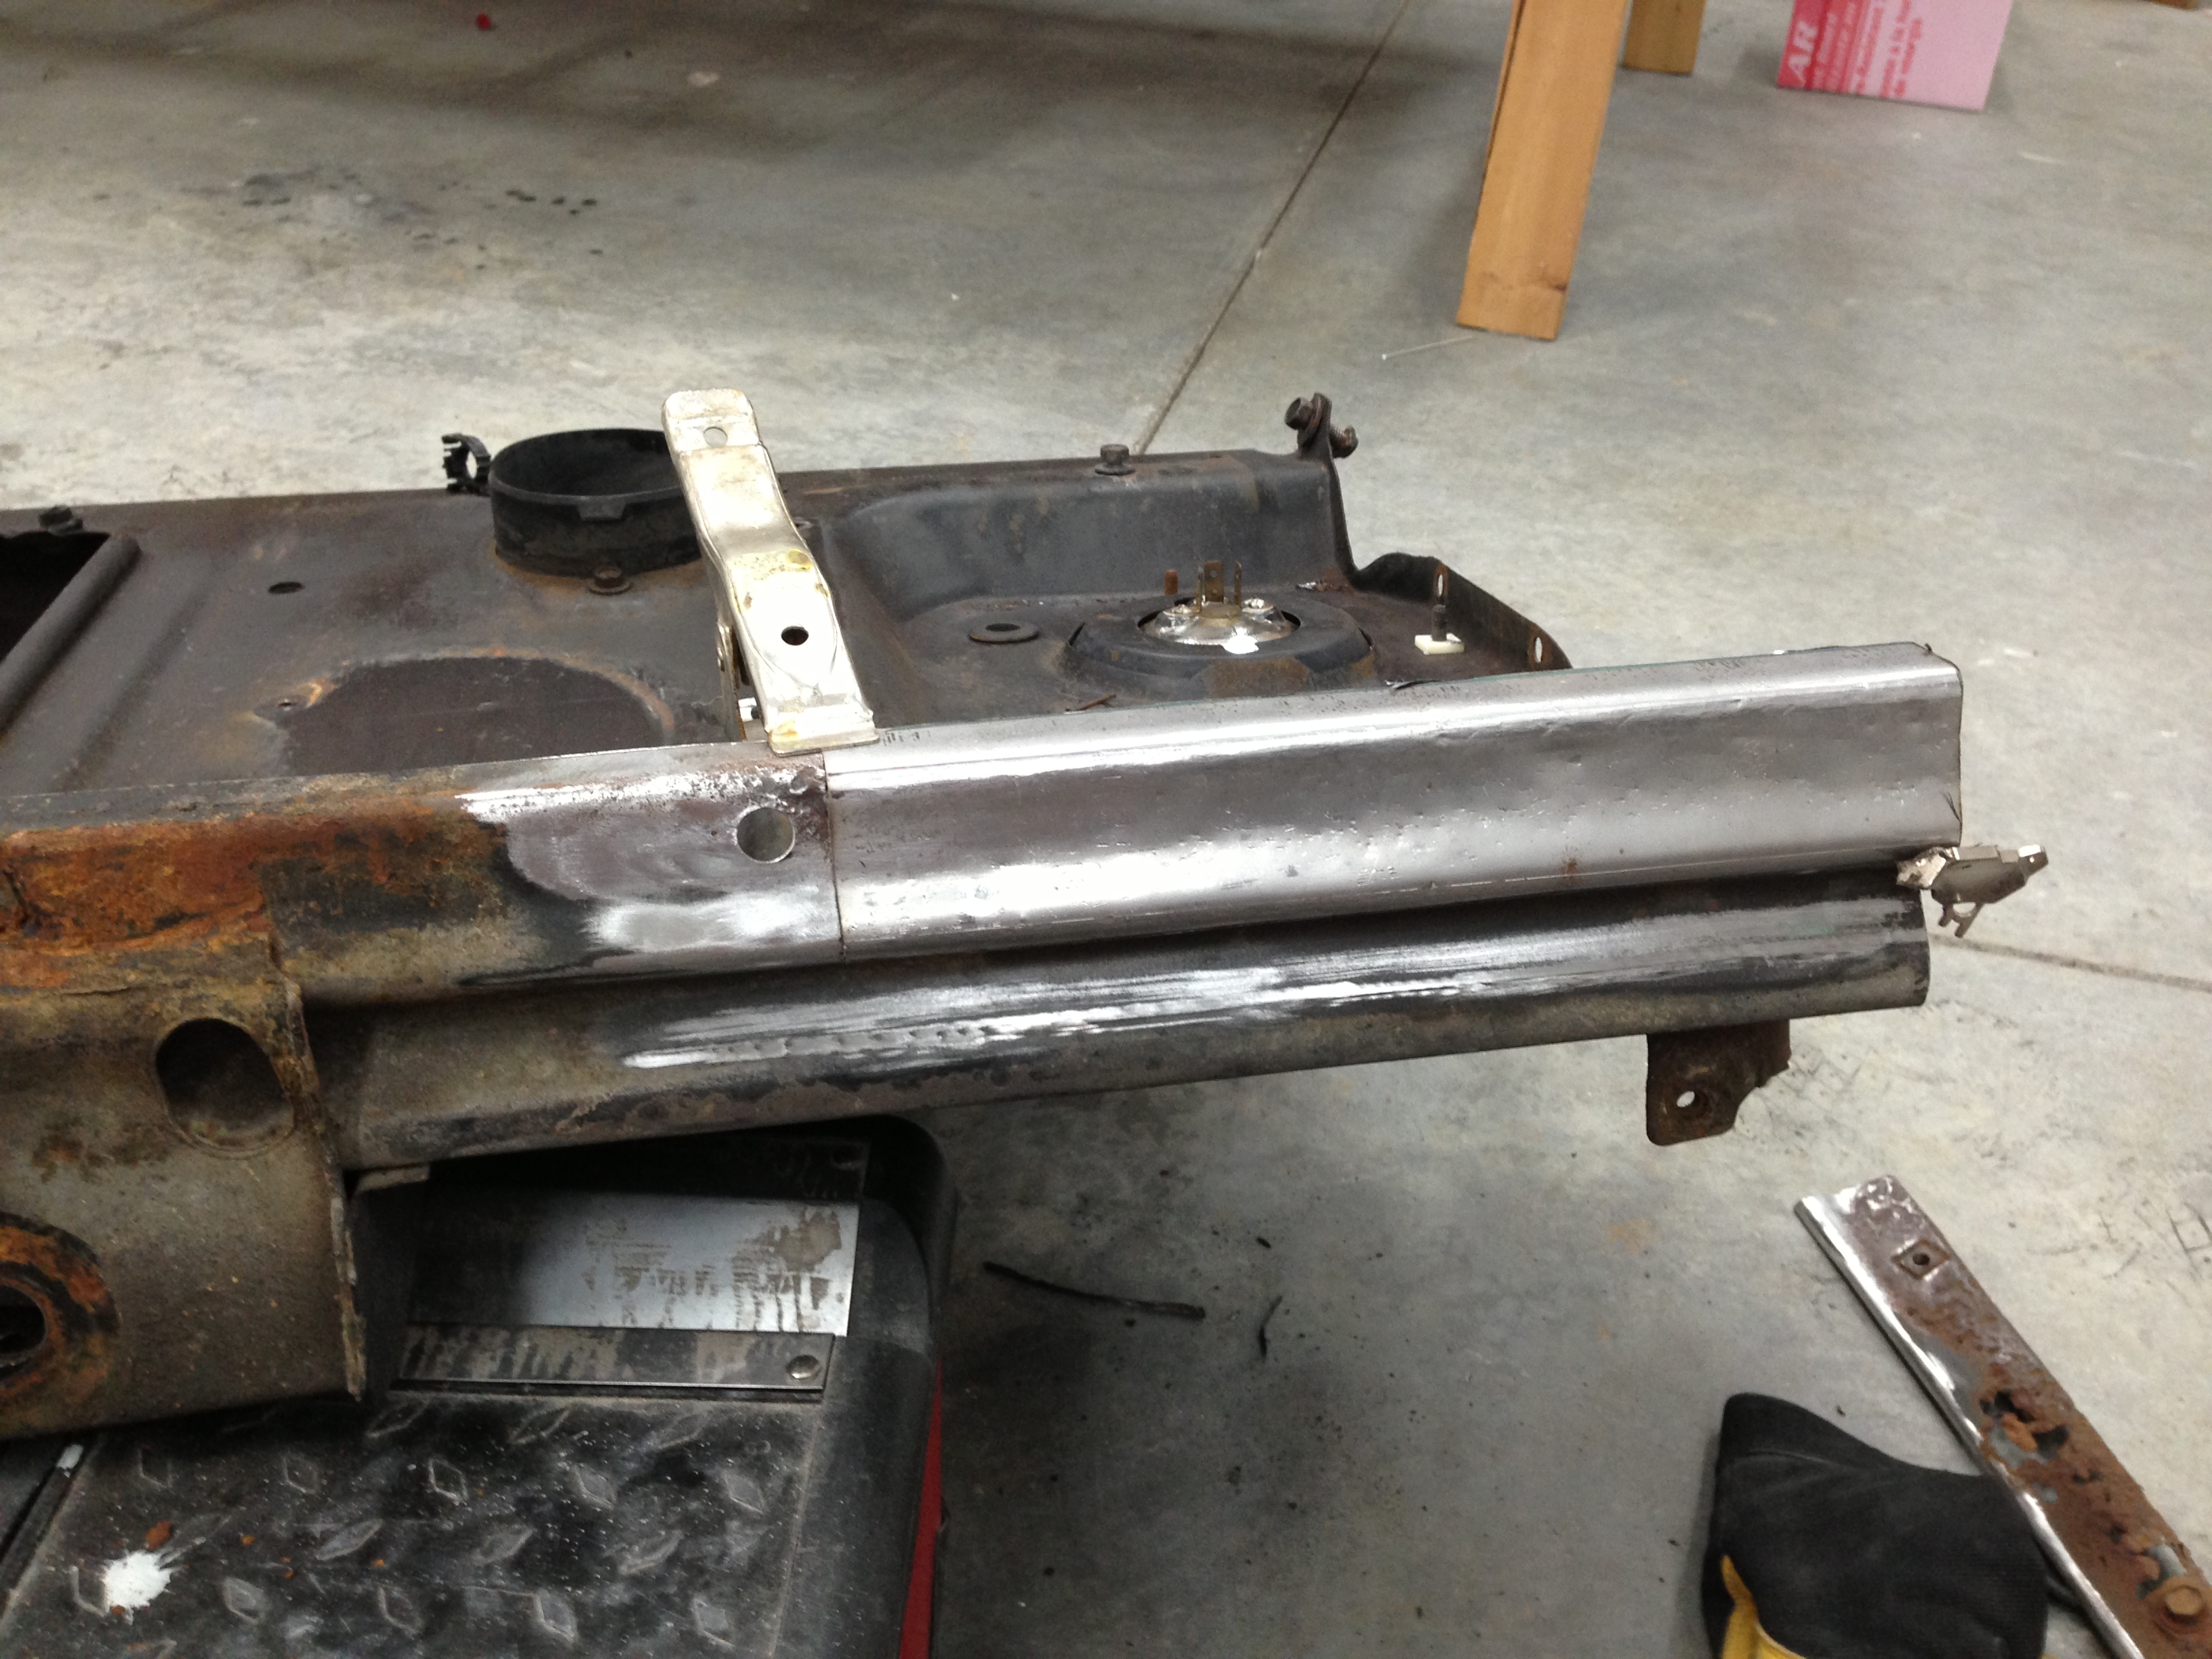
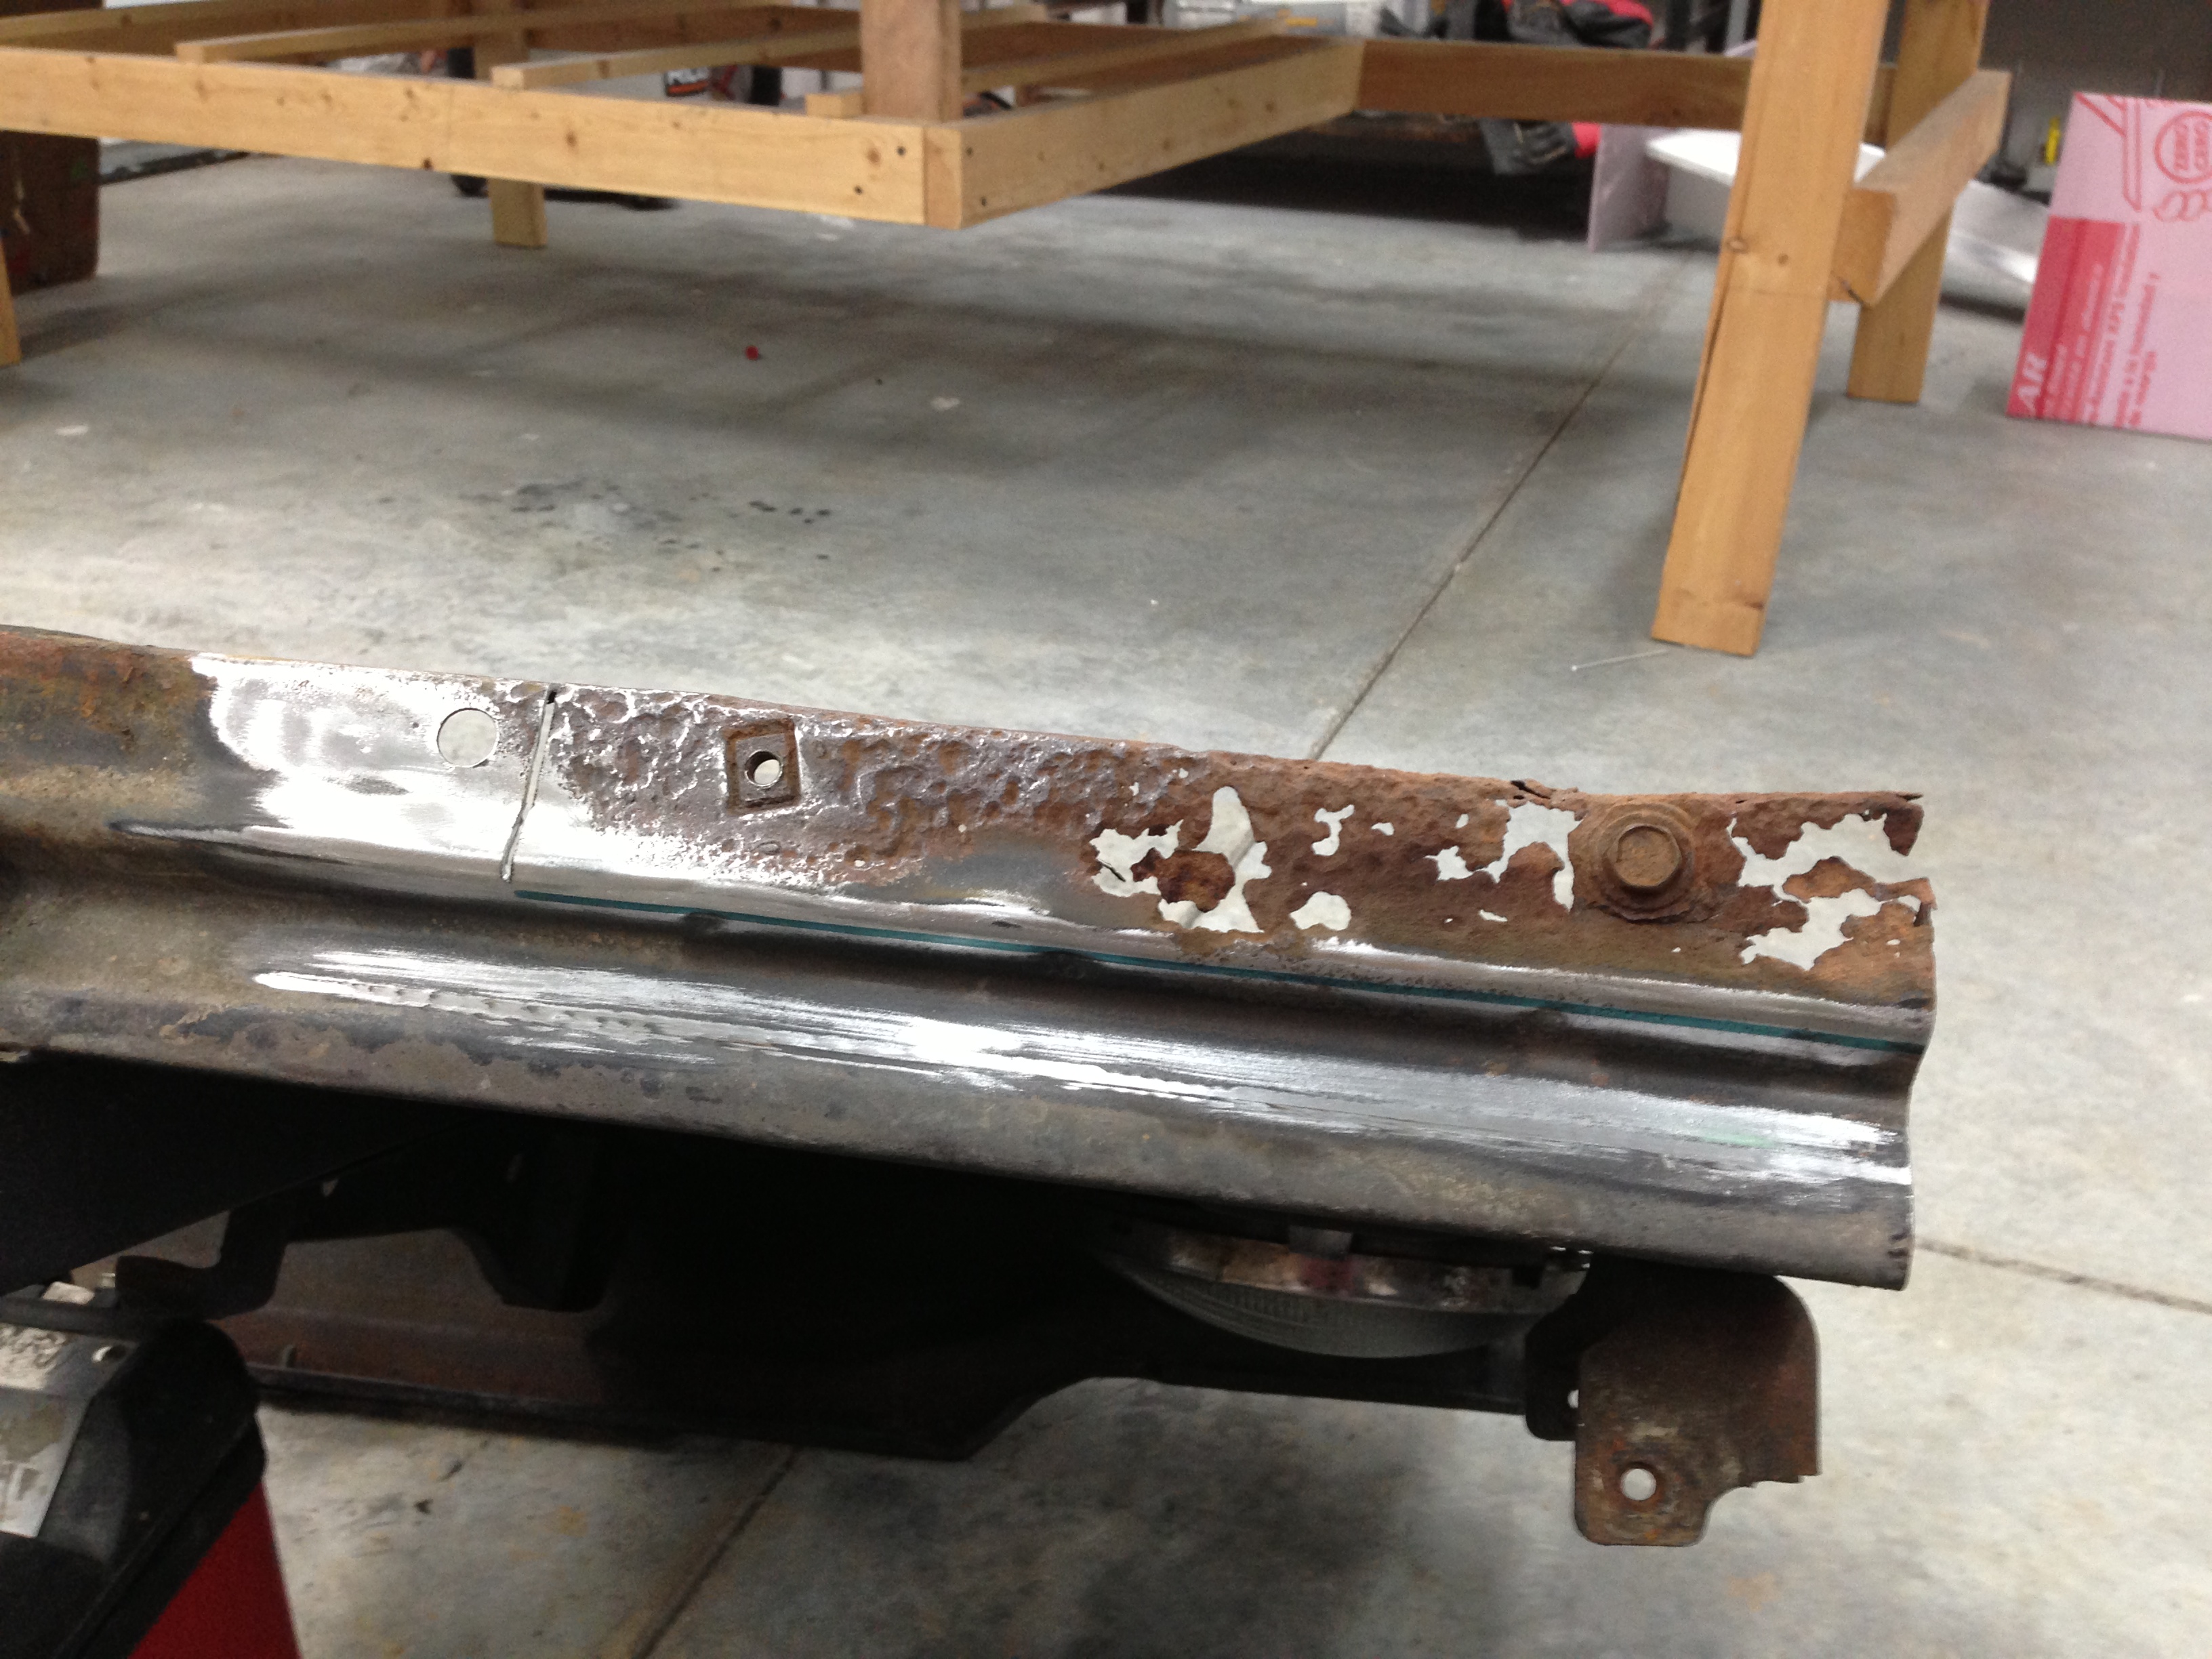
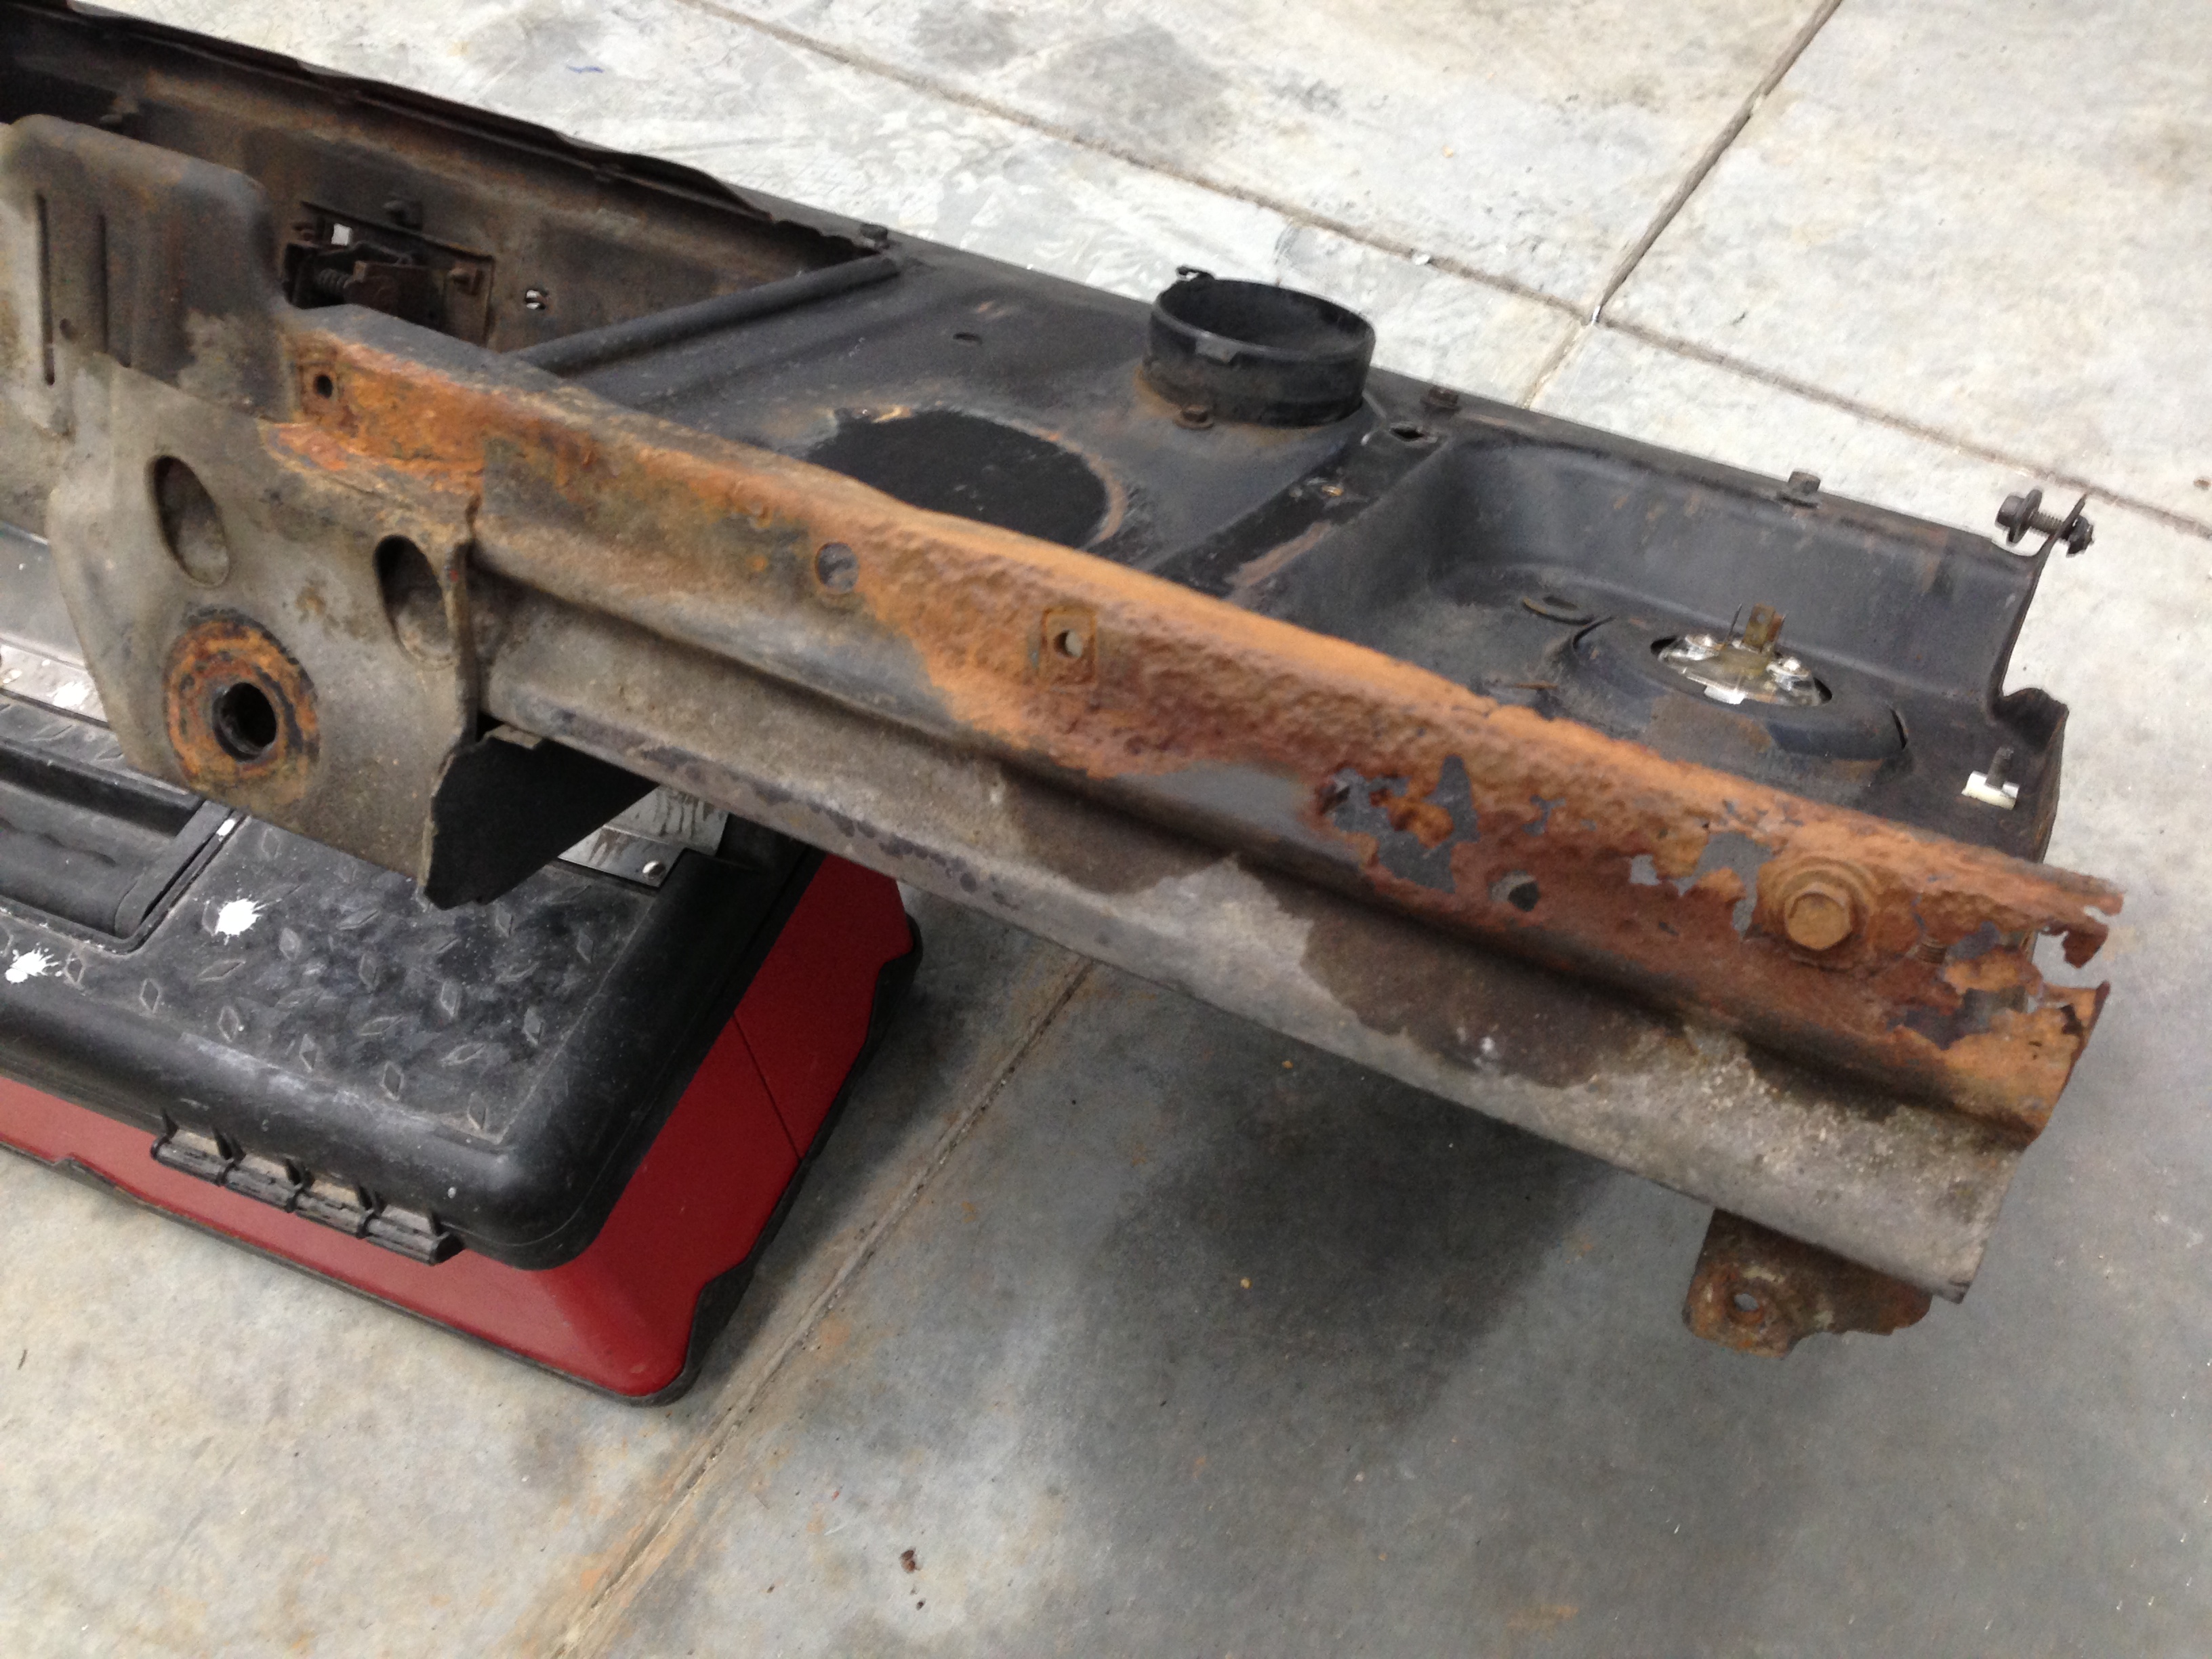
Rockers and floor pans

Background: I paid a guy $600ish bucks plus the cost of the panels to replace the old floor pans and rockers and put in the new ones. This turned out to be a really big mistake. Cosmetically they are pretty bad, but considering the price, I can accept that. The part that still gets me heated is how terrible from a structural standpoint they are. The inner rockers literally fell out because they were never actually welded in to begin with. Booger welds on the rest of it with mig wire still attached, when there were any welds at all. I have no idea what I’m going to do about this long term, but eventually they will have to be replaced one way or the other. Also his shop assistant stole my license plate while it was at his shop and got a DUI. That was an interesting phone call.
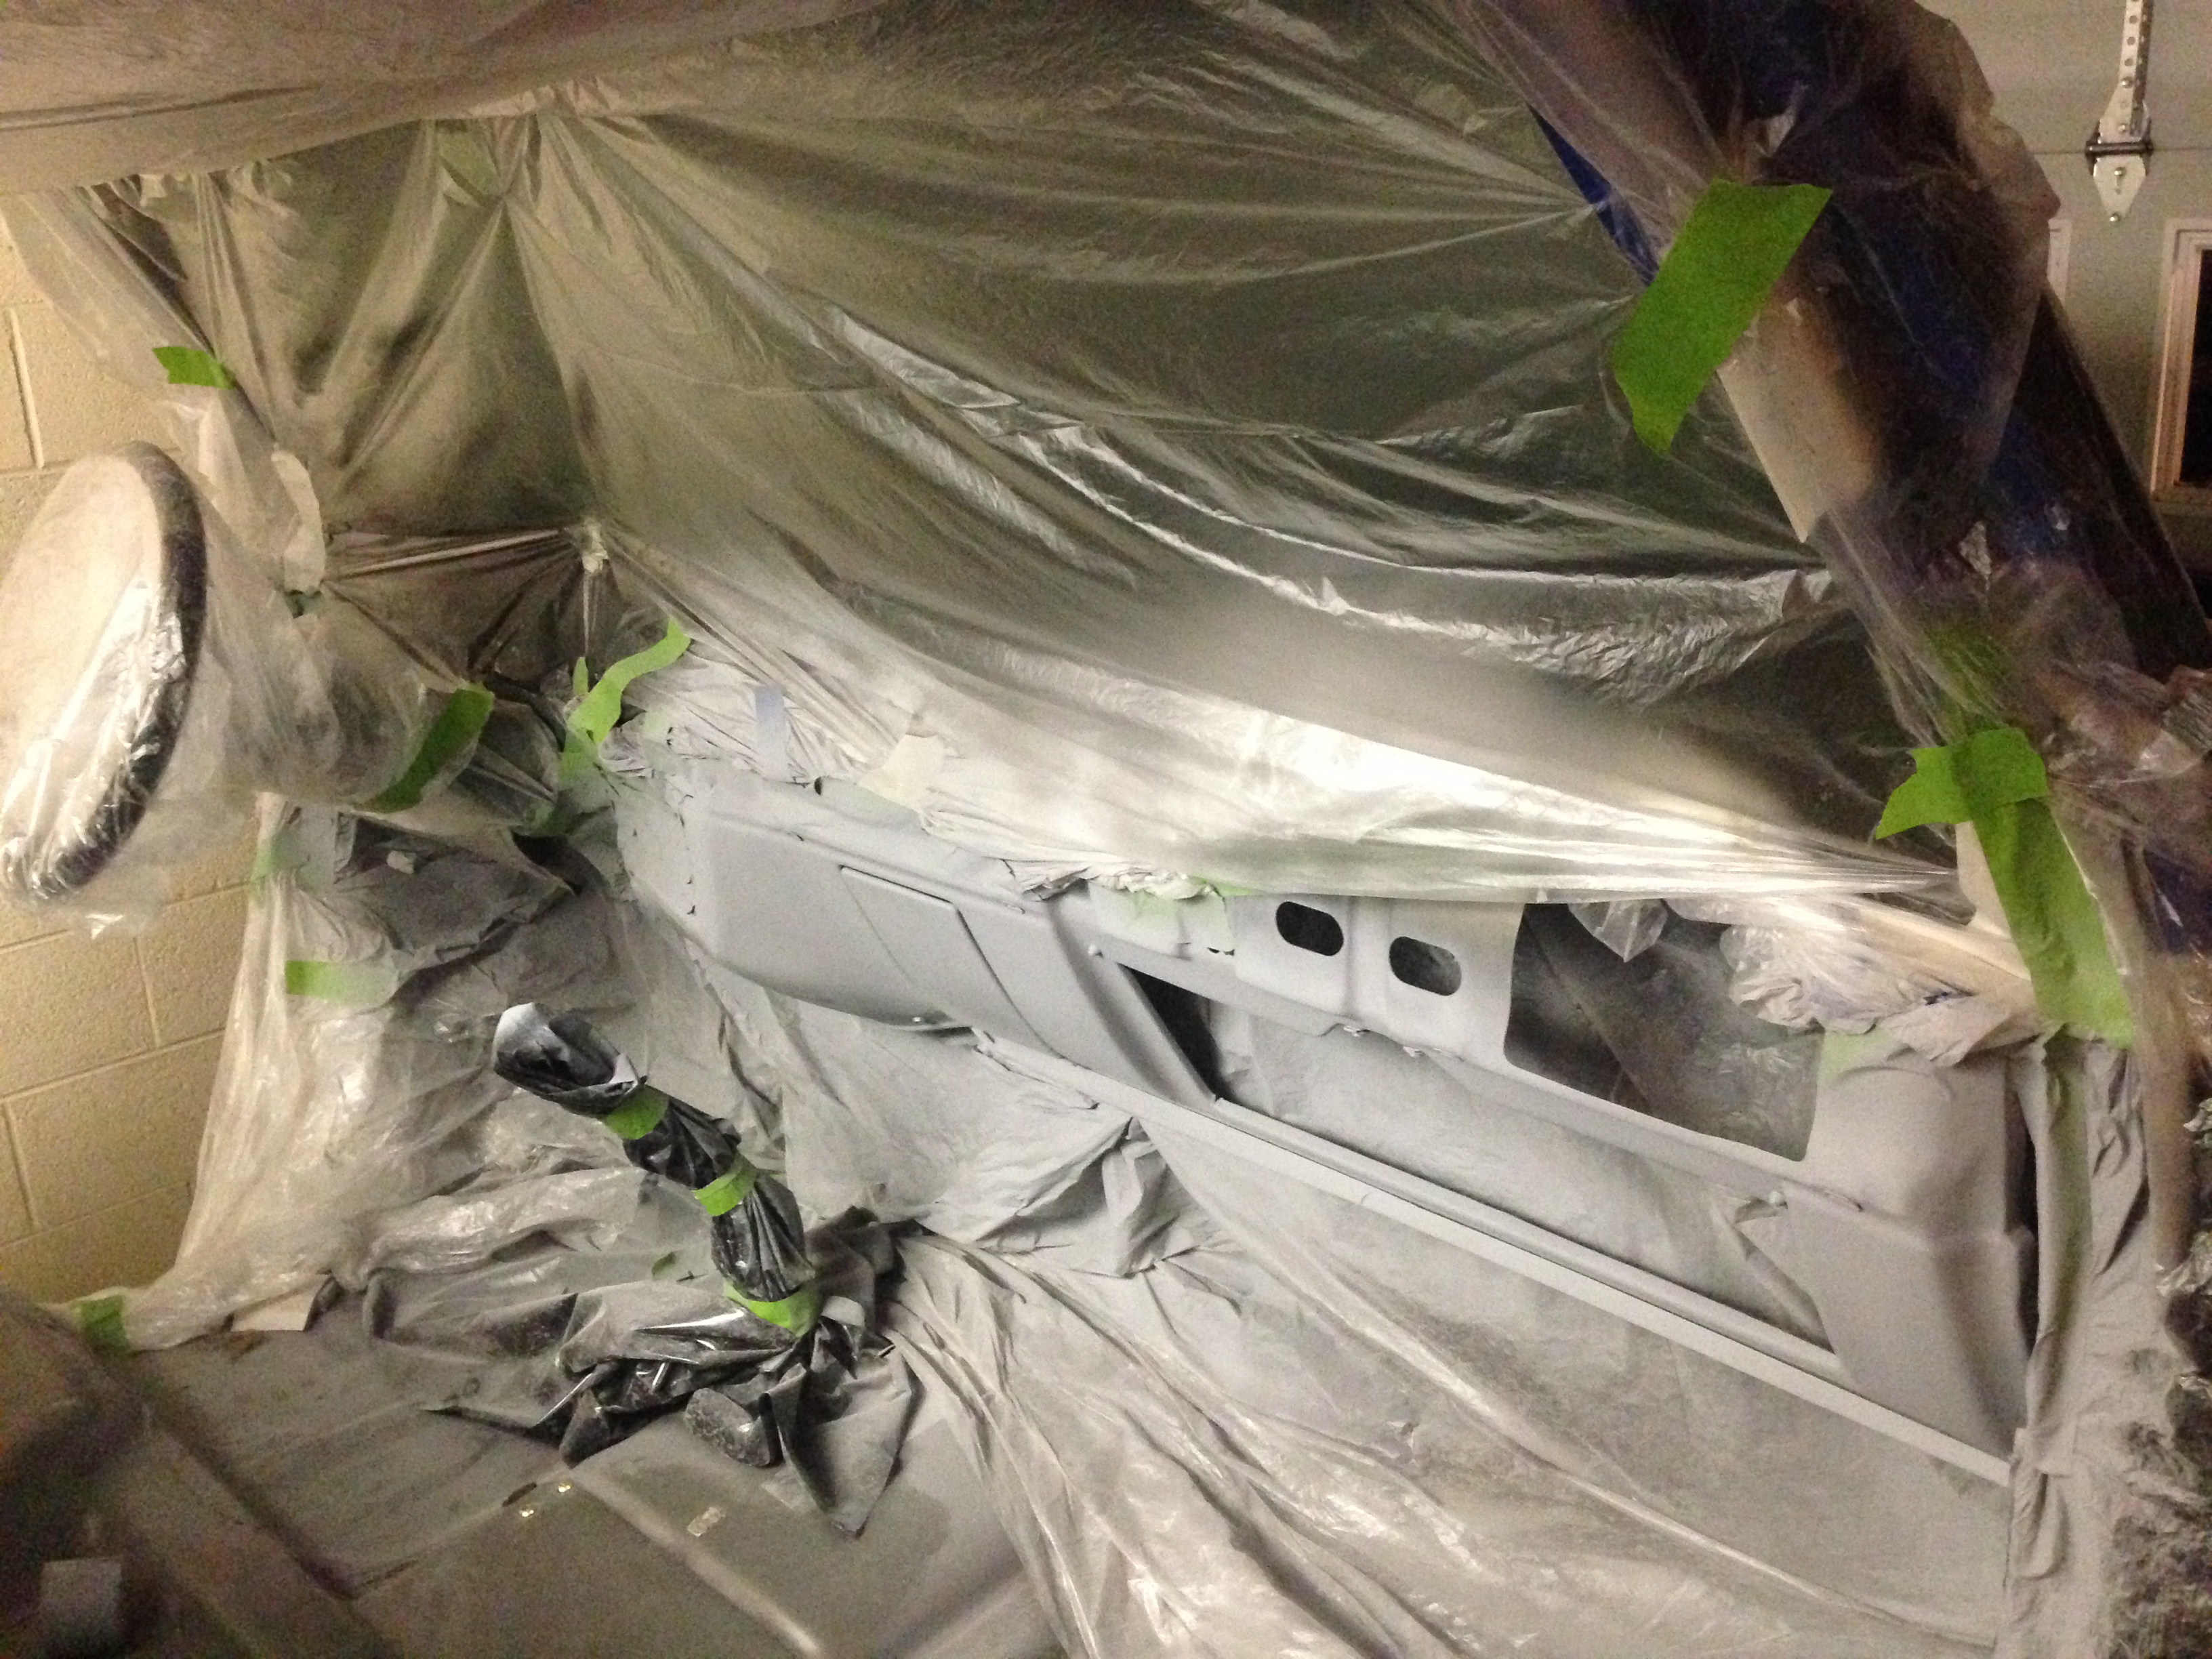
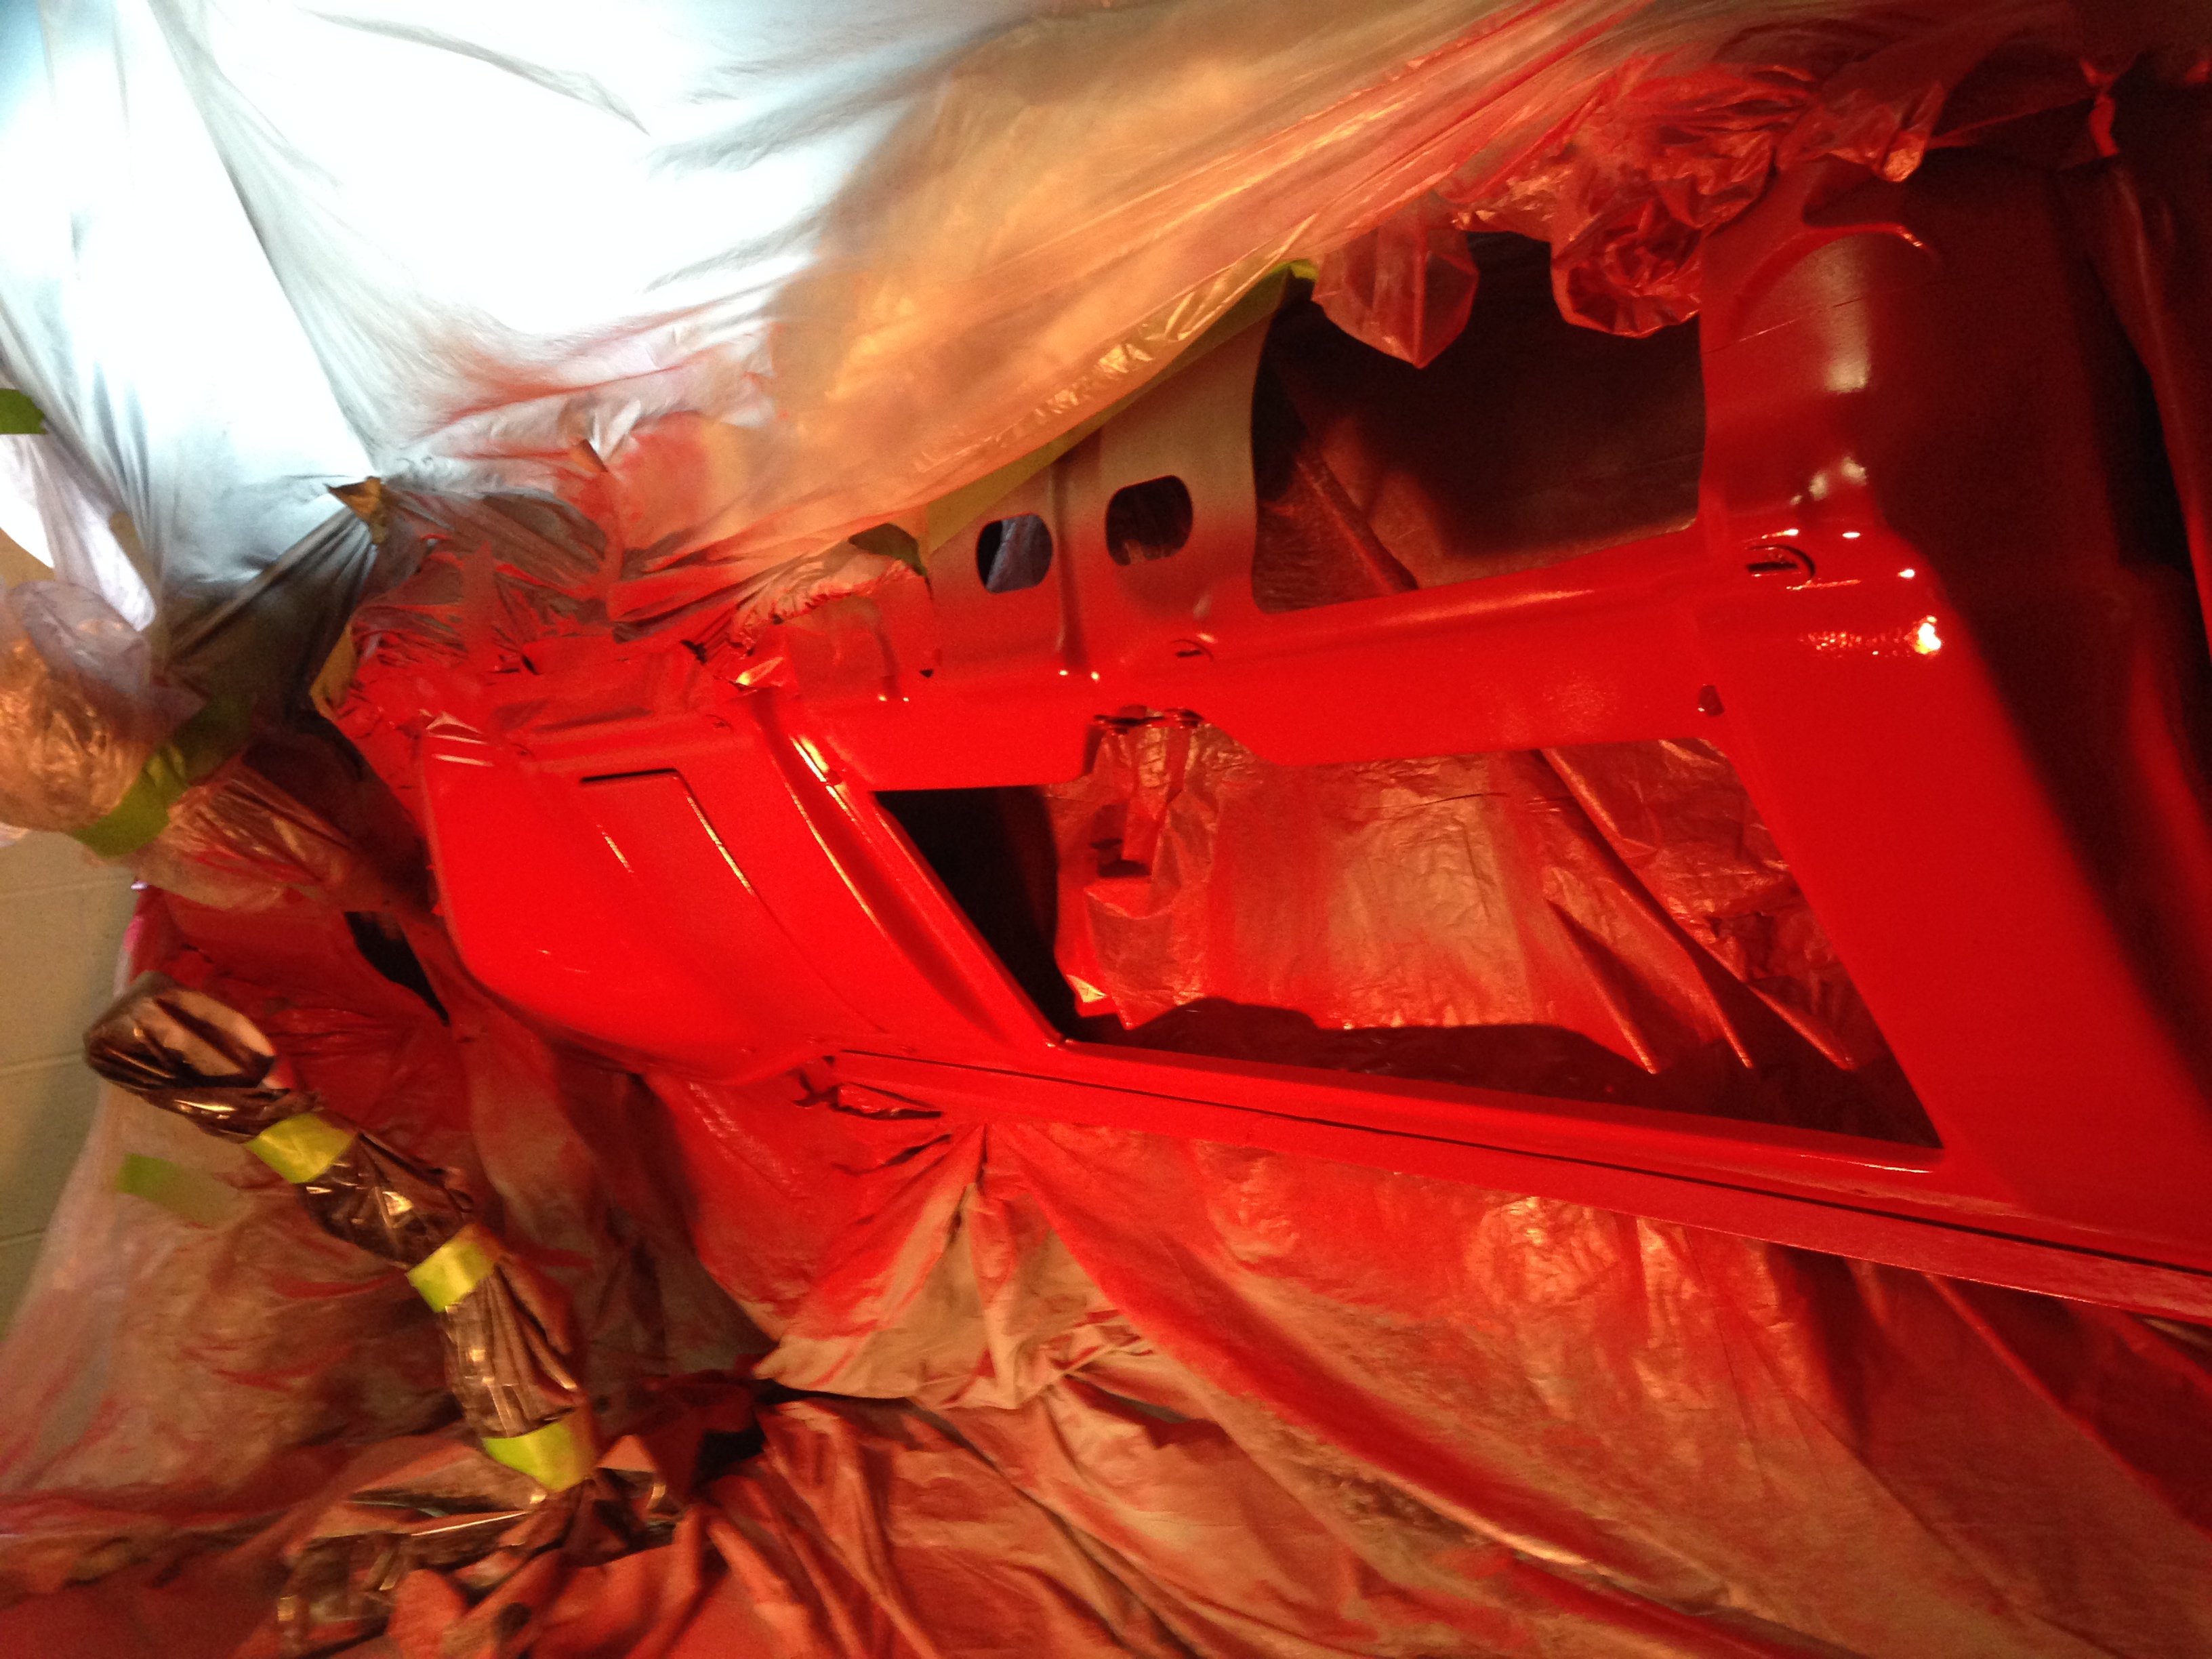
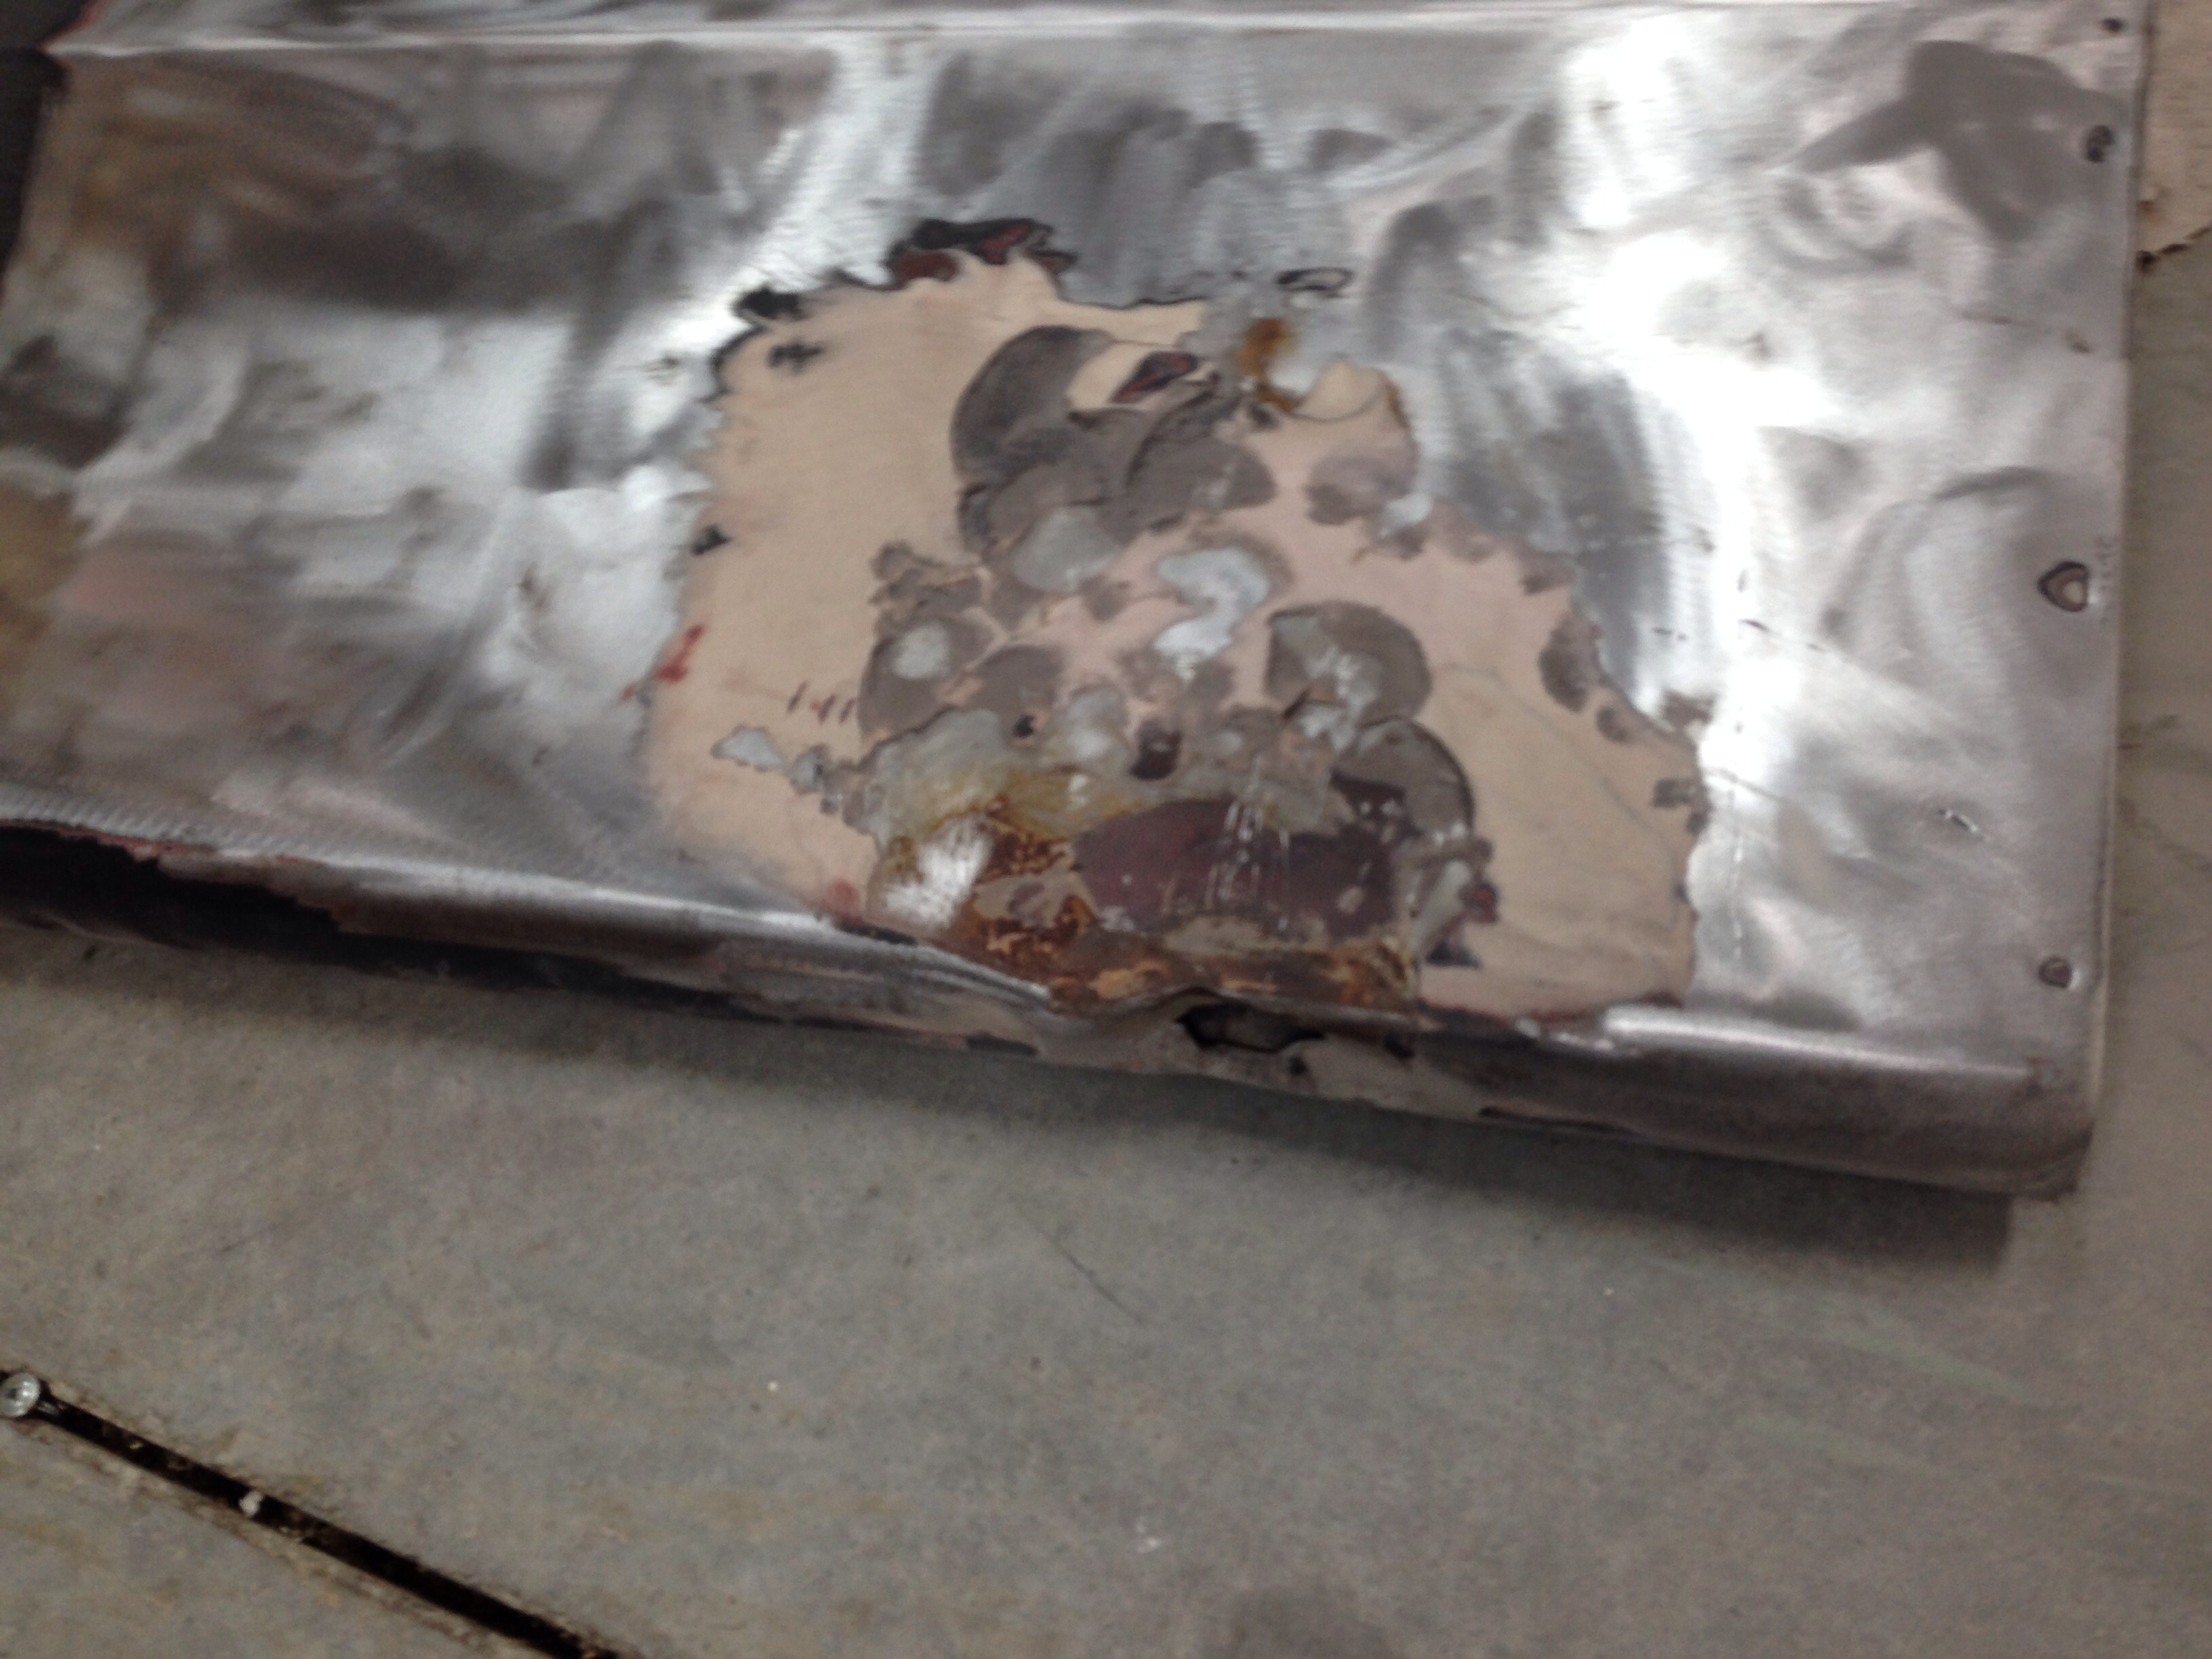
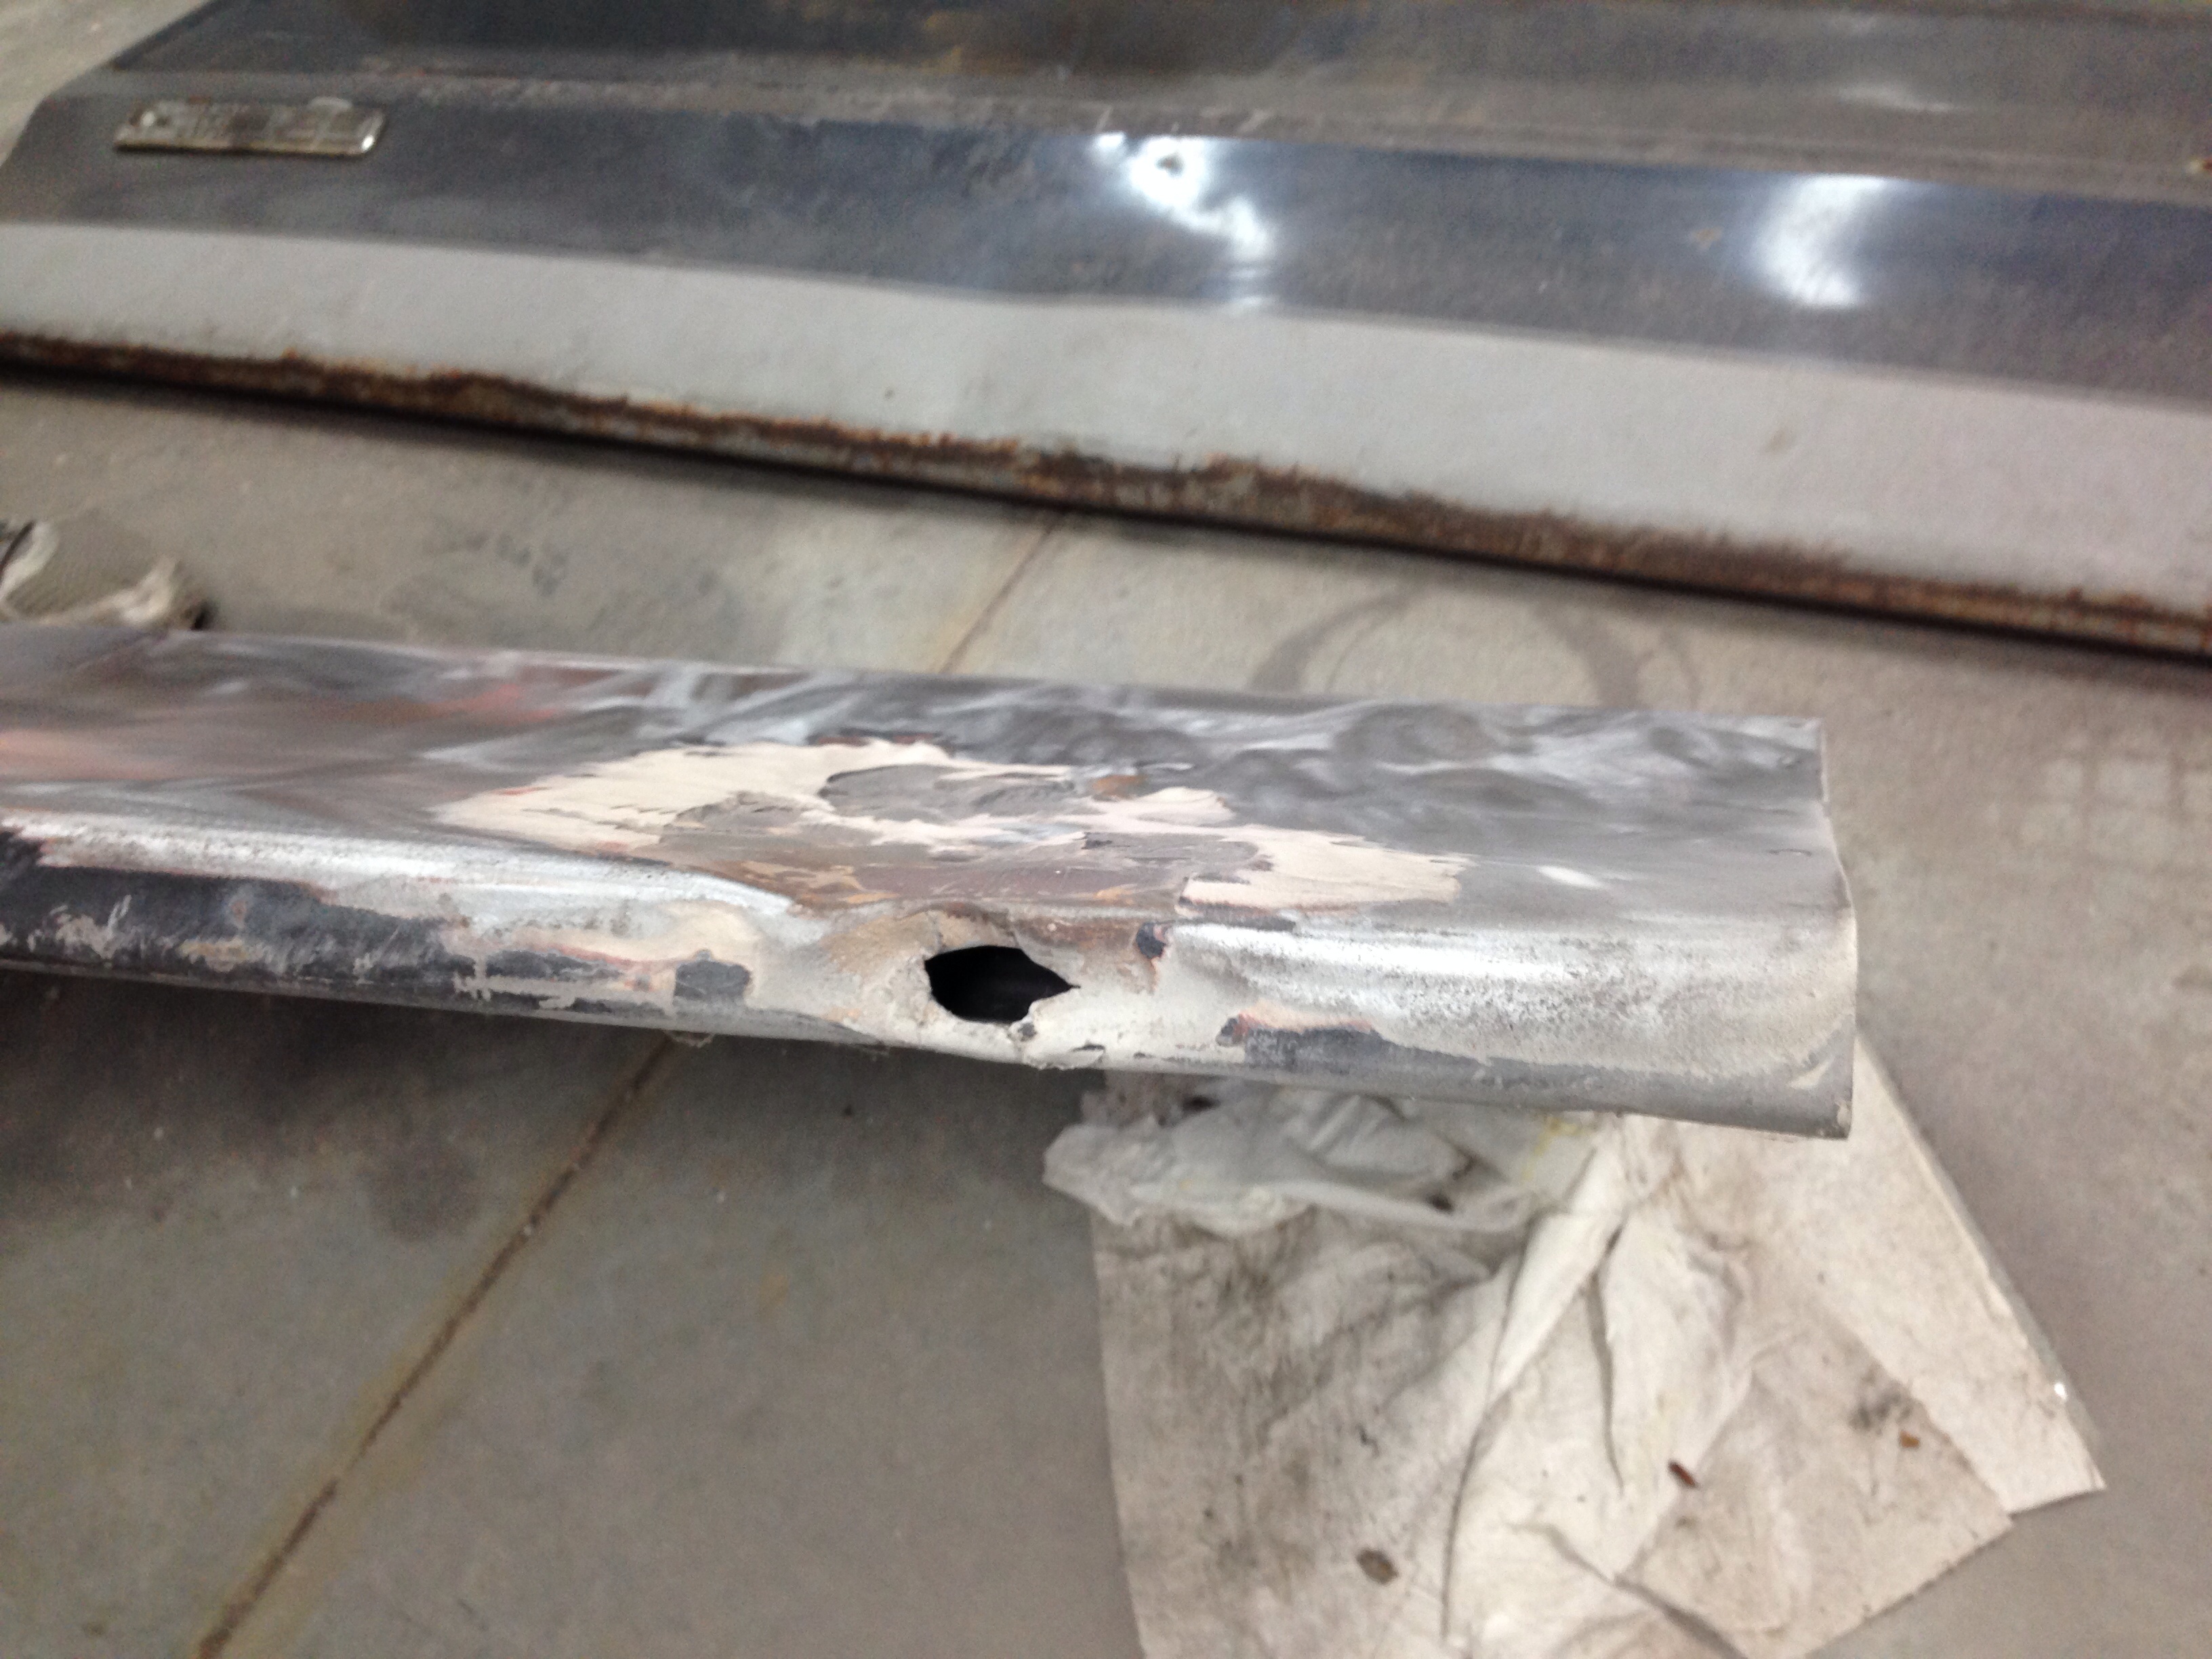
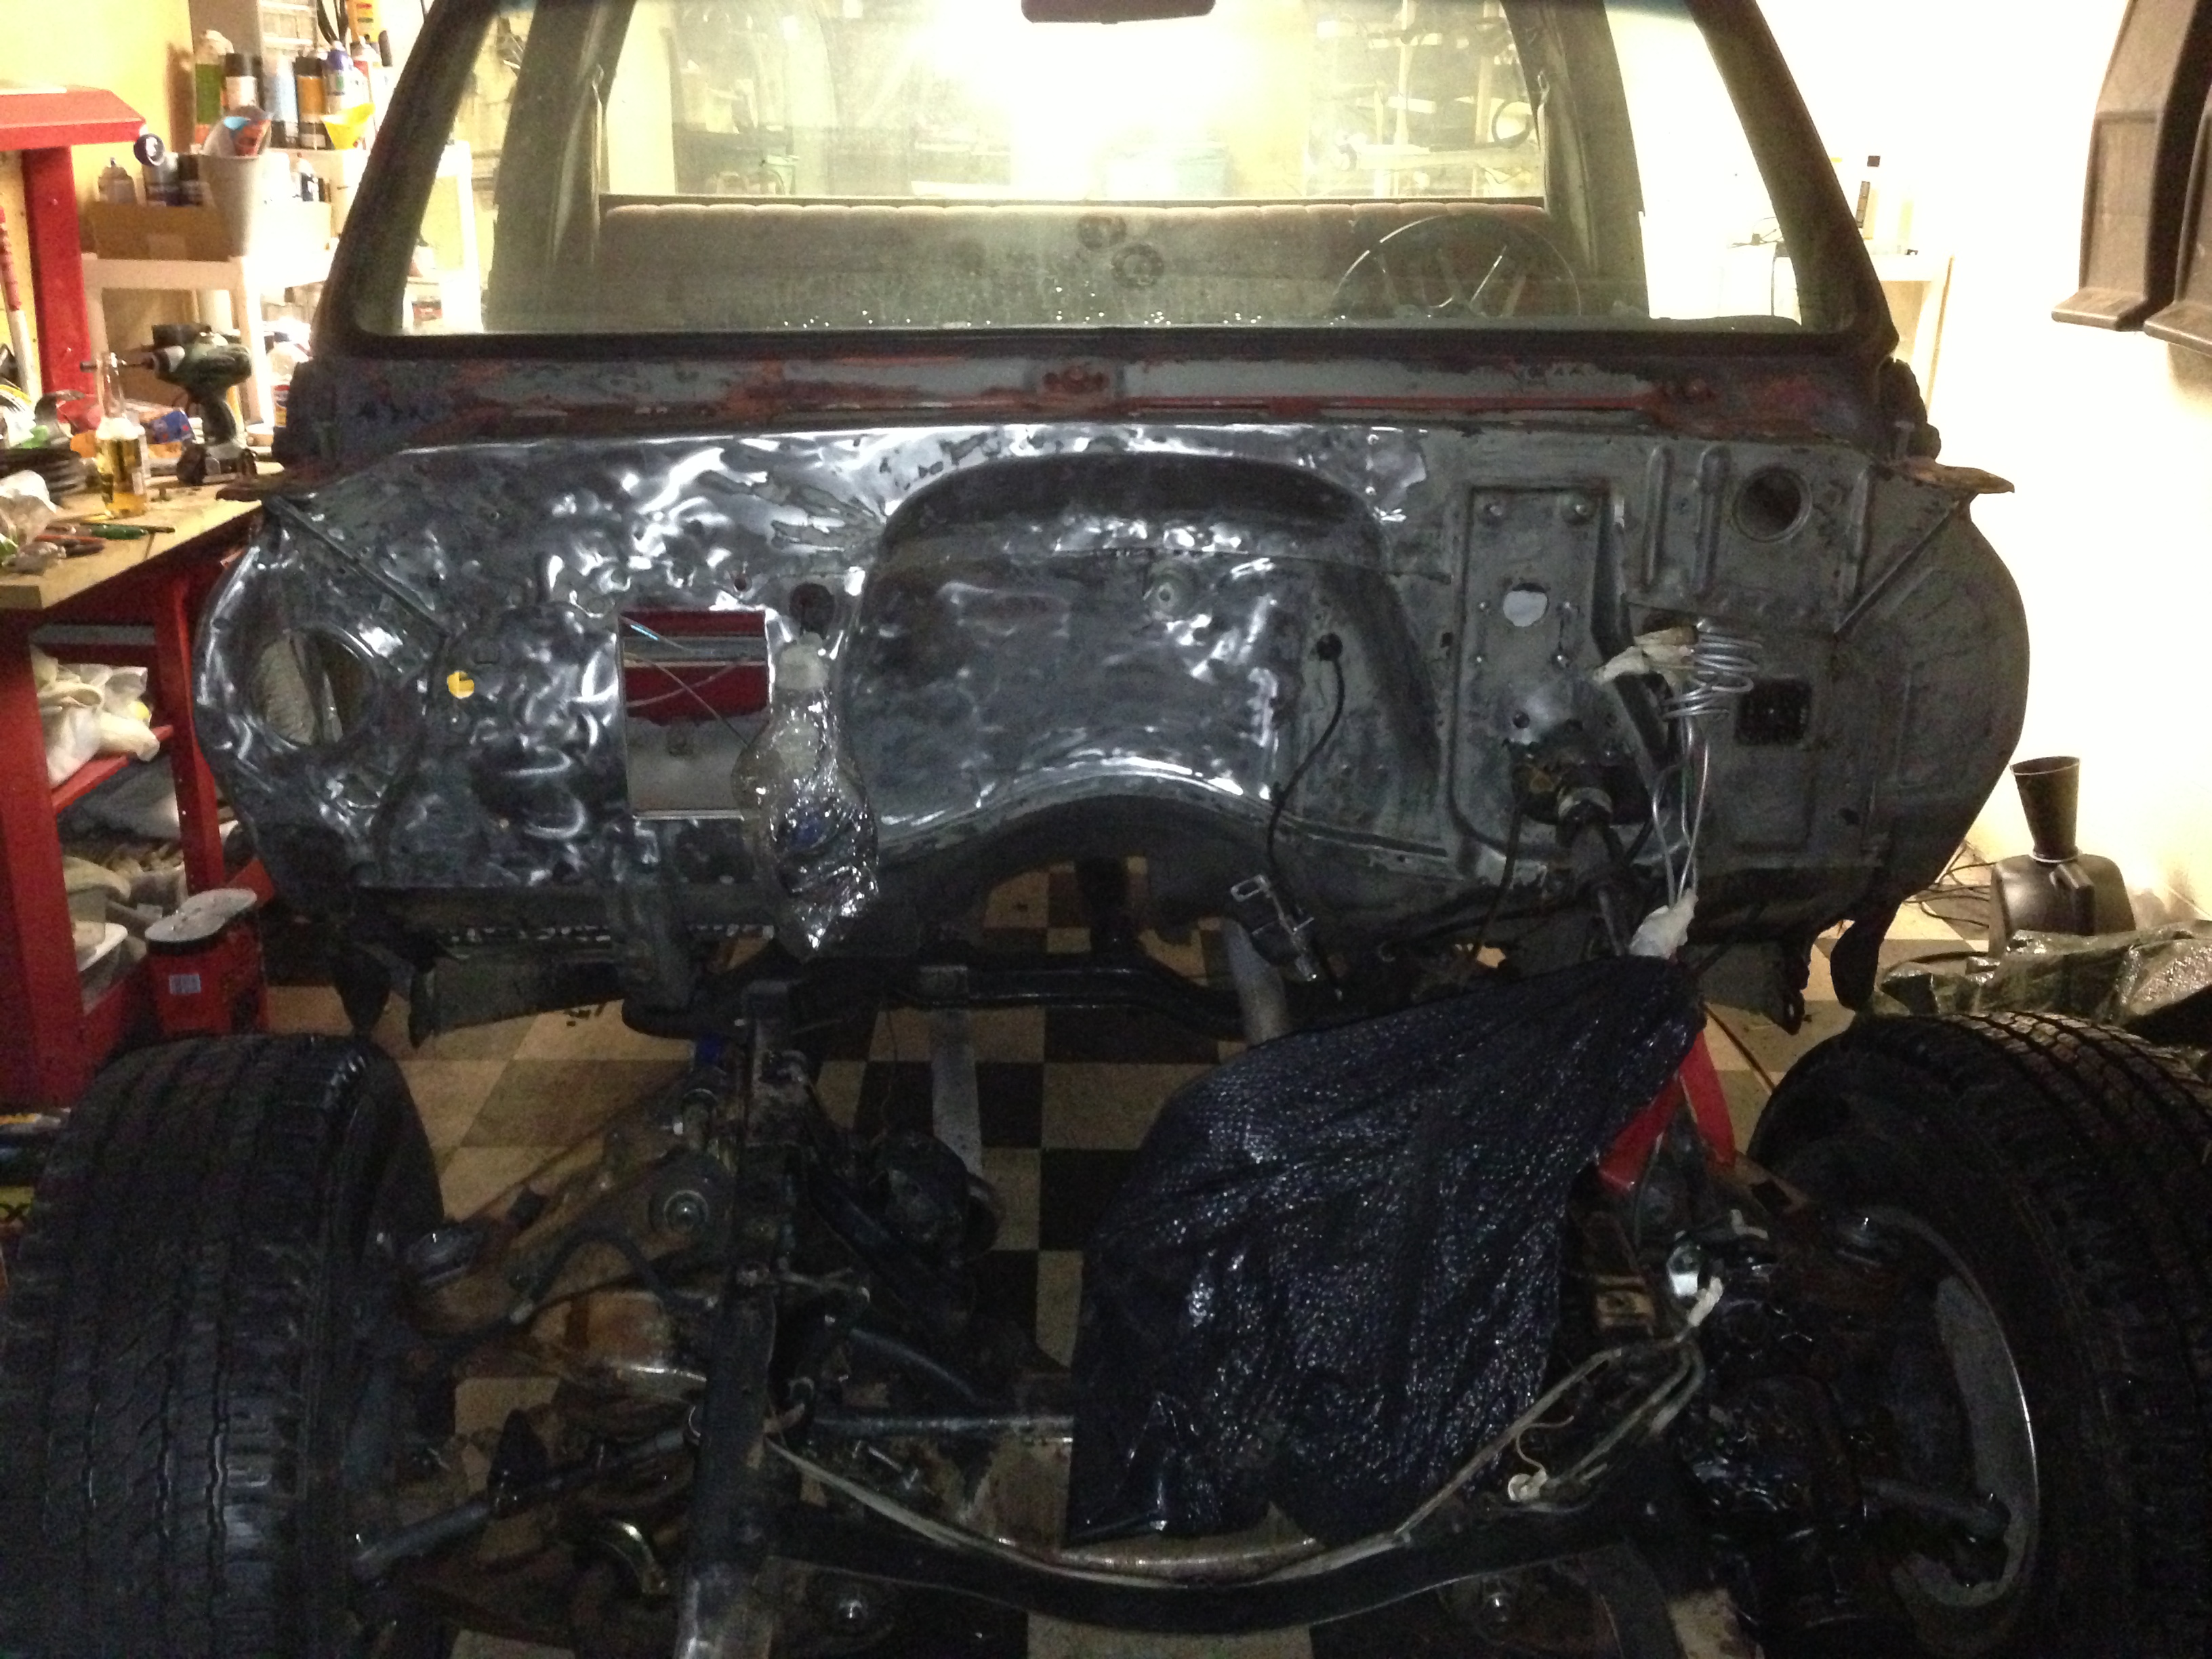
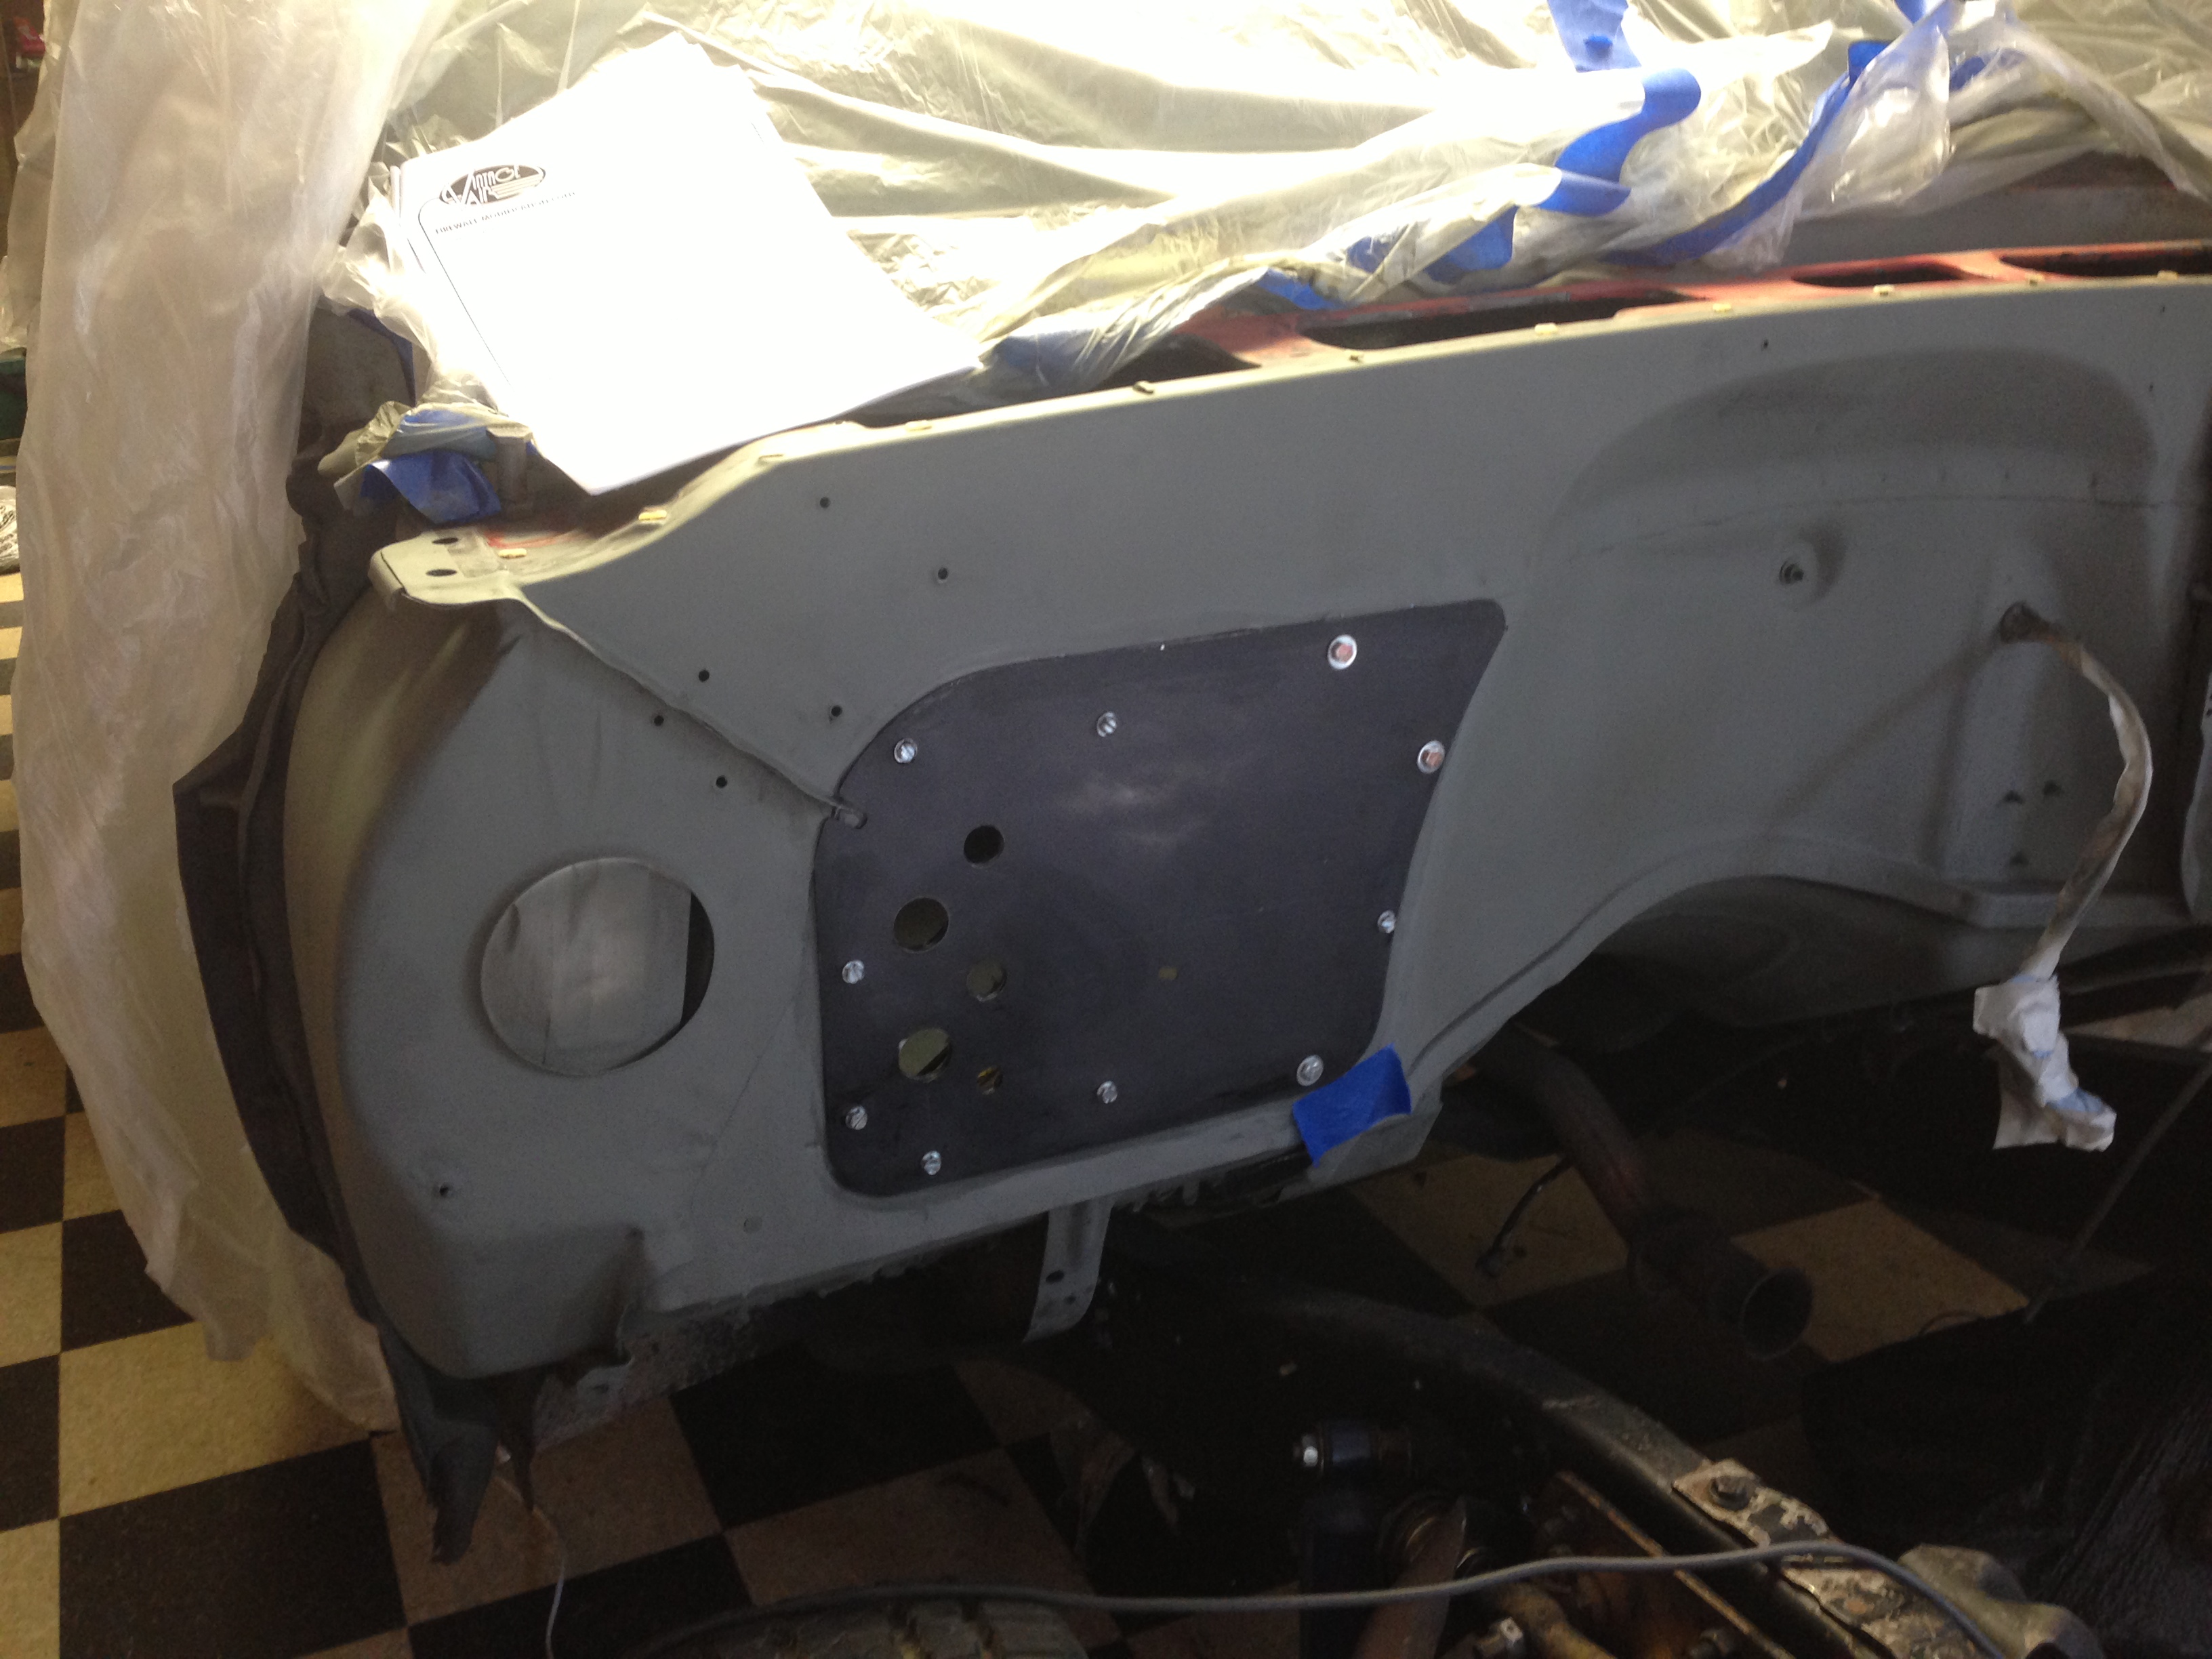
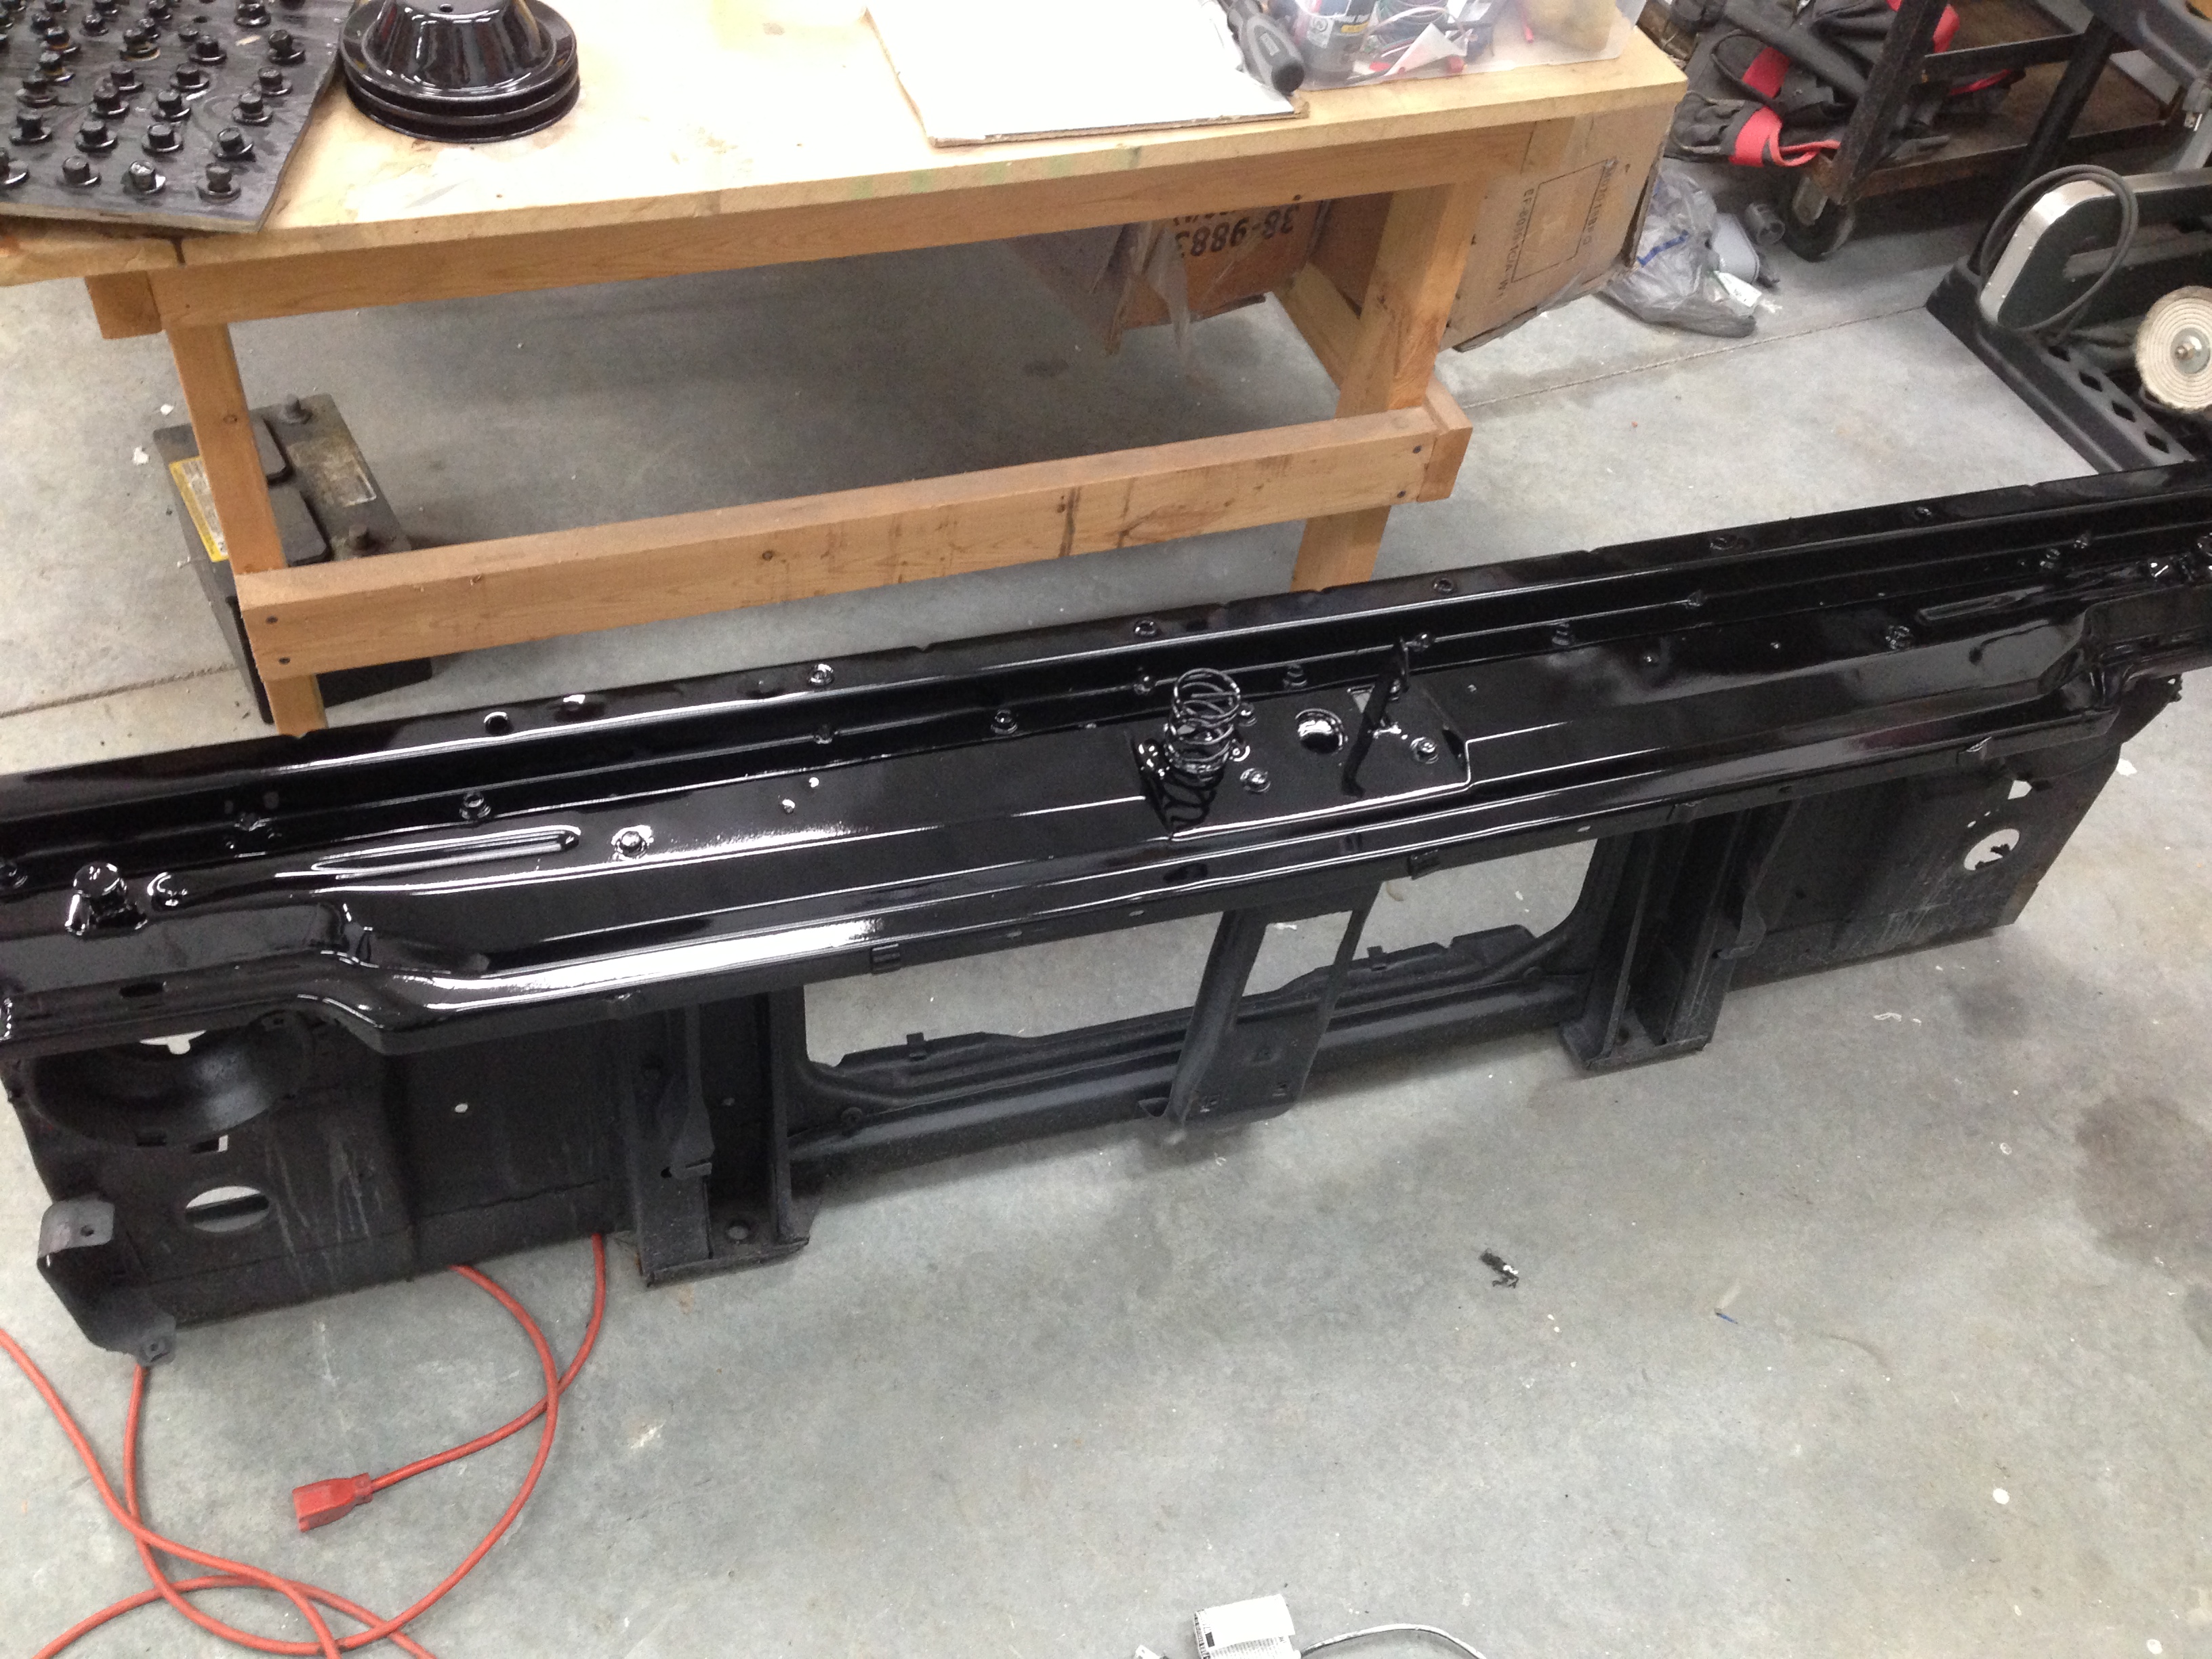
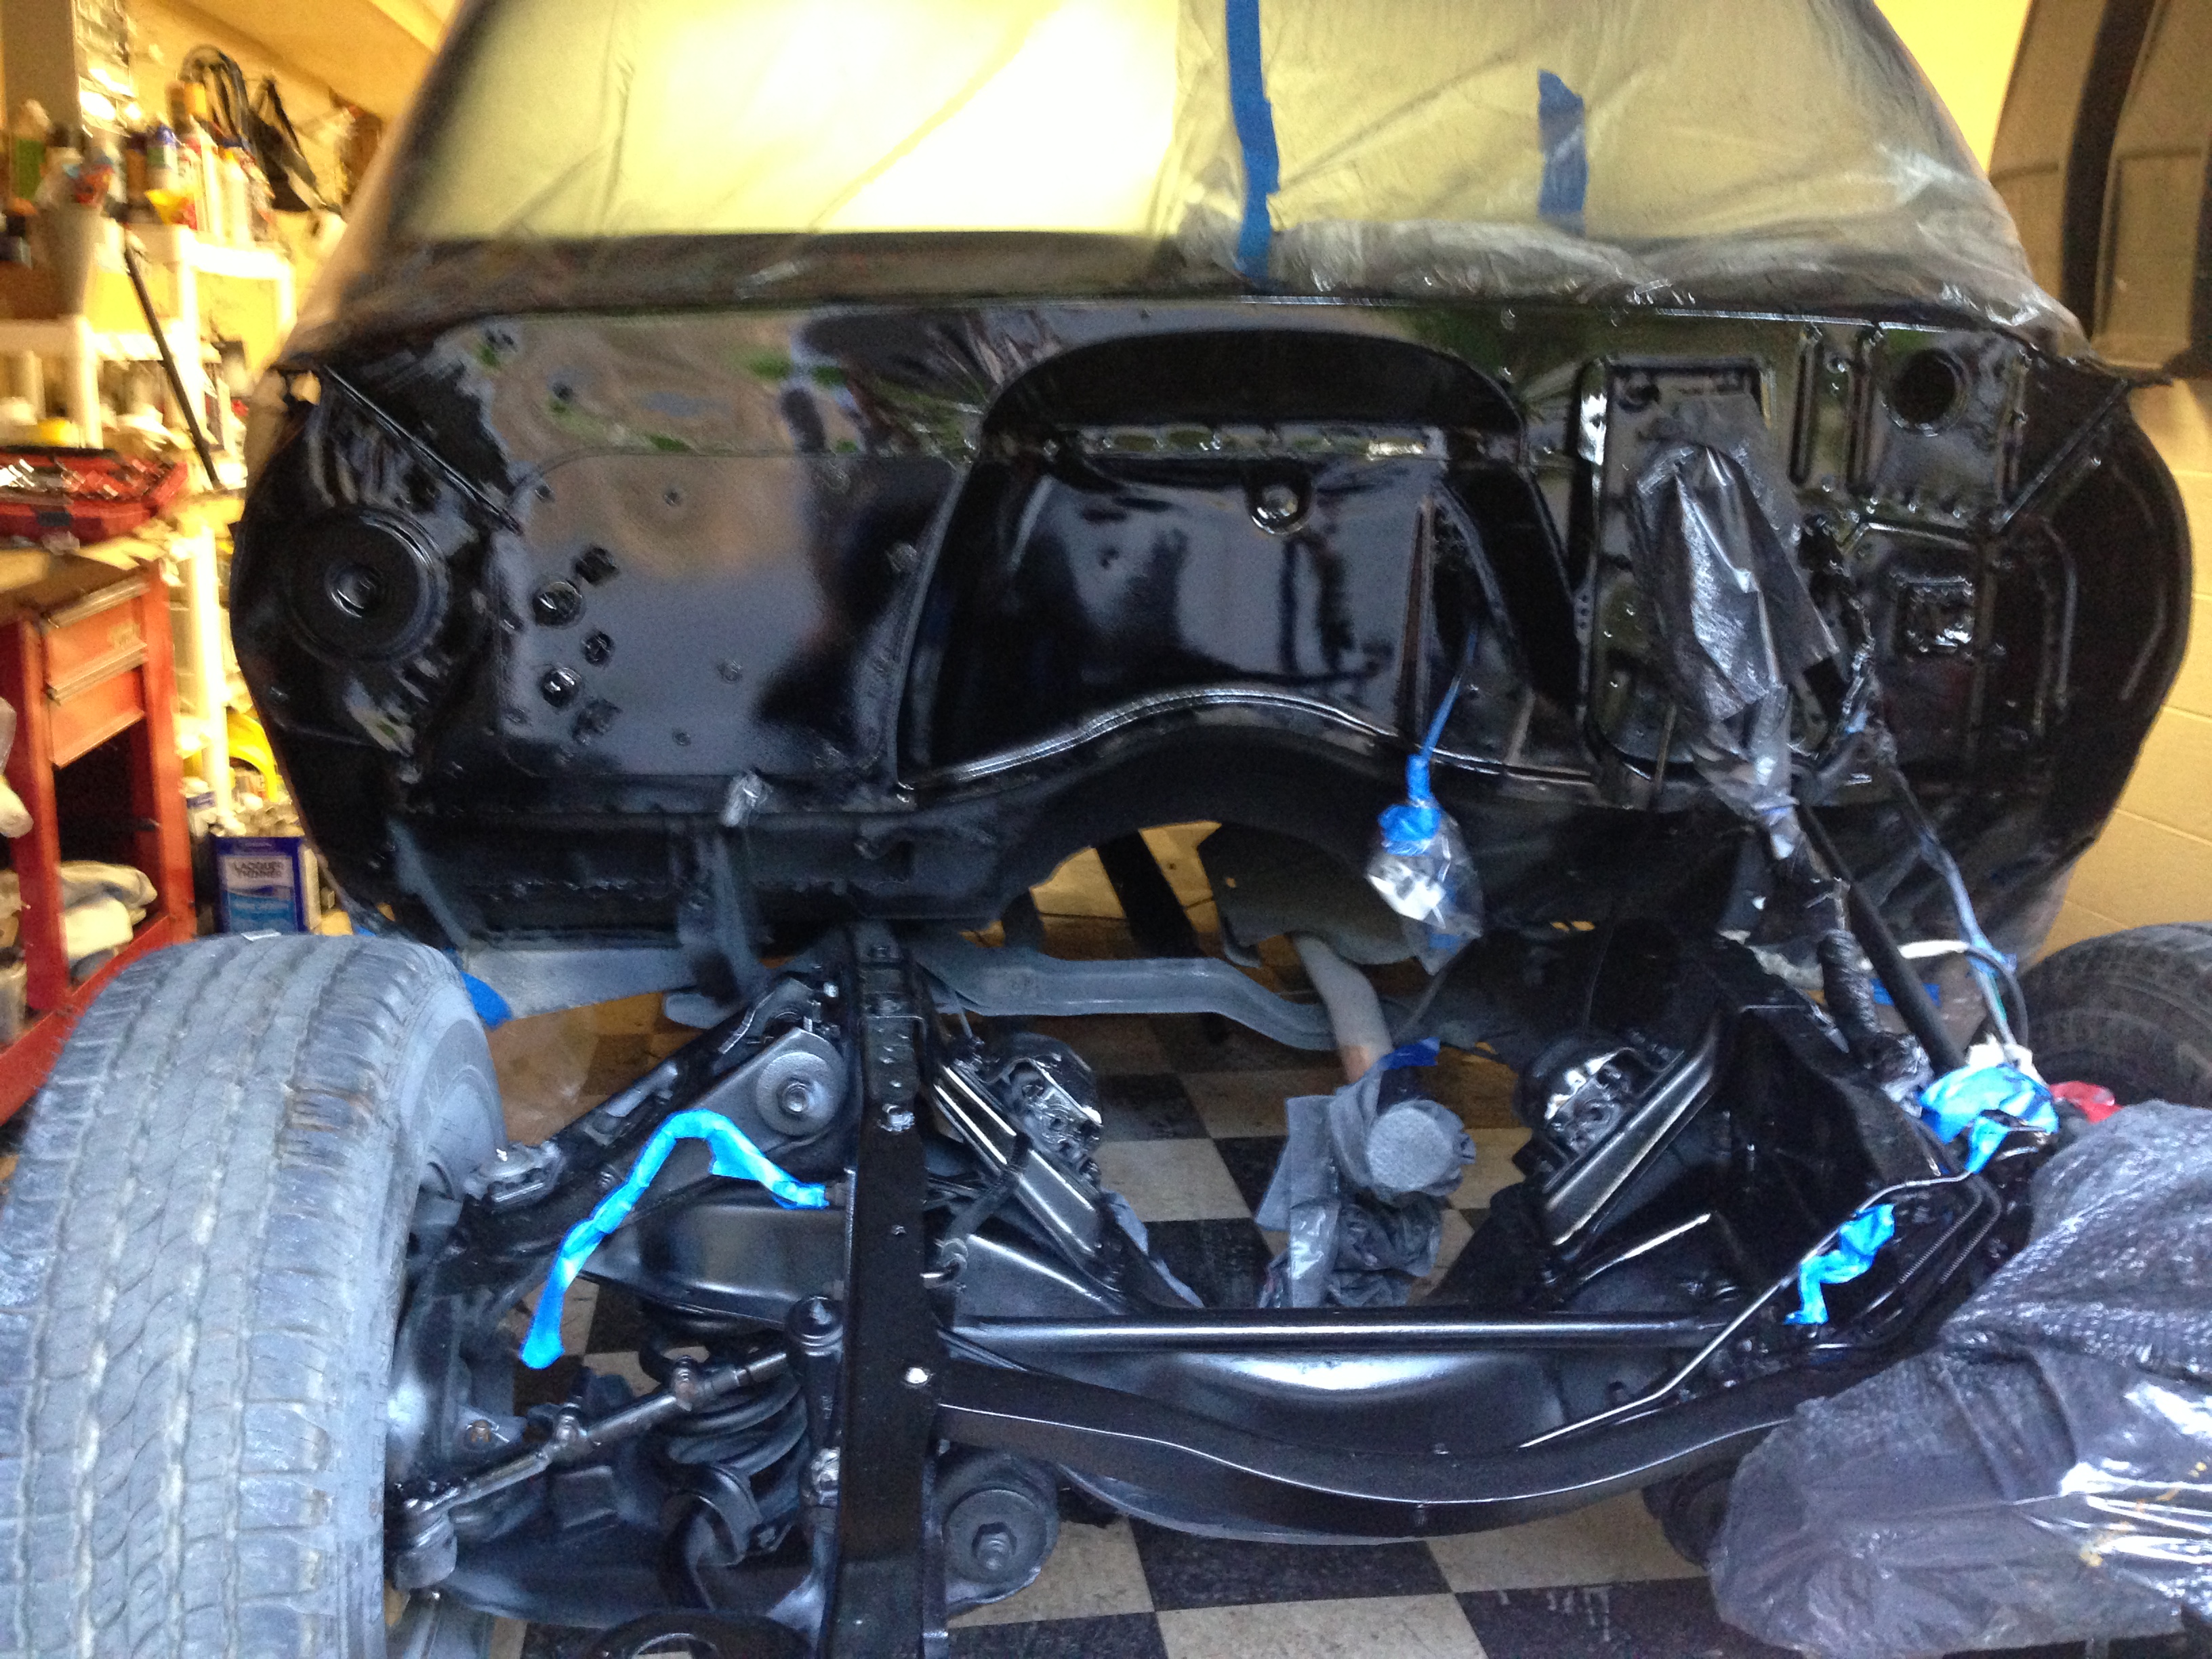
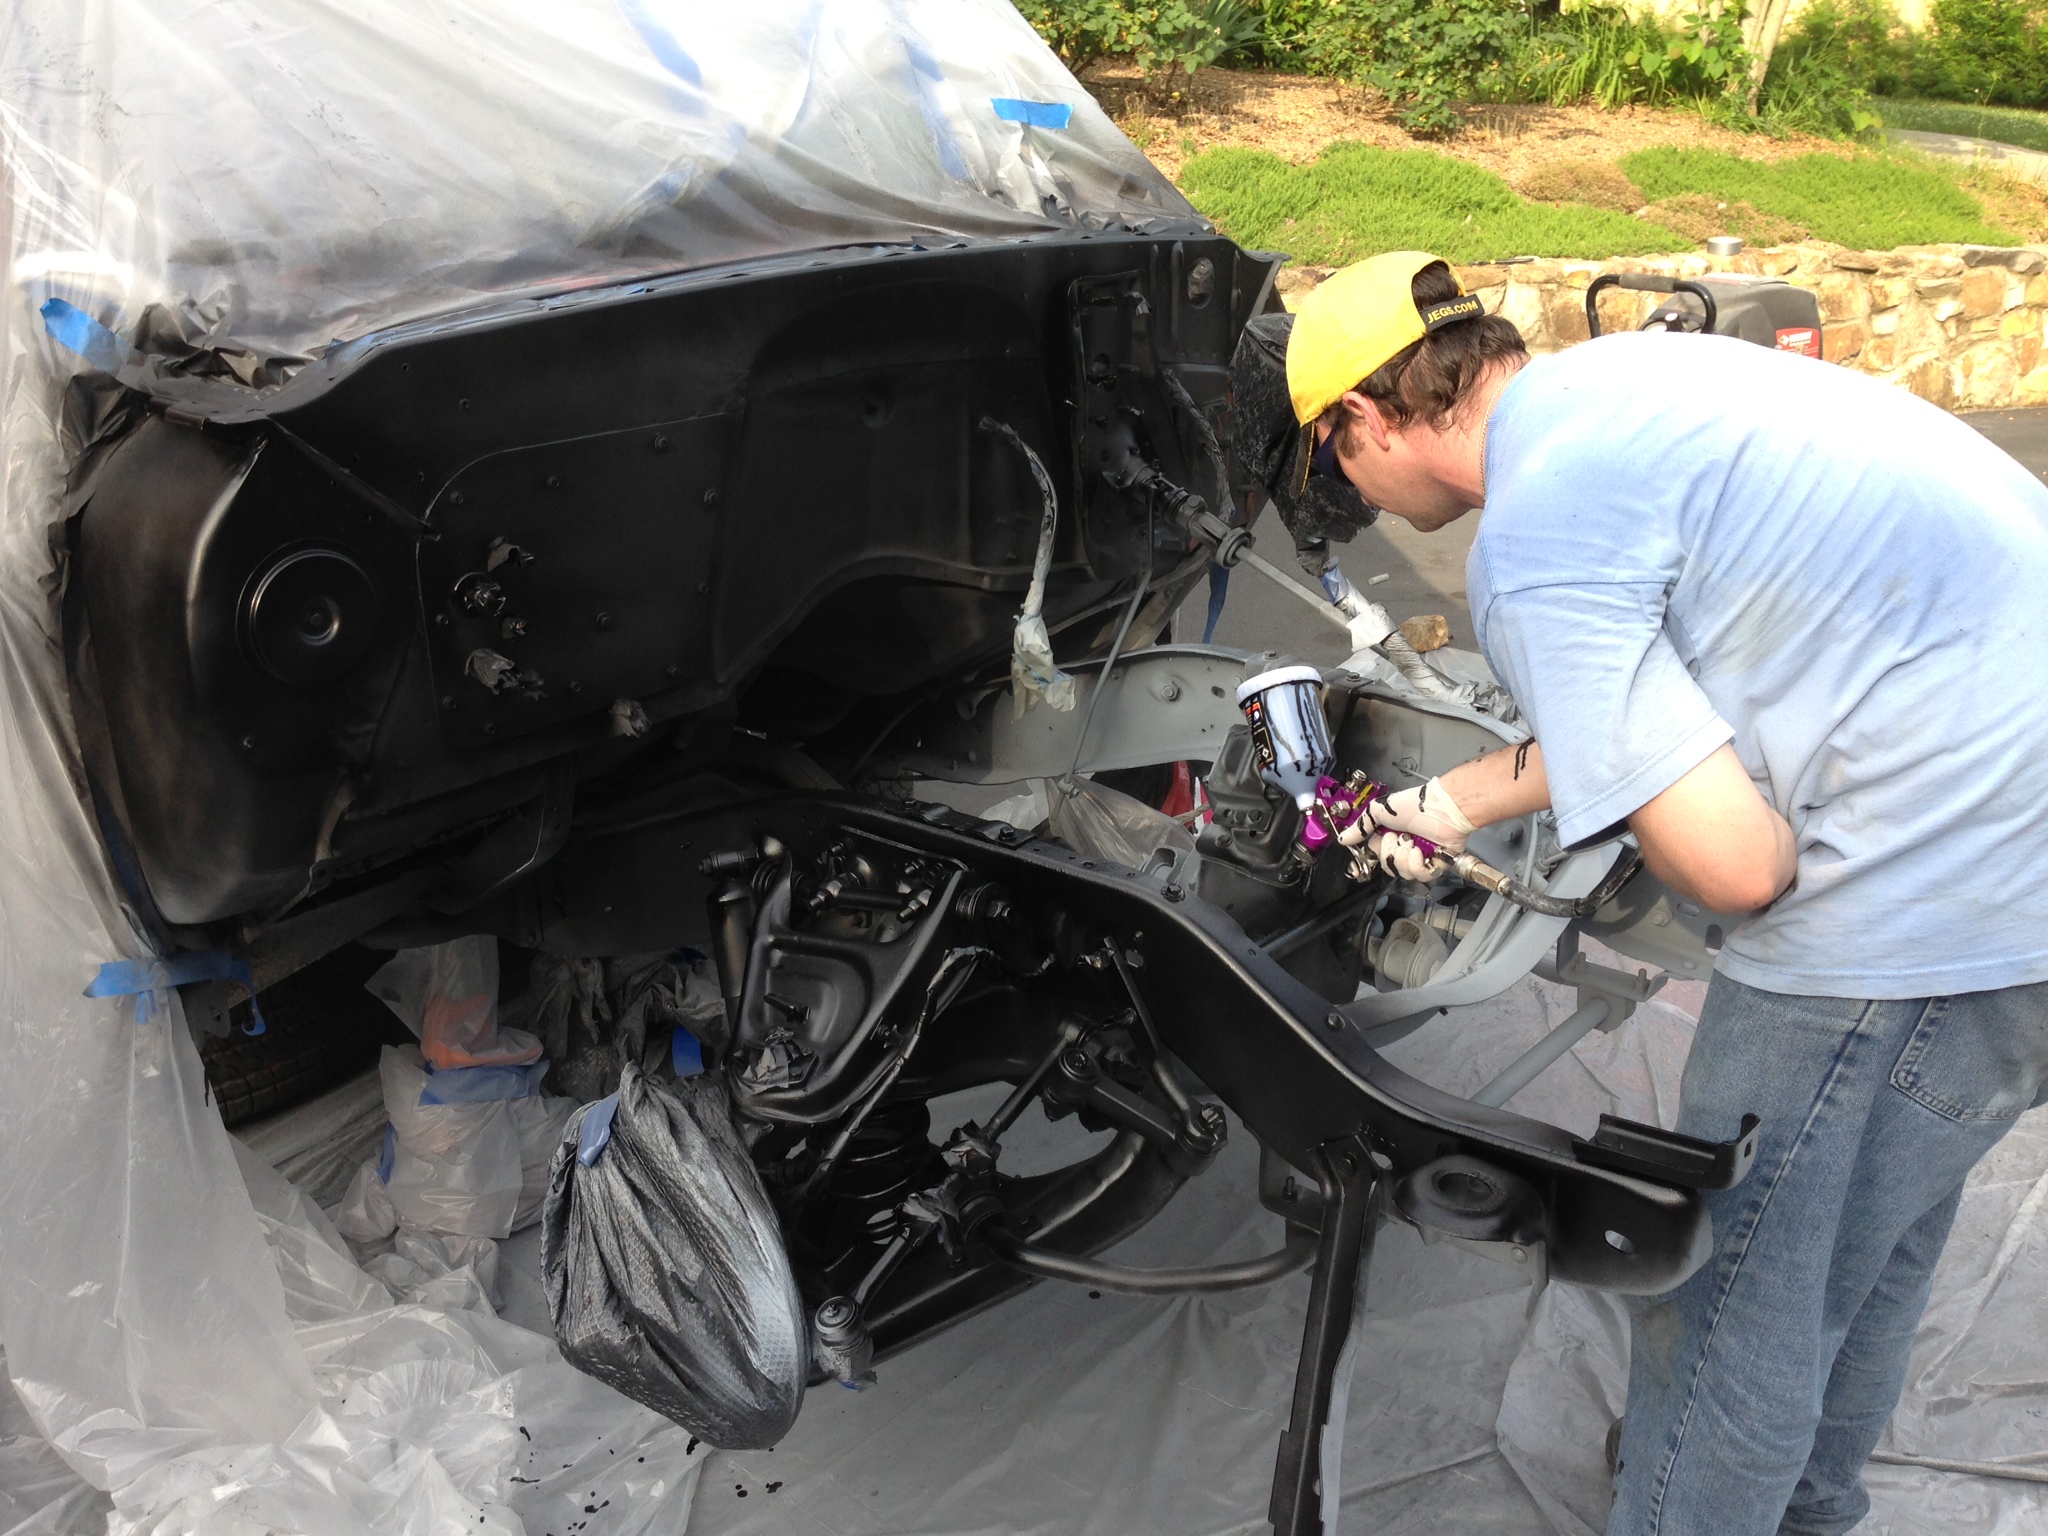
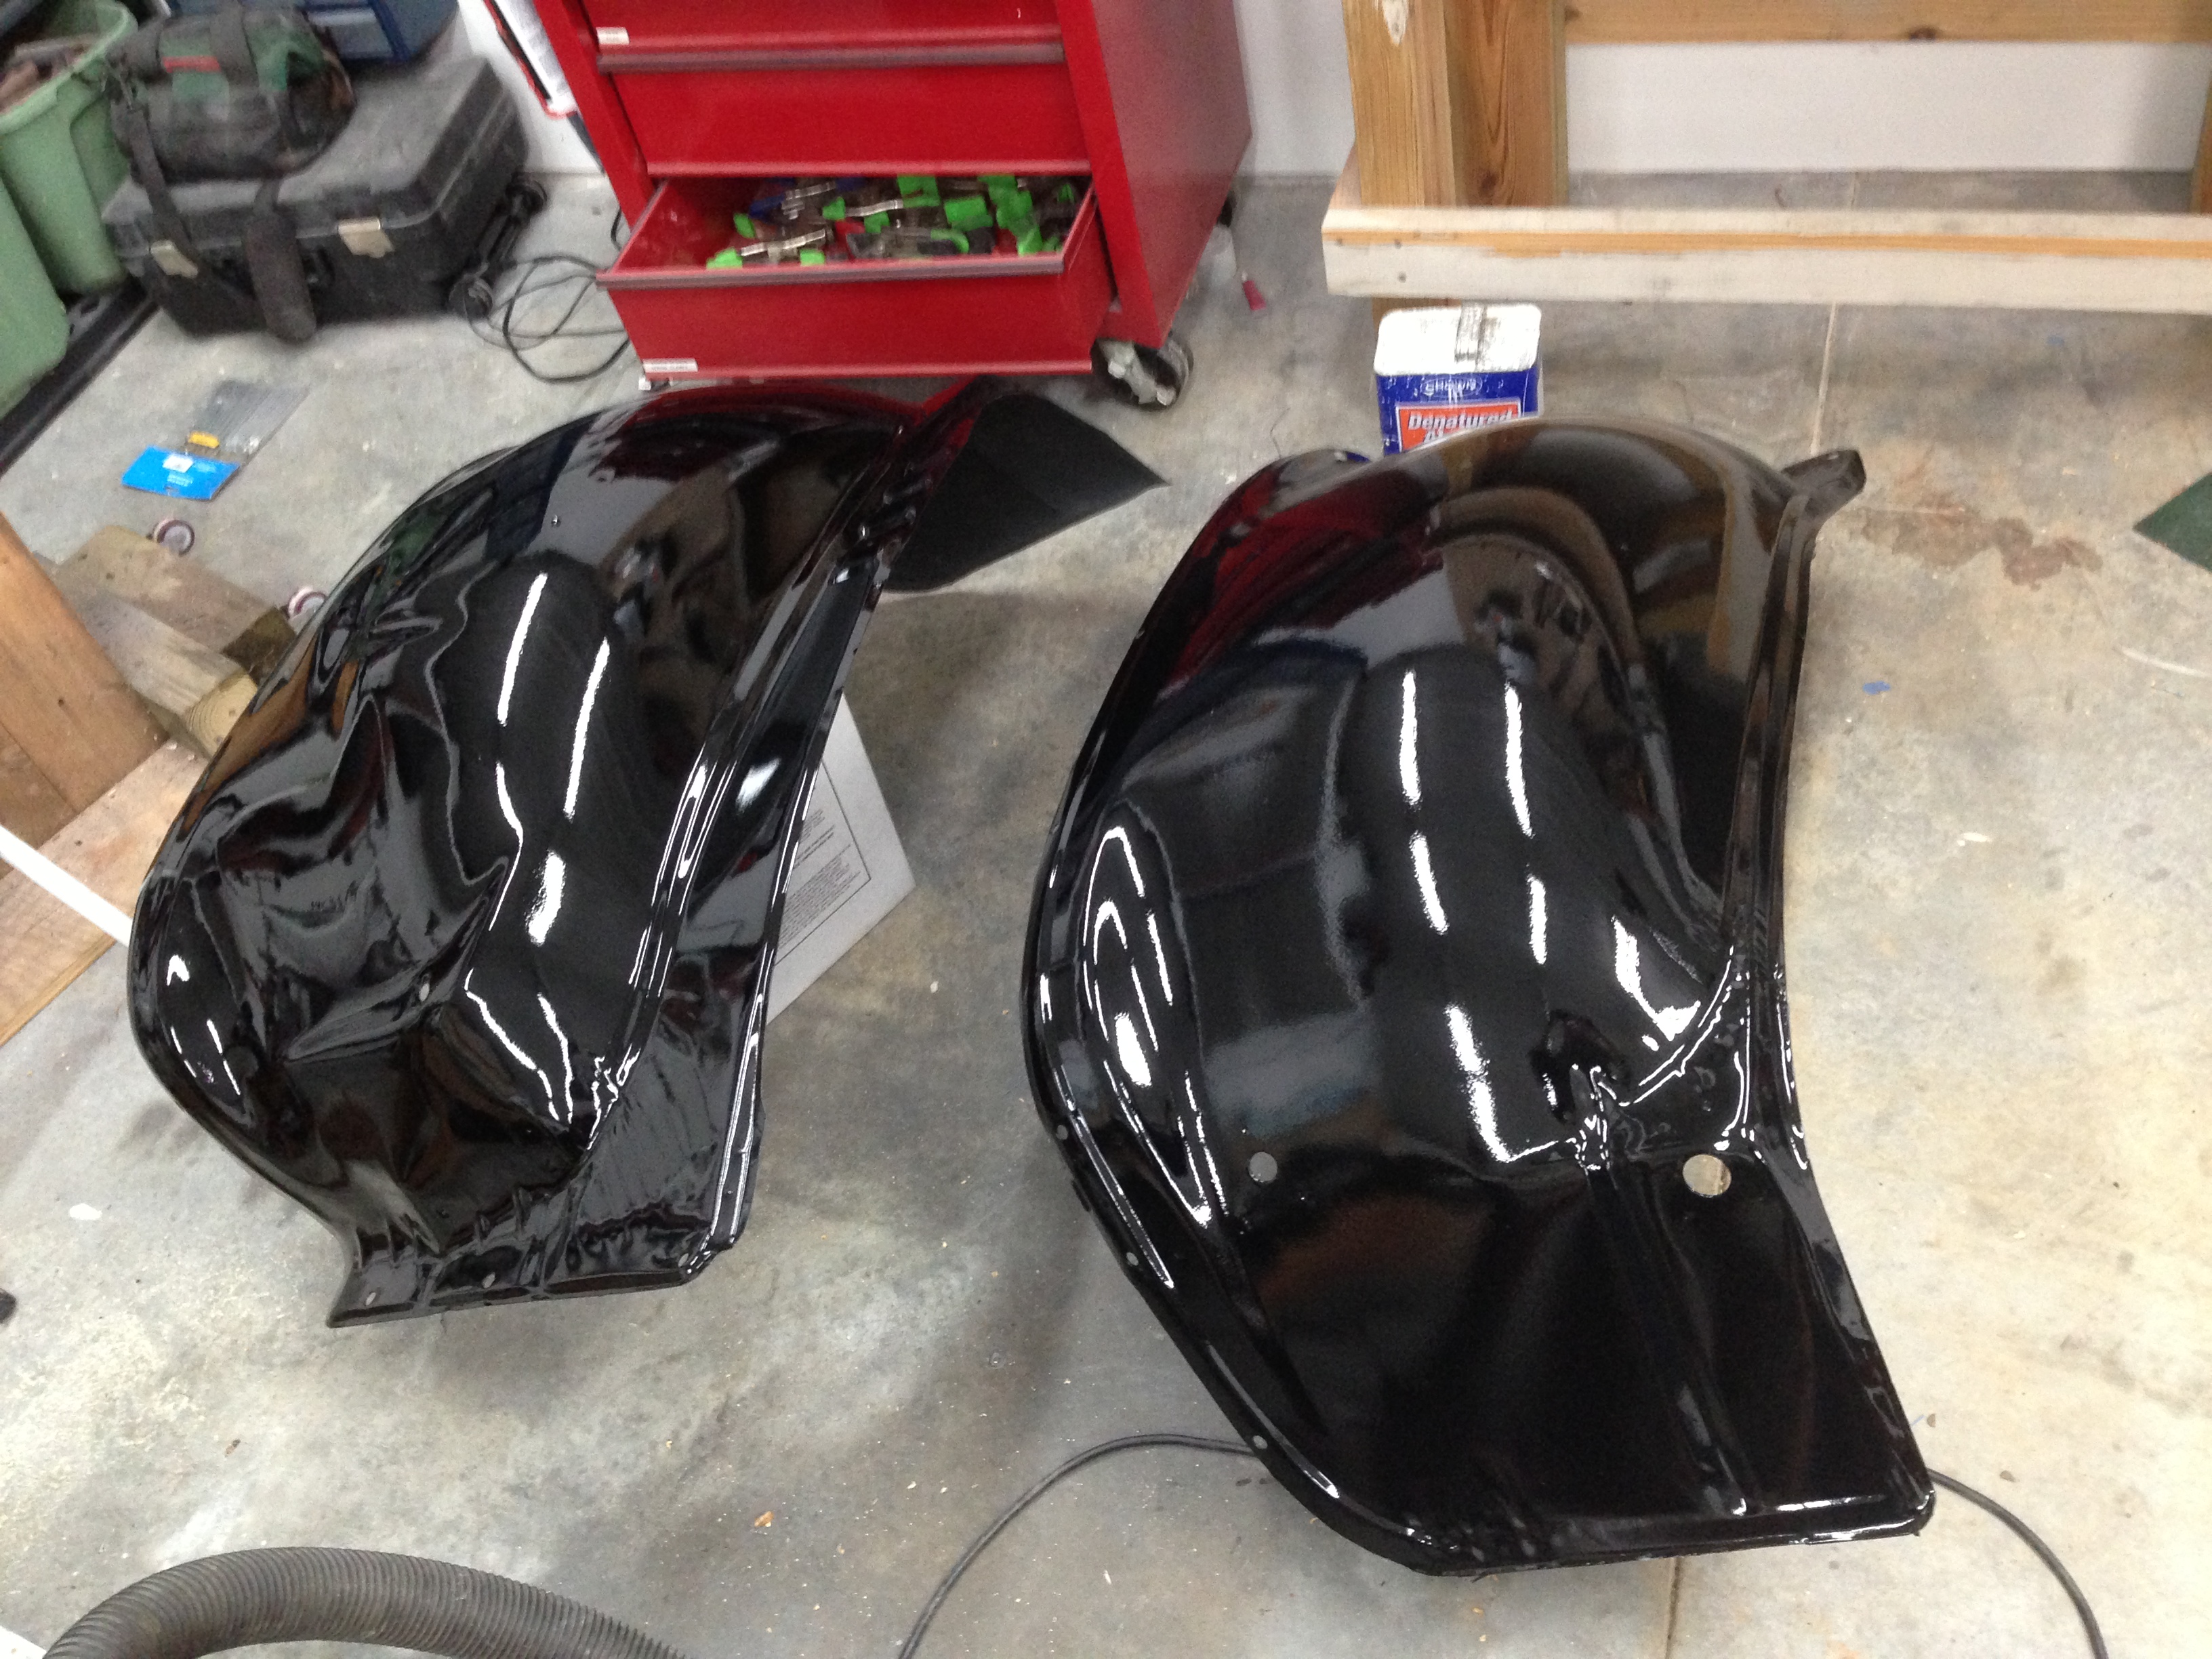
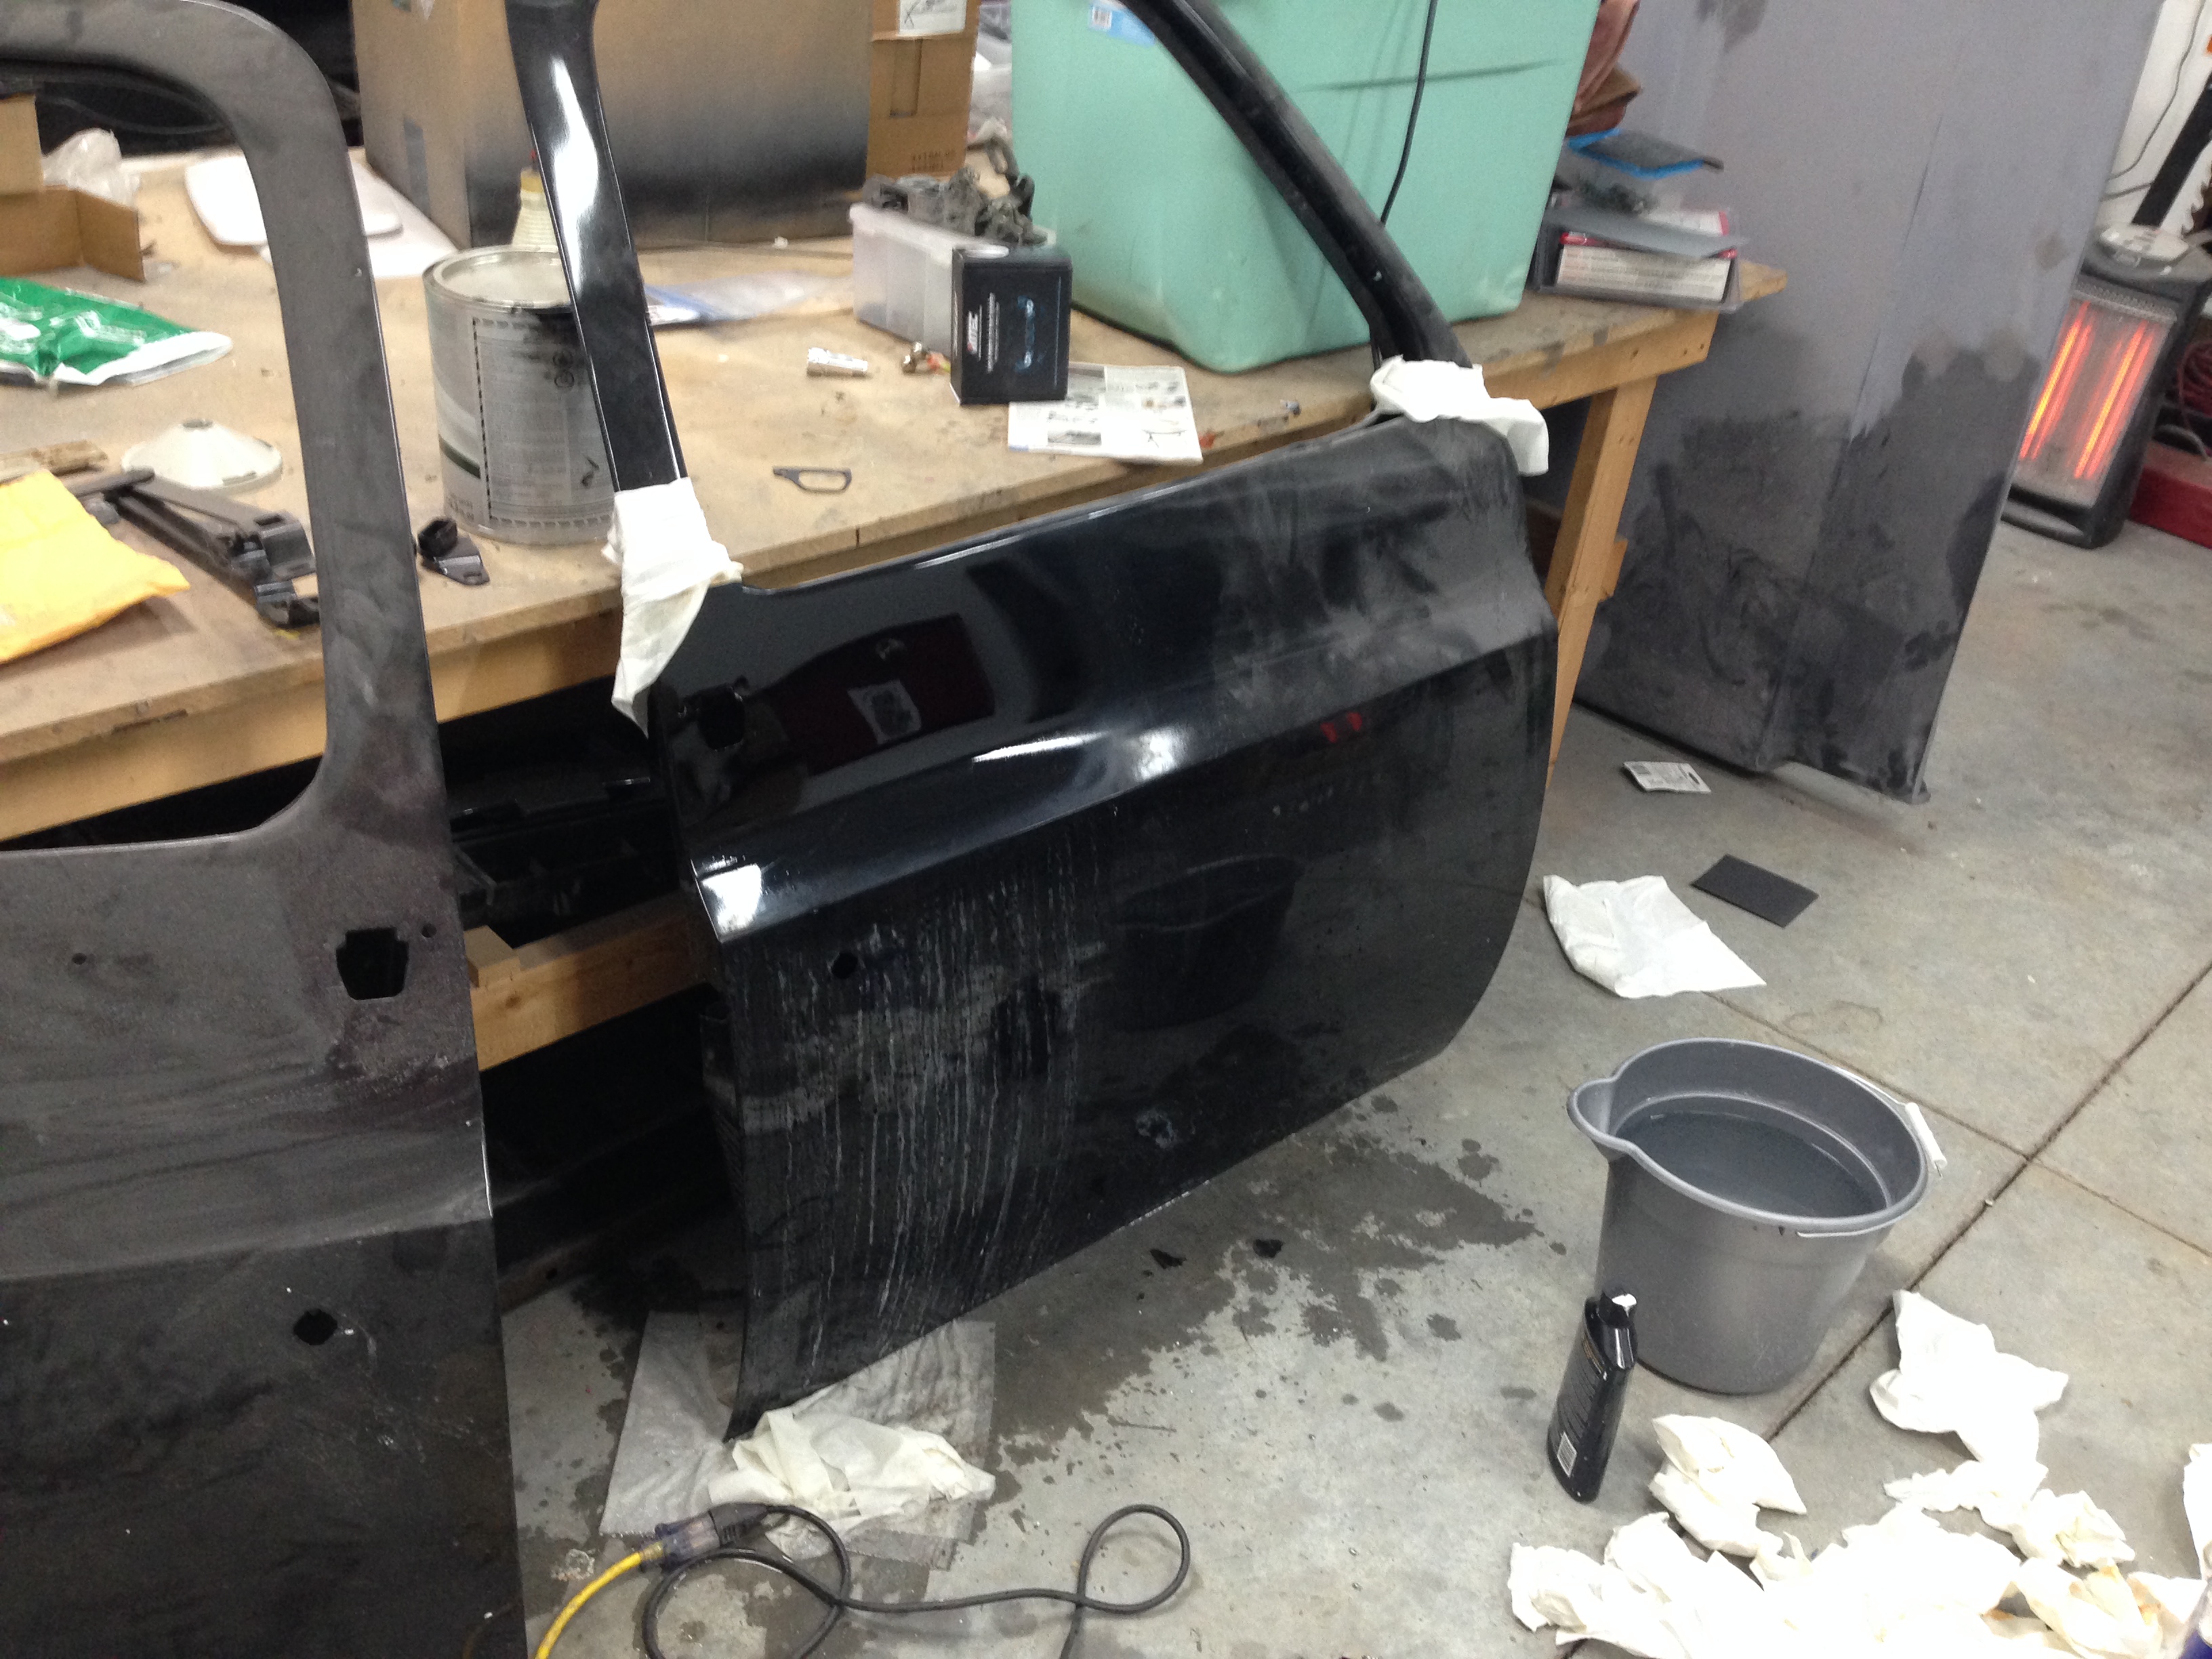
Paint

Part of the truck was painted by an acquaintance at his shop. That ended up not working out too well unfortunately, but in the end I was able to get the truck back and most of the bed had been painted. The cab and doors had been painted too. The fenders, tailgate, front clip, and hood had not yet been painted. I paid up front sadly, so I lost about $3.5k on that transaction. Also unfortunately the paint has begun to form blisters in a lot of spots. I ended up painting the hood, fenders, tailgate and clip myself and repainting the cab. There are blisters in my work too in some spots, which I believe to be related to not having properly filtered and dried air since none of it appeared until it was in the heat of sun. My cut and buff job left a lot to be desired, but it was my first go at it. Eventually, I will have to strip it and start over, but hey sometimes that’s how it goes, right? I did get two new doors out of it! Live and learn!
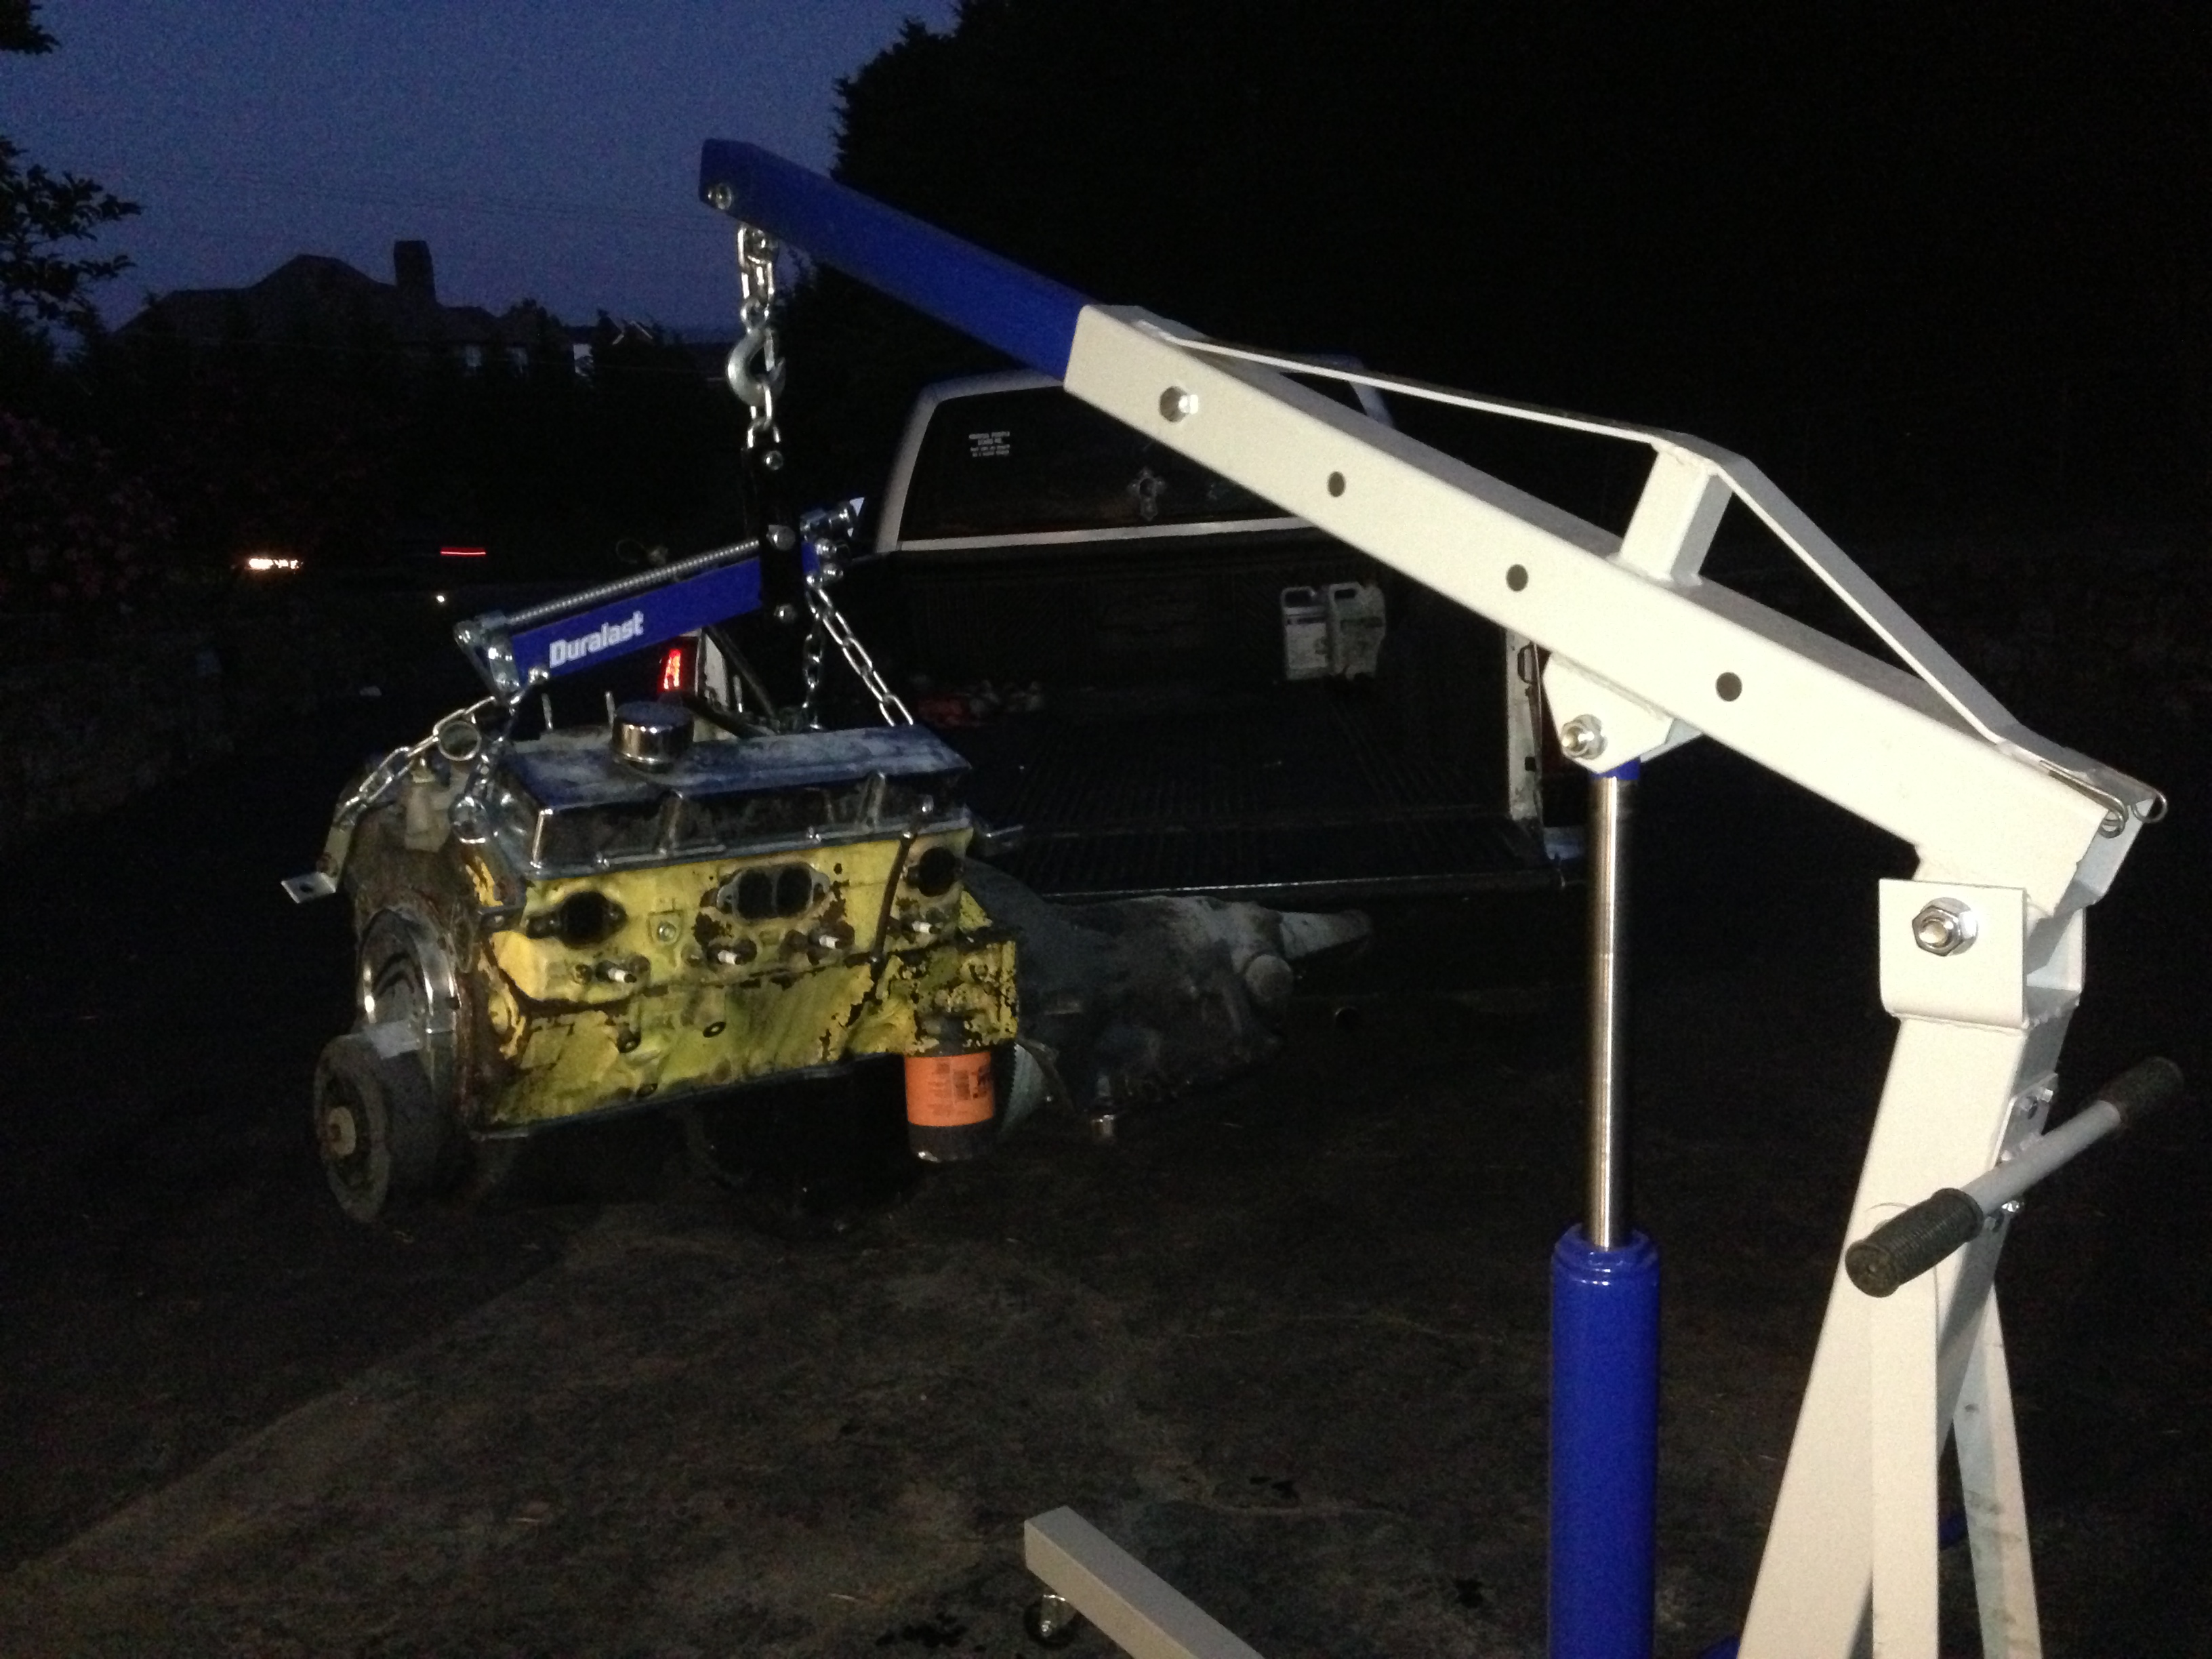
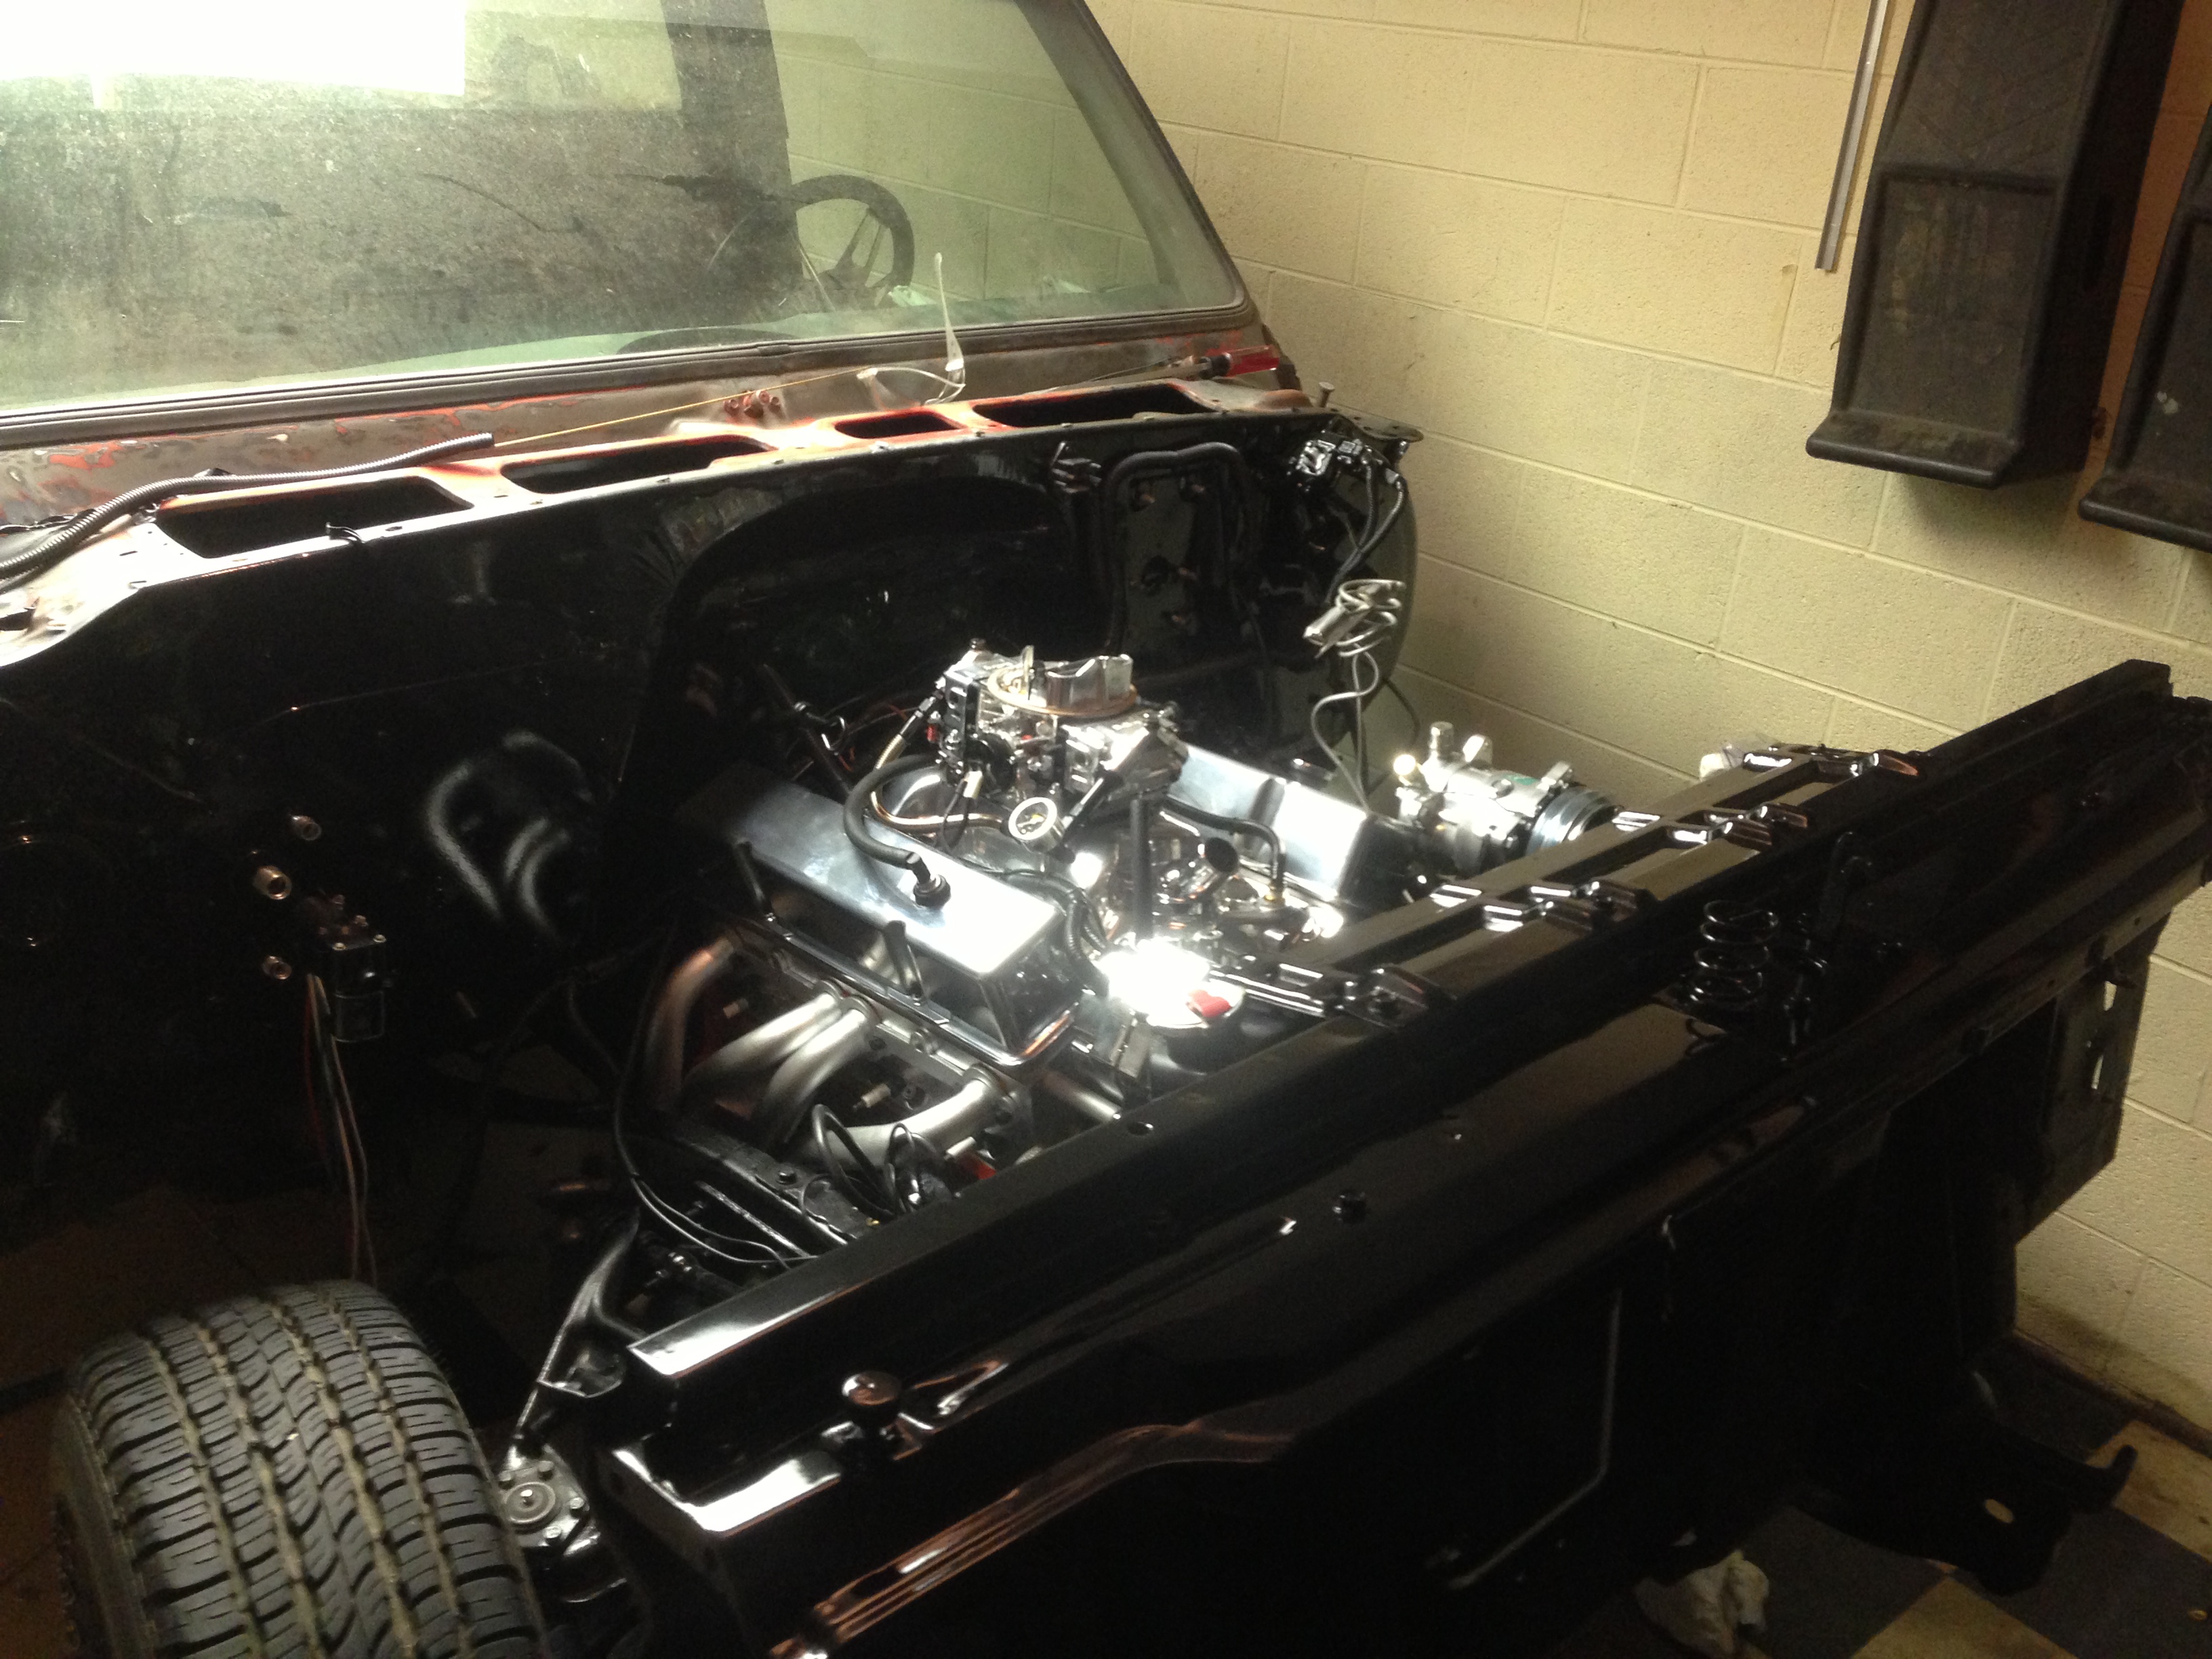
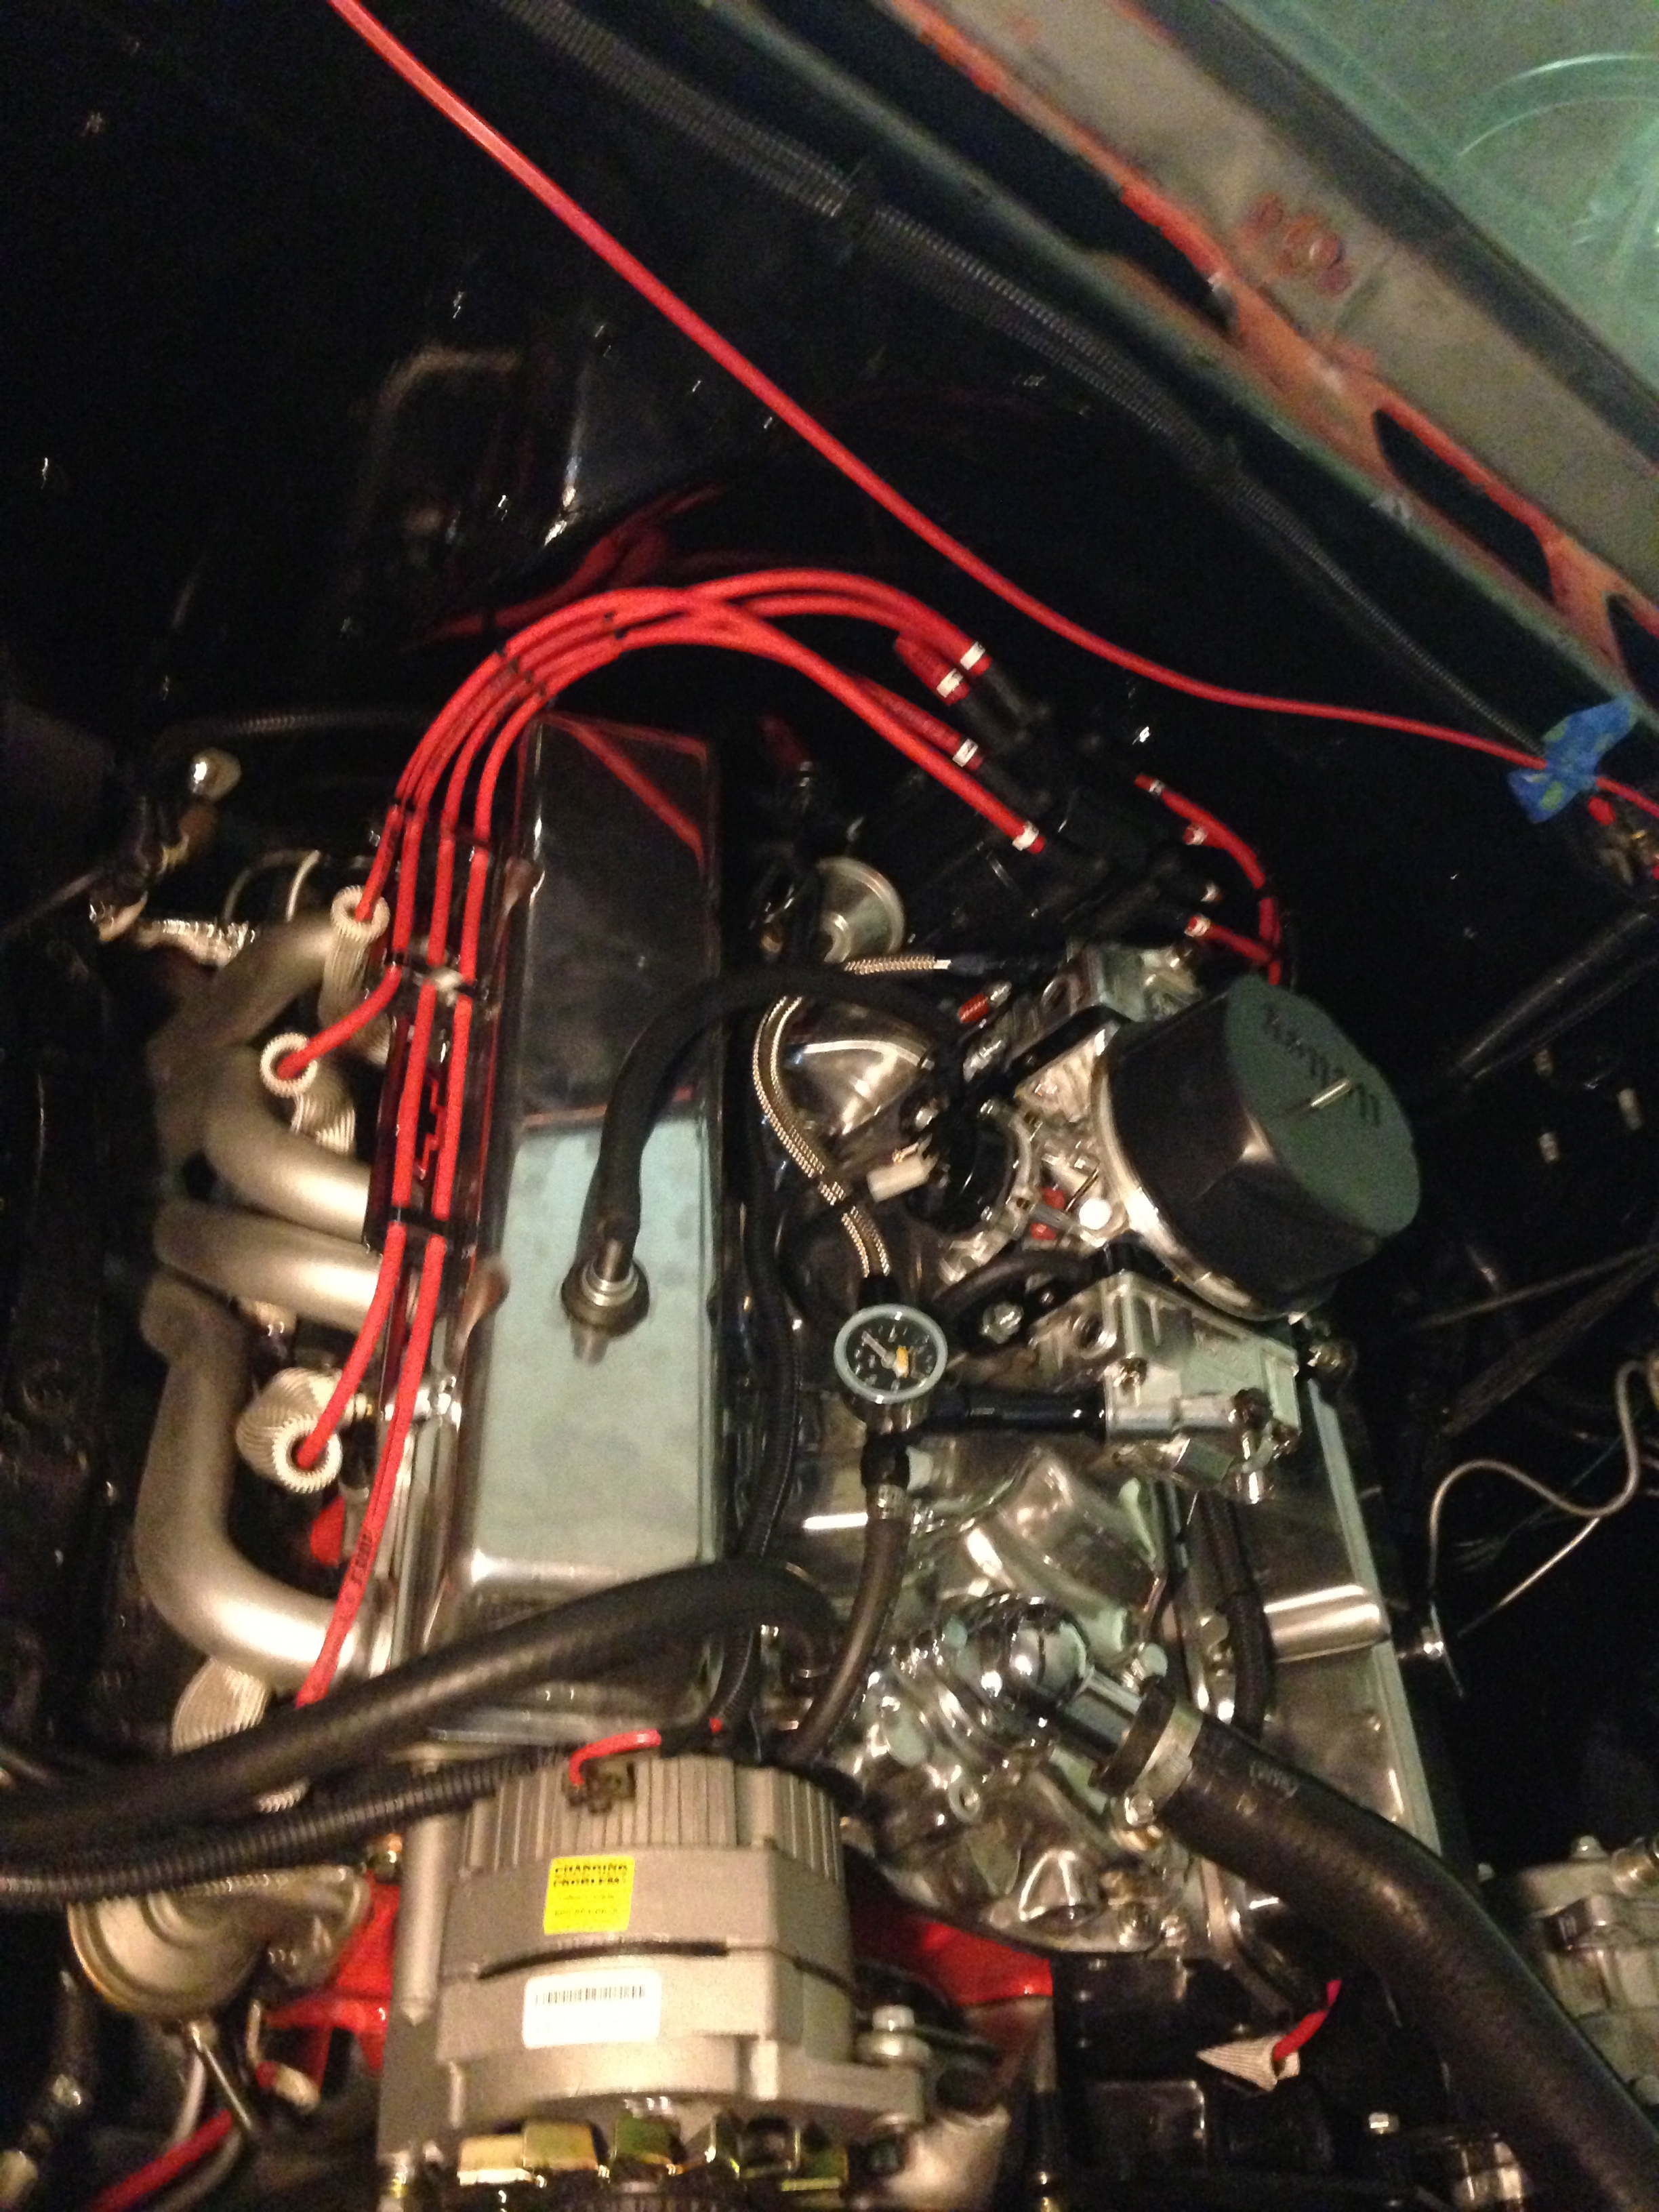
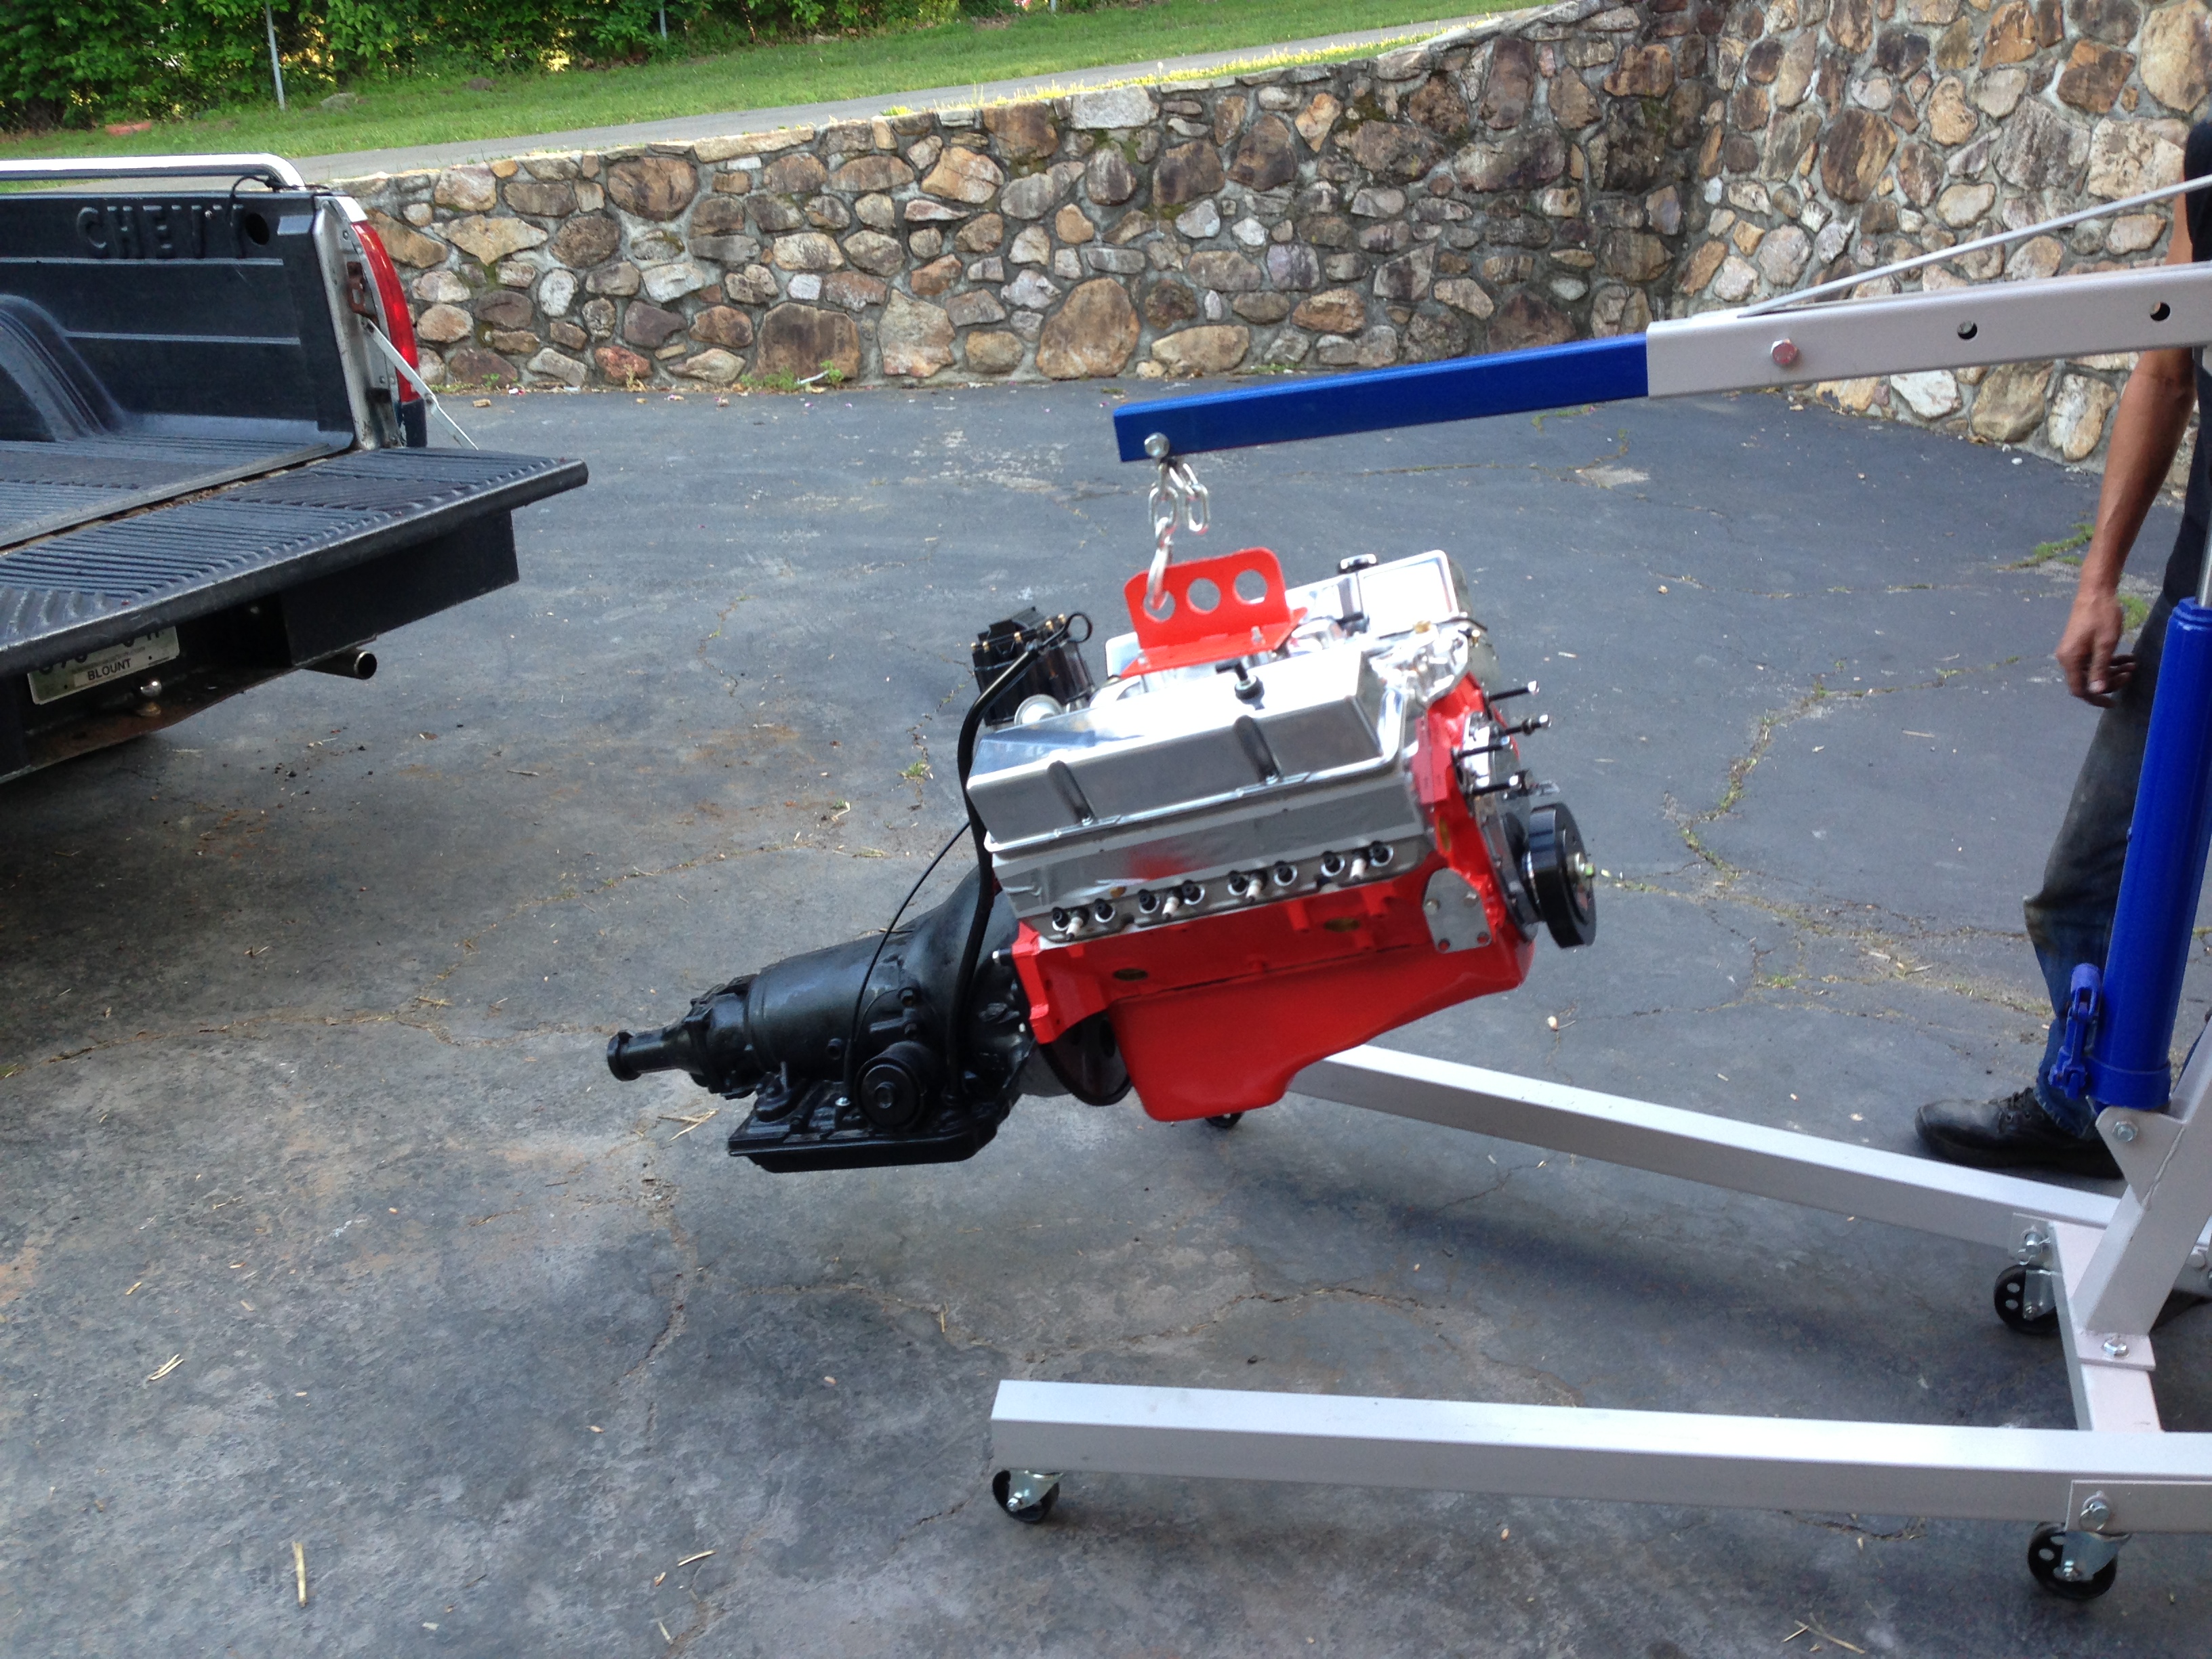
Engine

Still going strong! It really only has about 20 hours on it so far, so we will see what the future holds. Honestly, I feel good about it! Having learned a lot more about all this in the intervening years, I have mostly pieced together the build that he went with. Its a mild build, but not gutless. Some budget parts are in there, but that’s fine for what it is. I plan on dressing things up slowly before it is all said and done. Honestly, of all the people I’ve paid to work on the truck, my engine builder is one of the only people who I feel actually looked out for me.
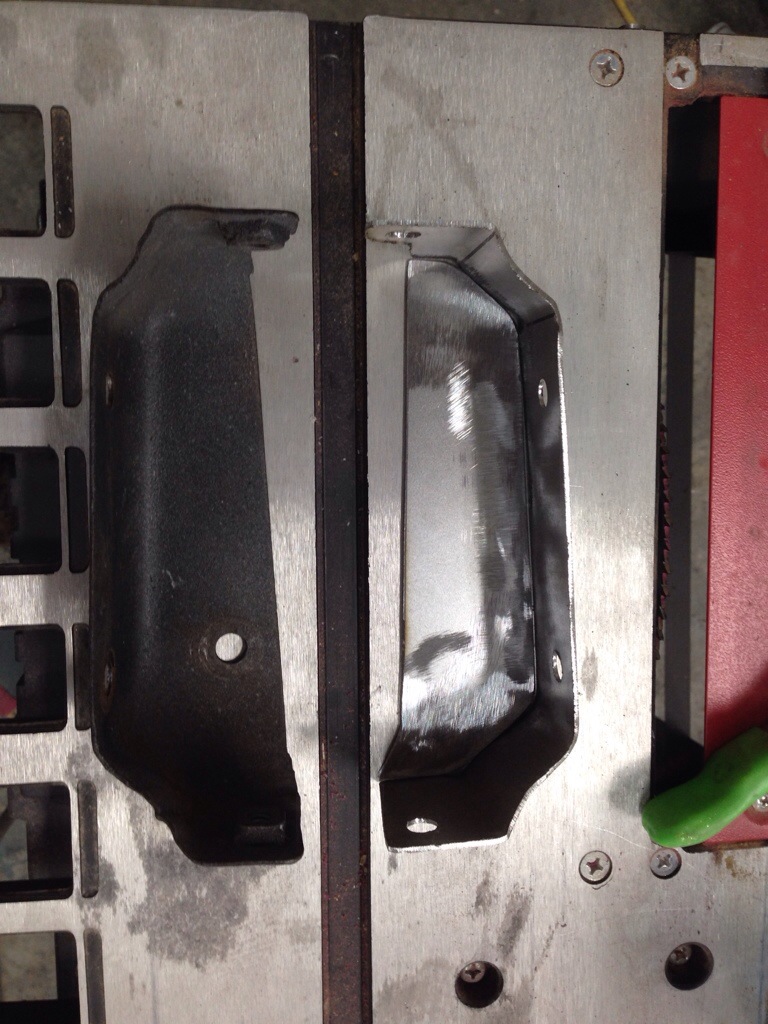
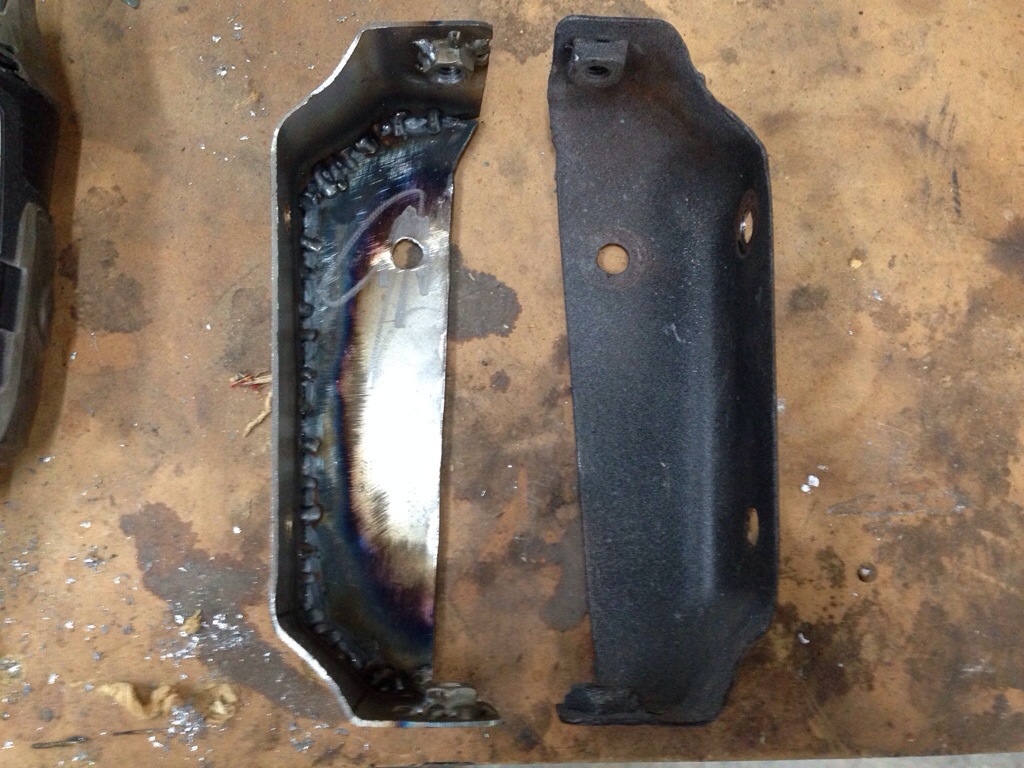
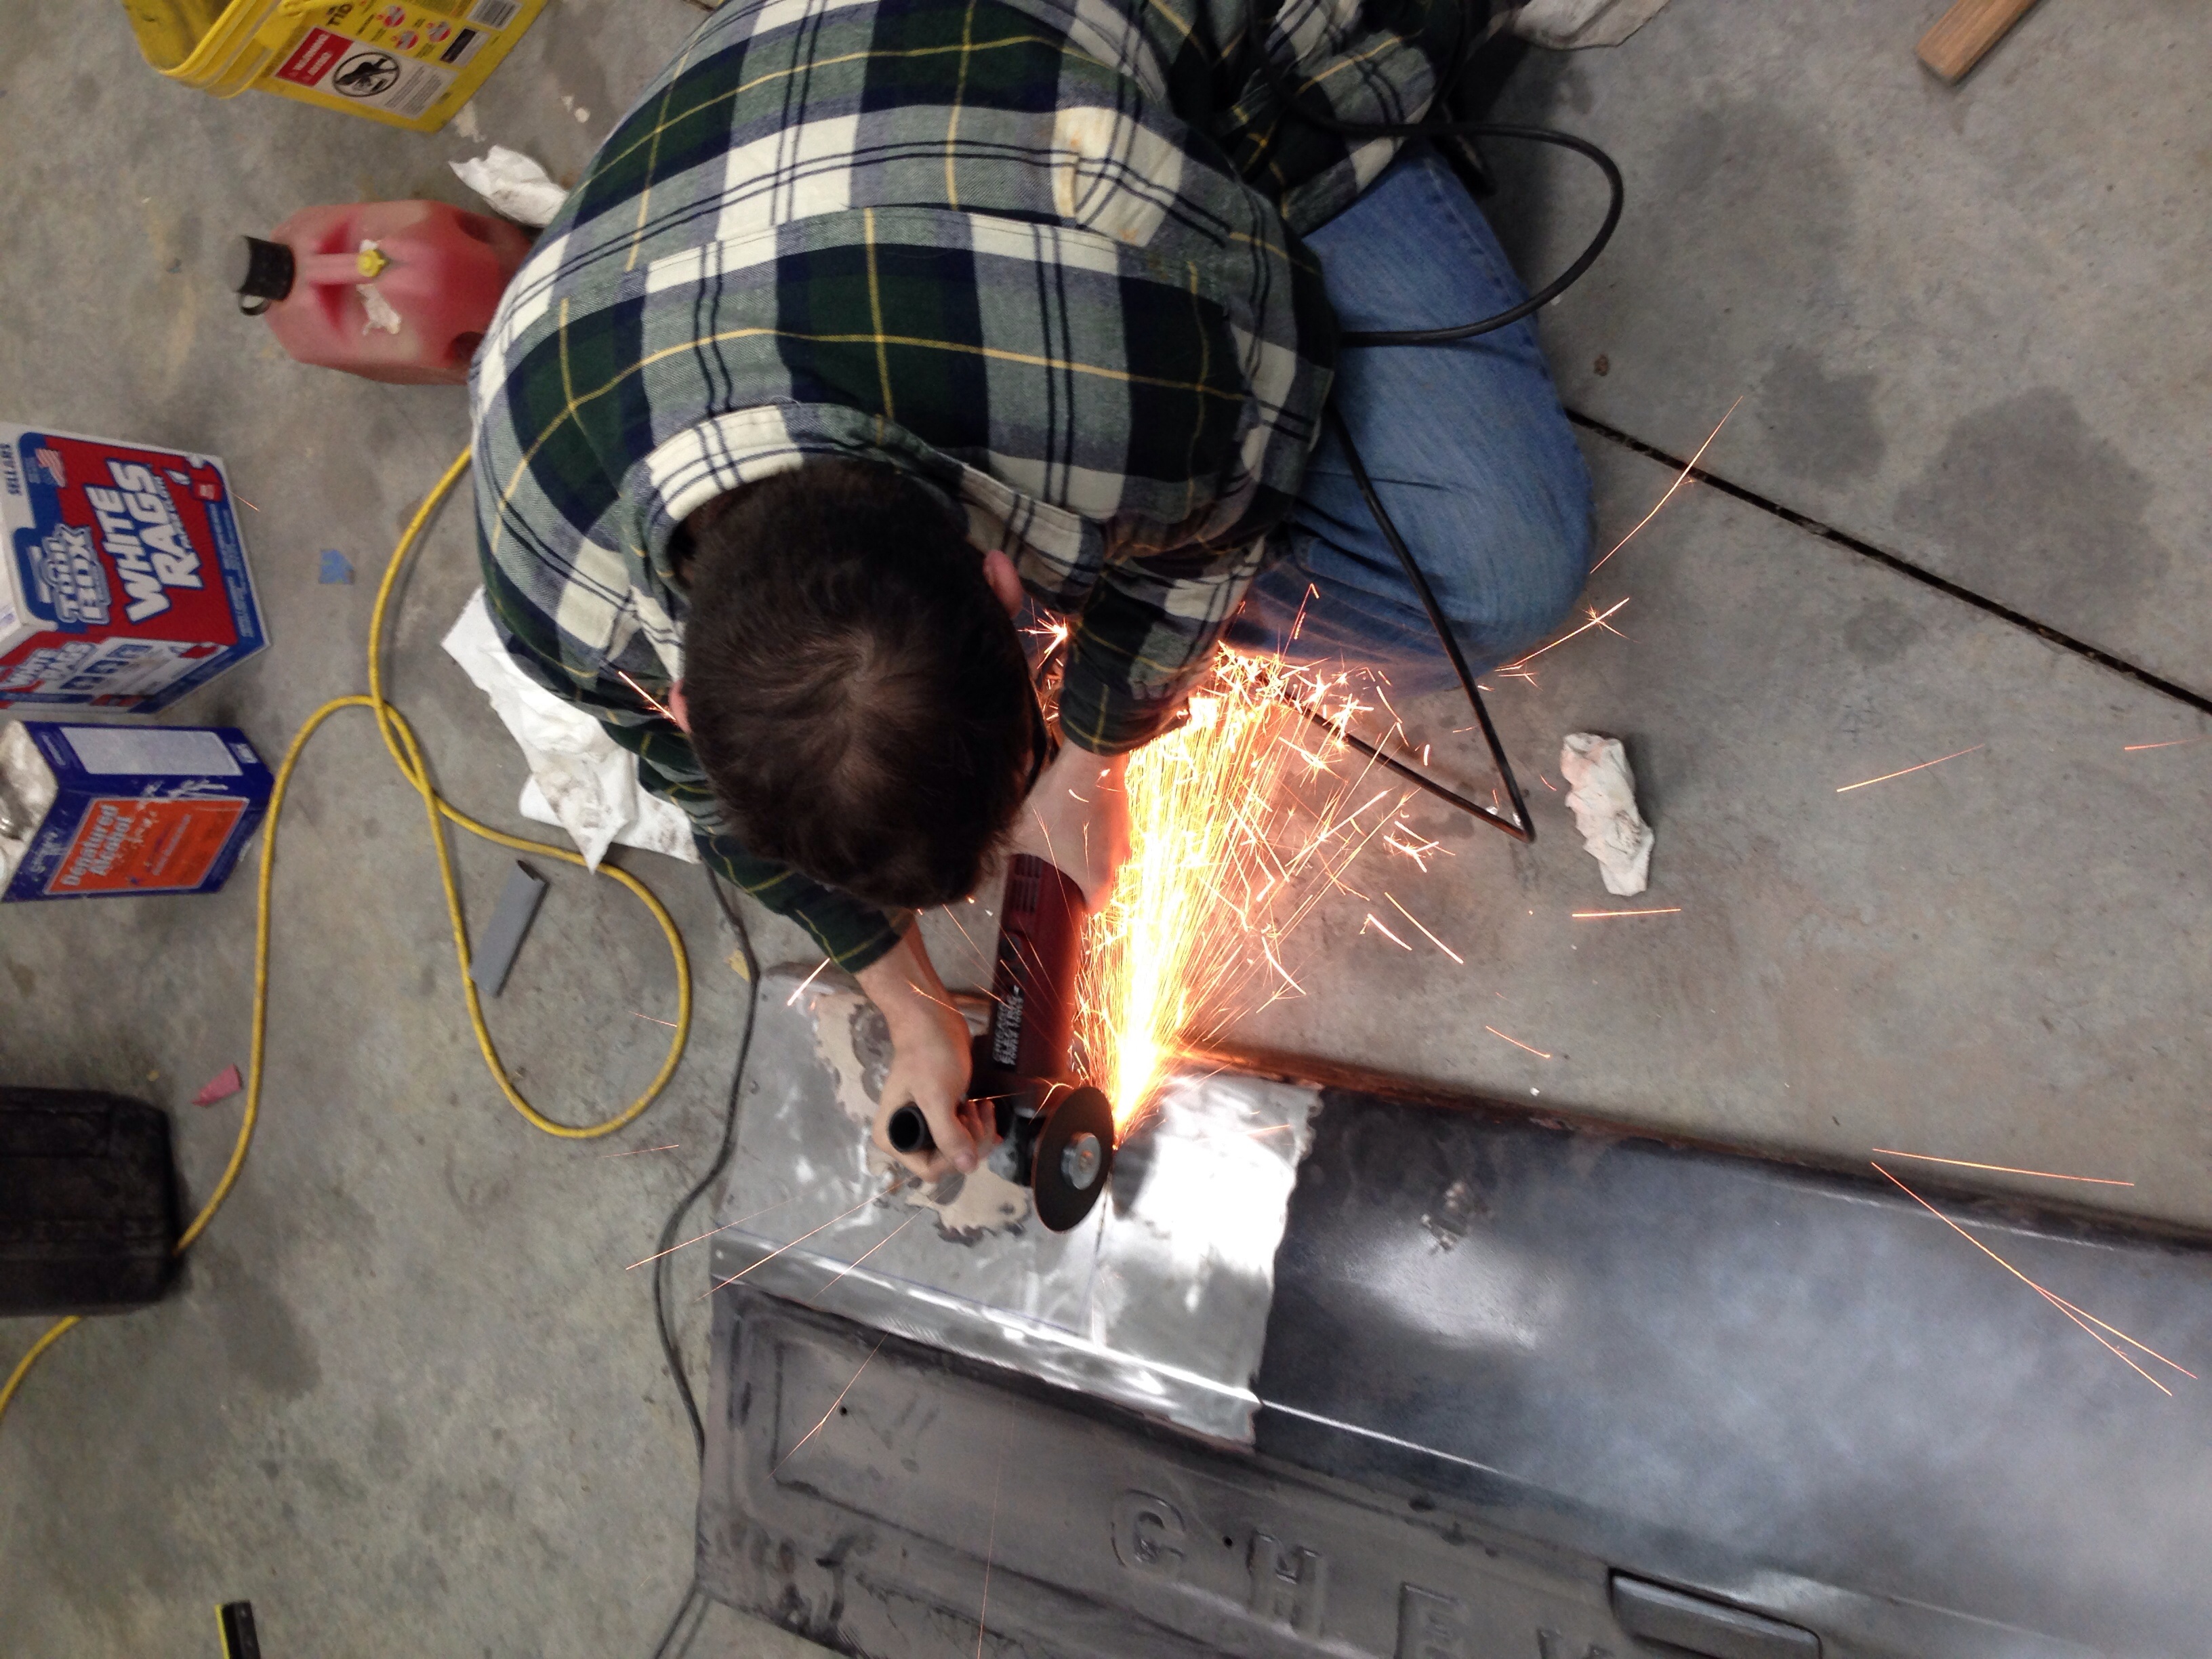
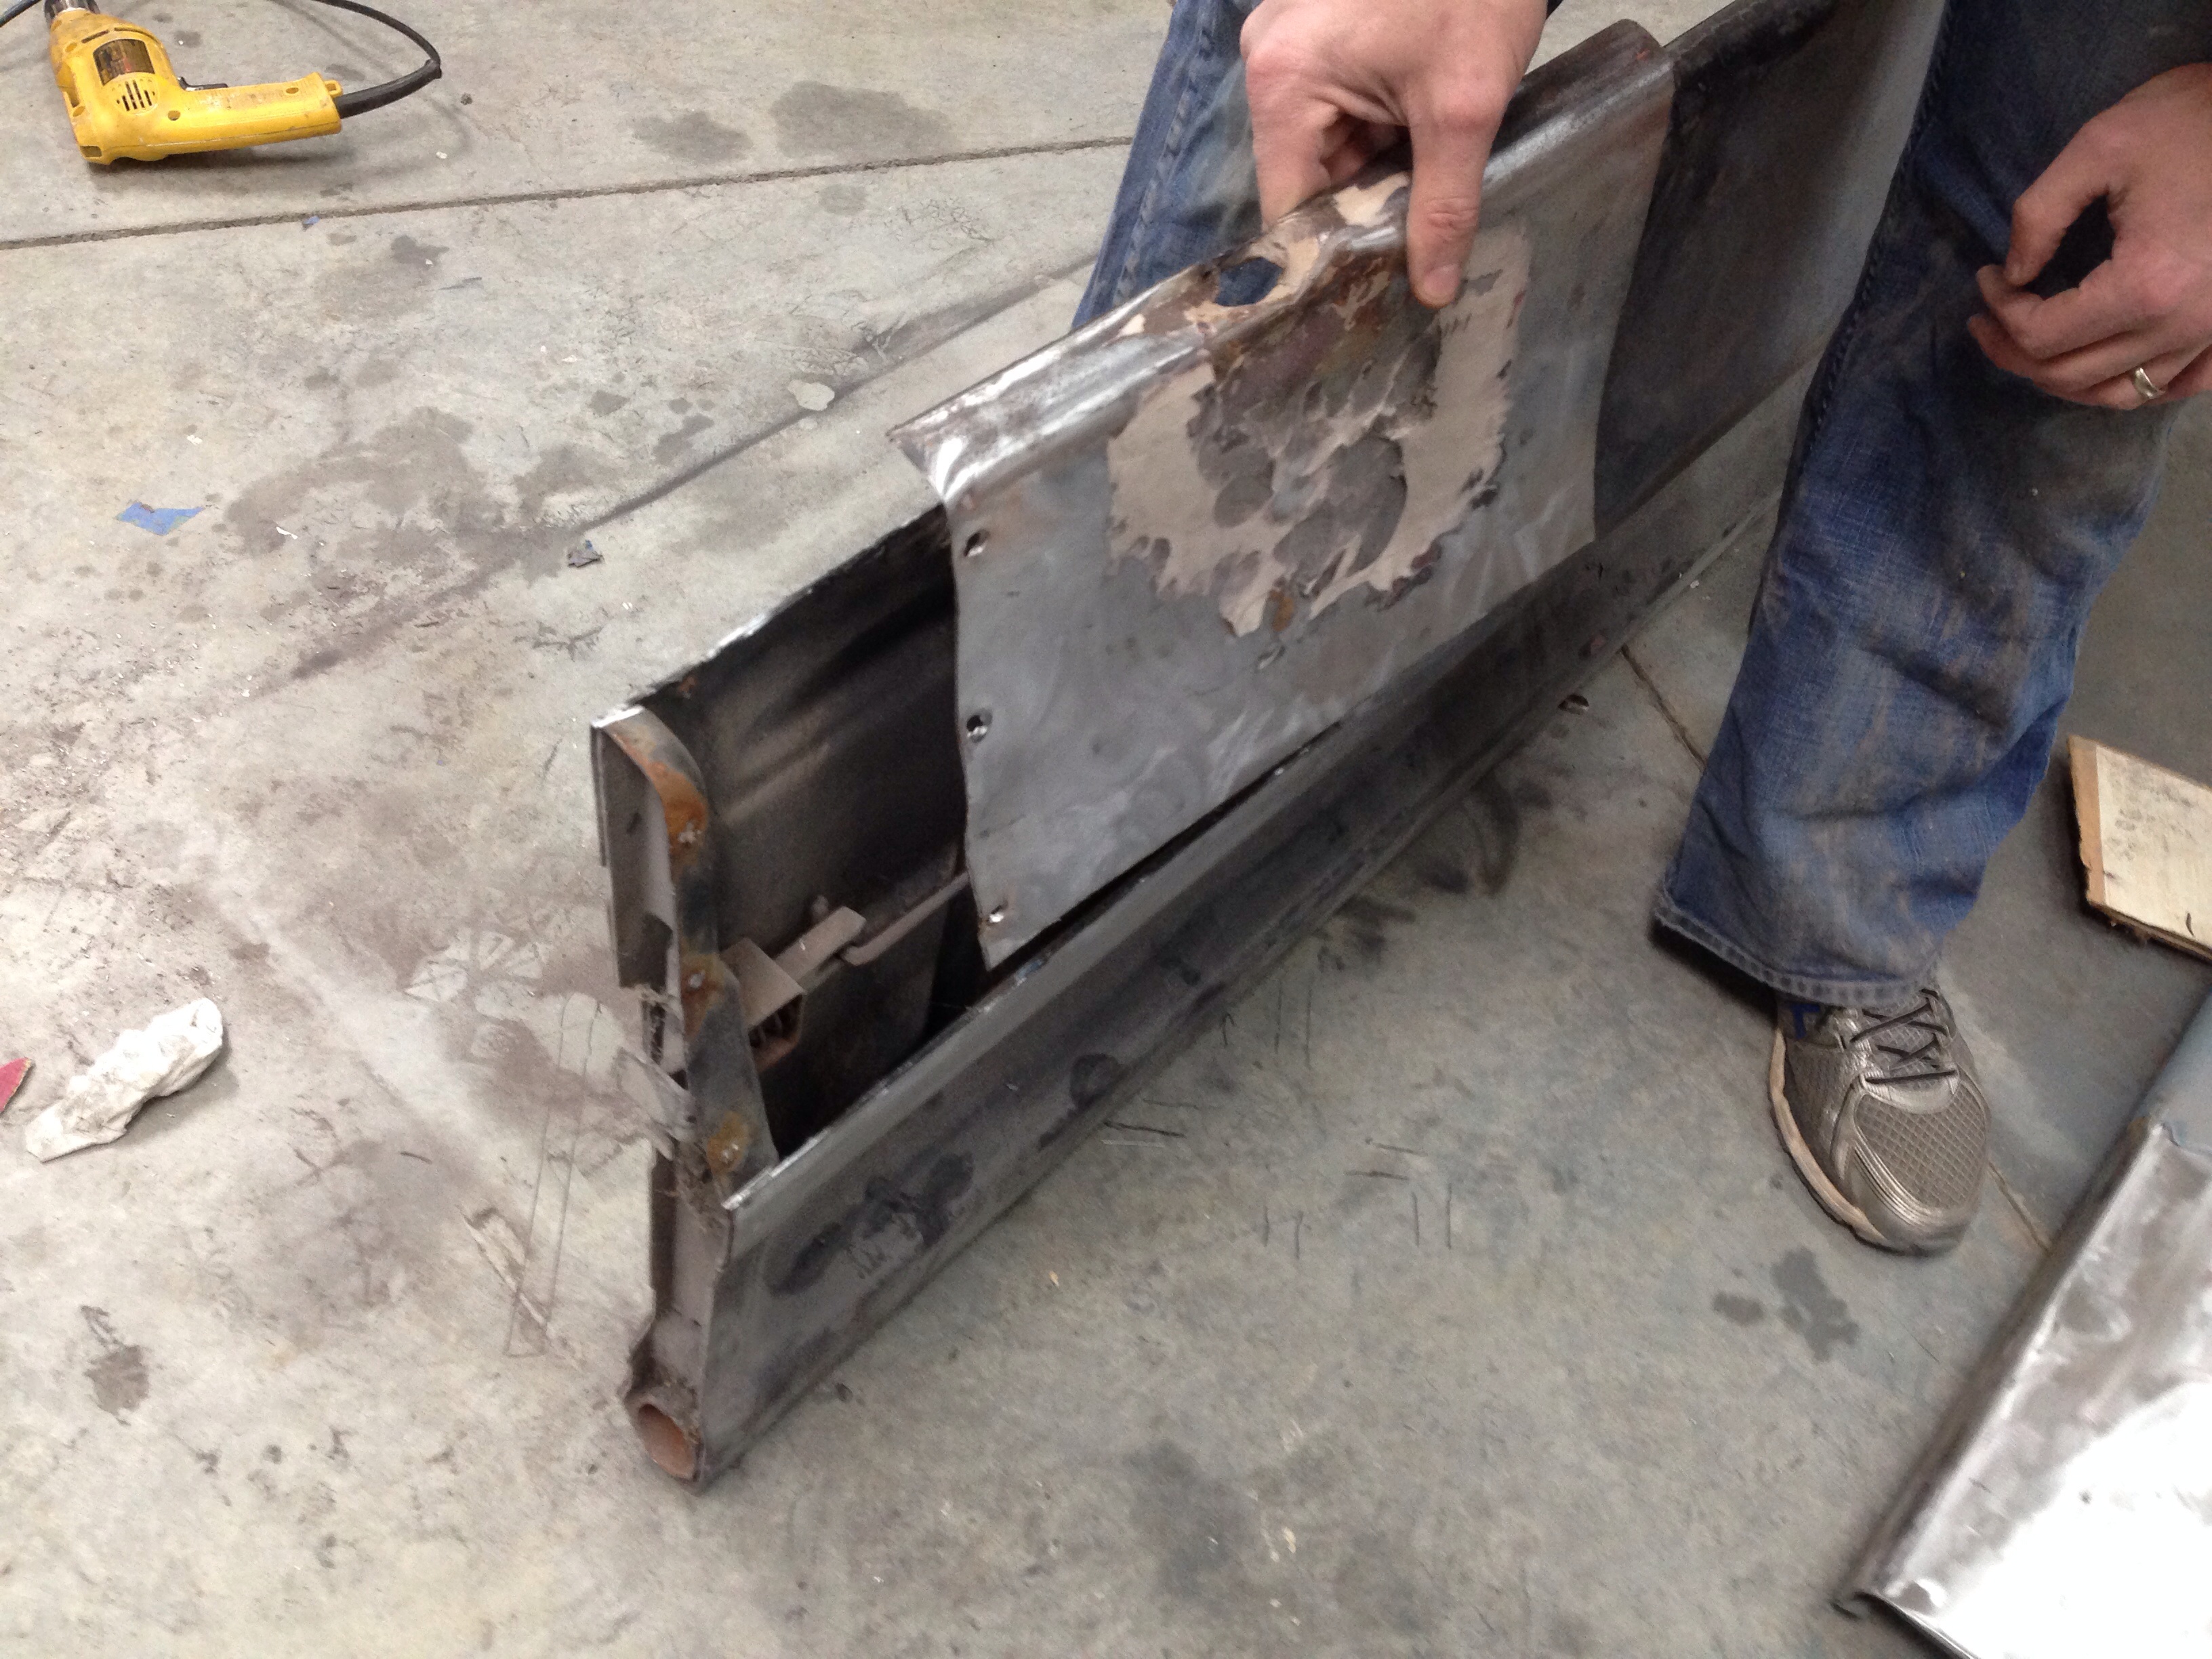
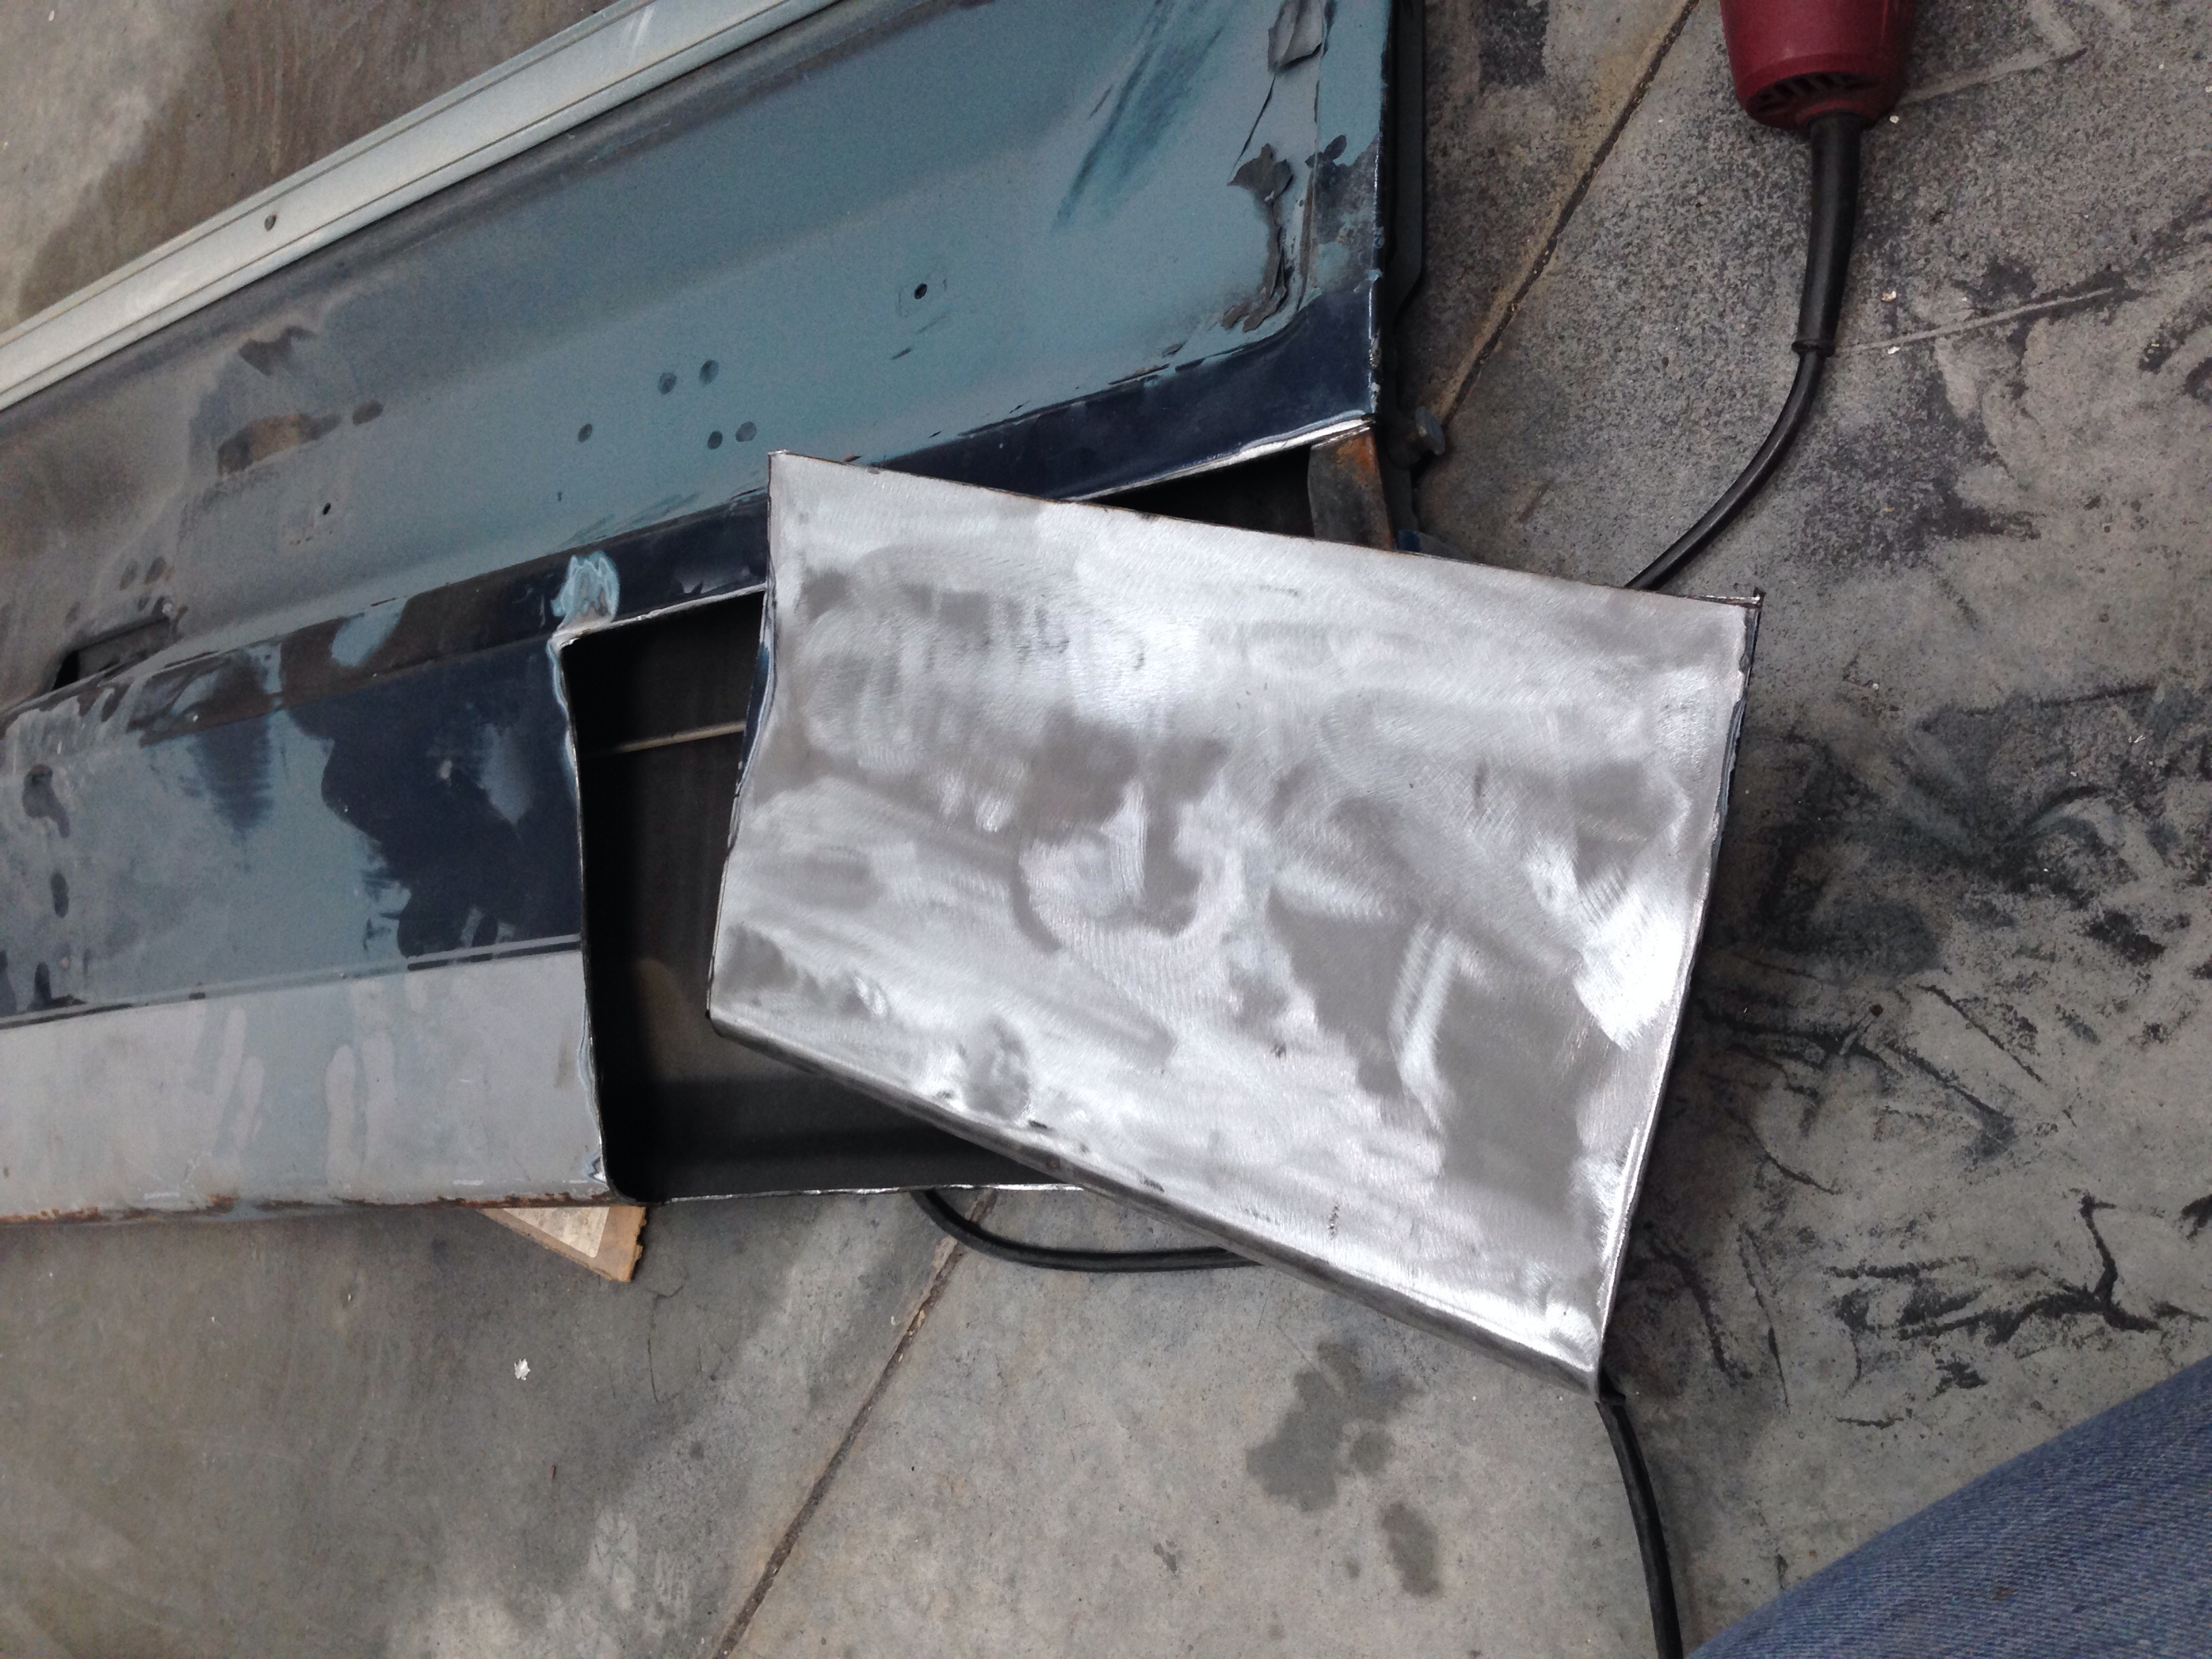
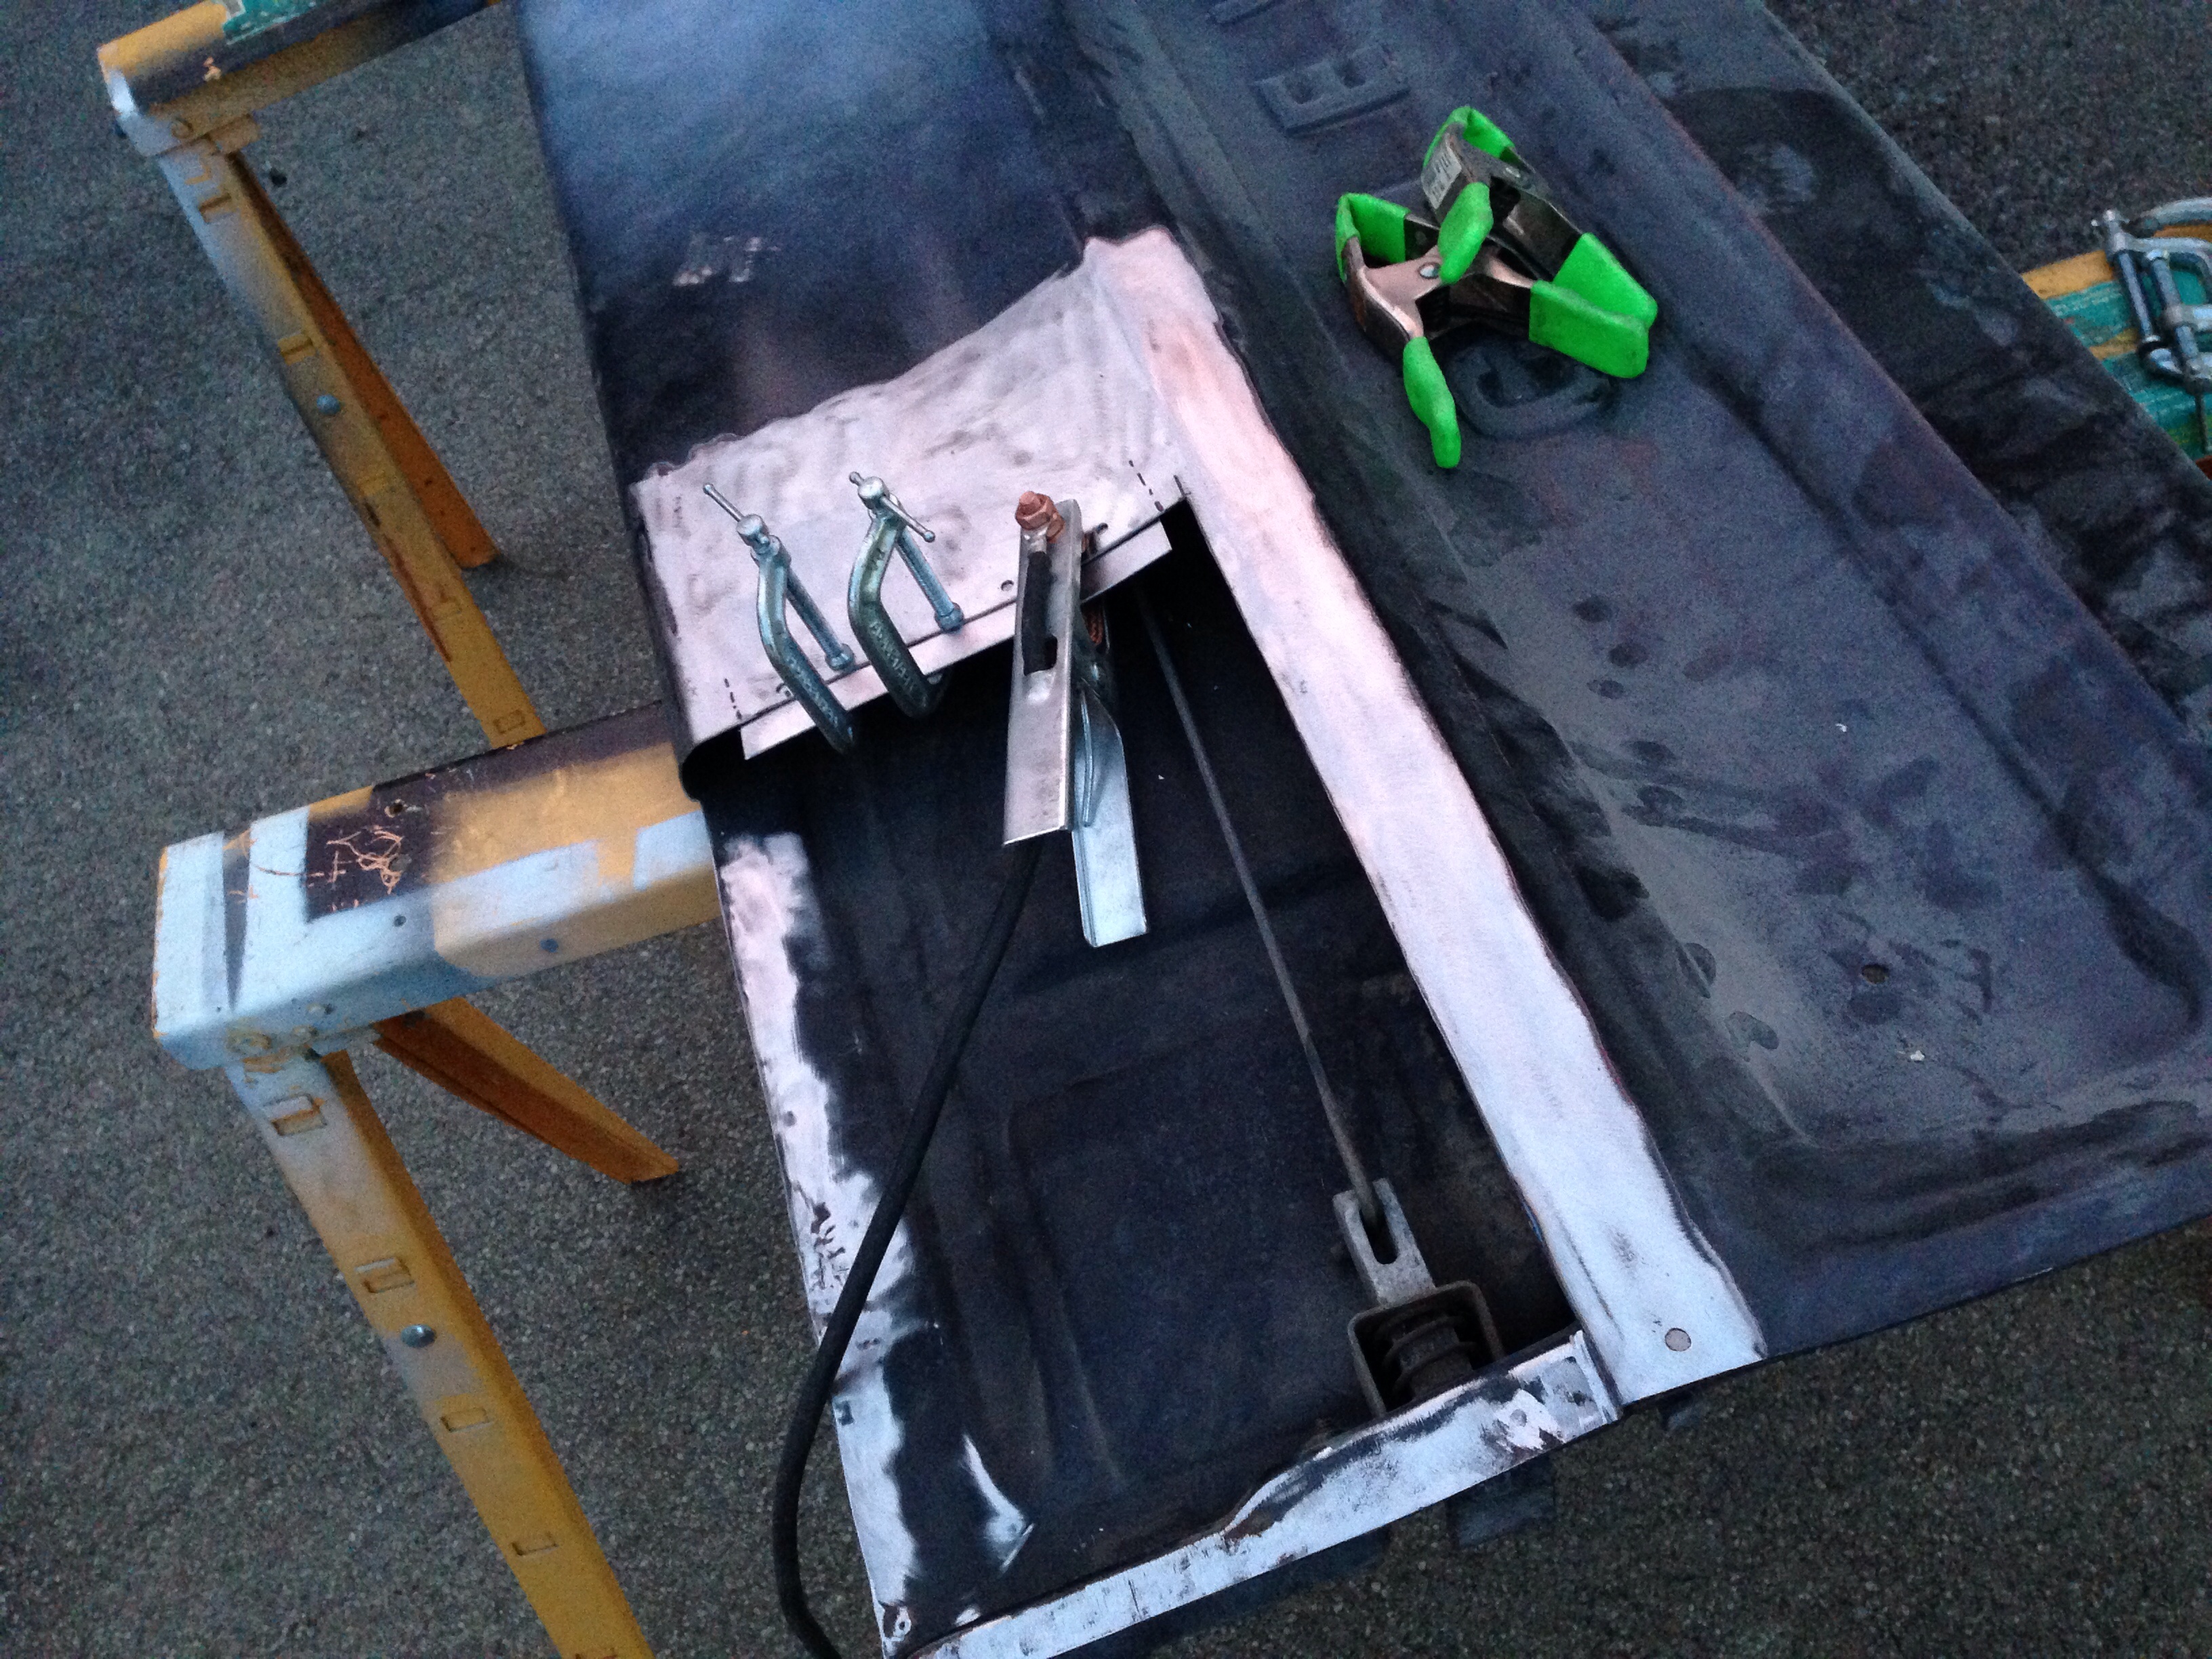
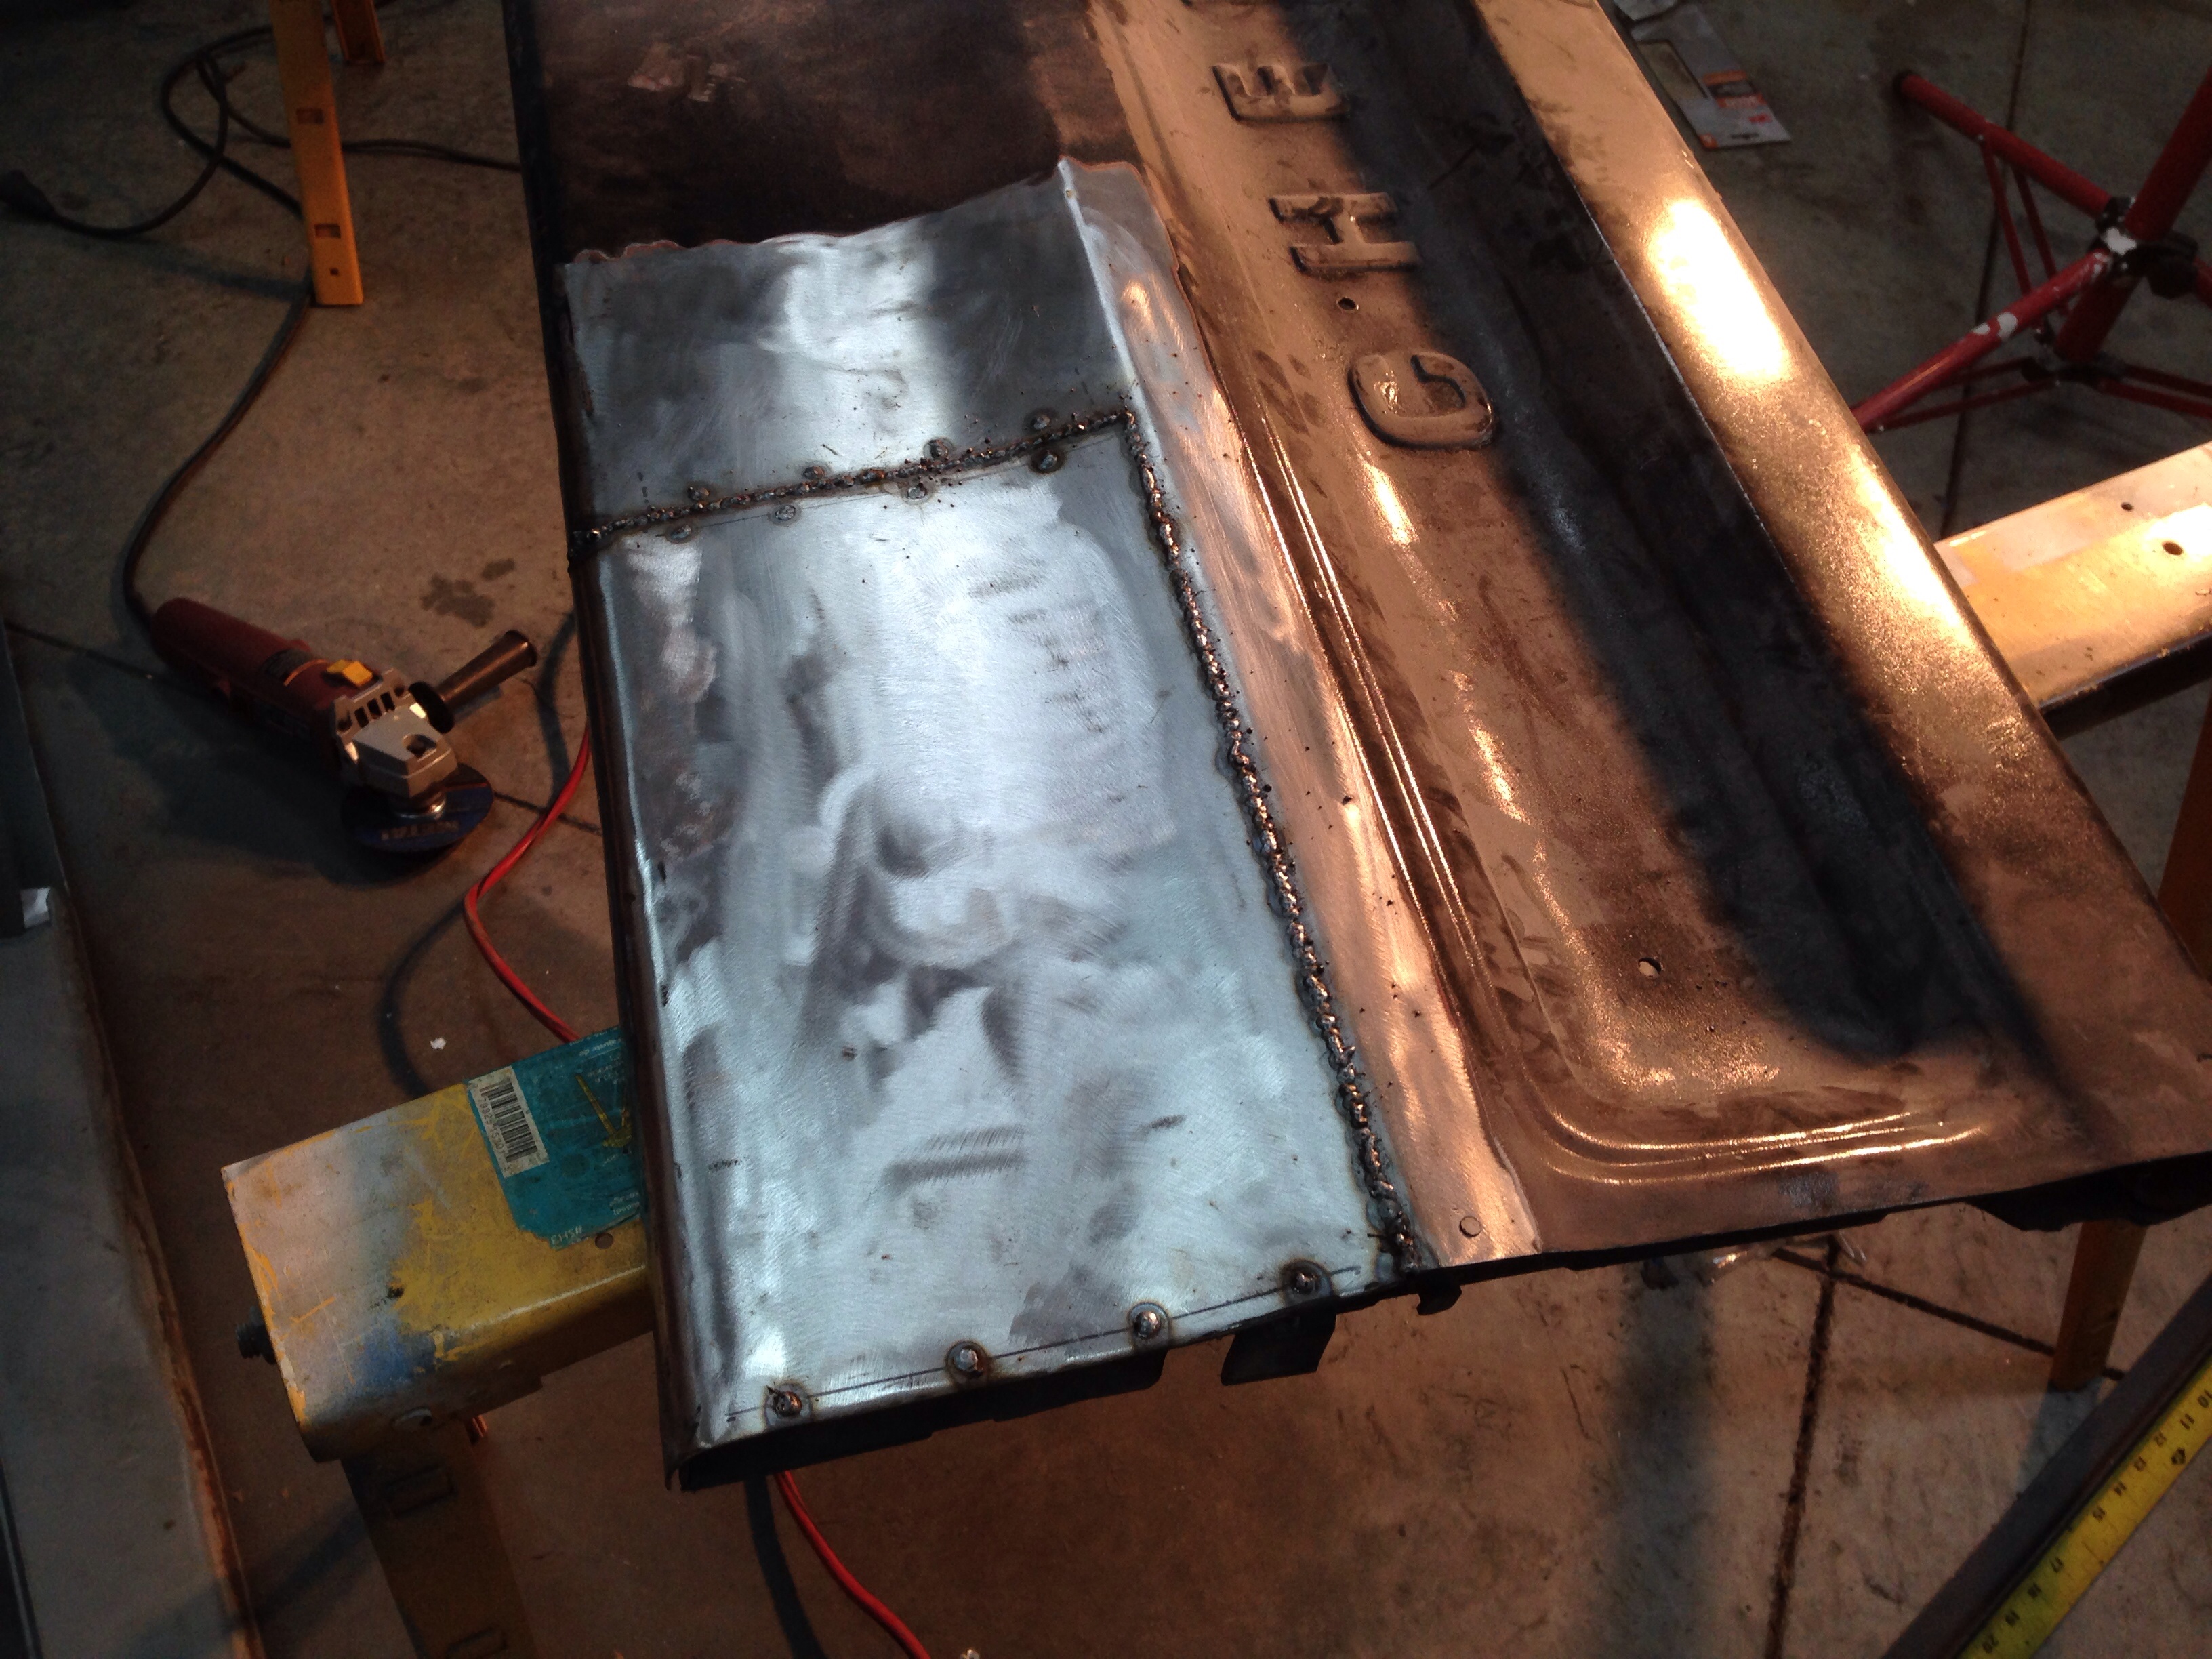
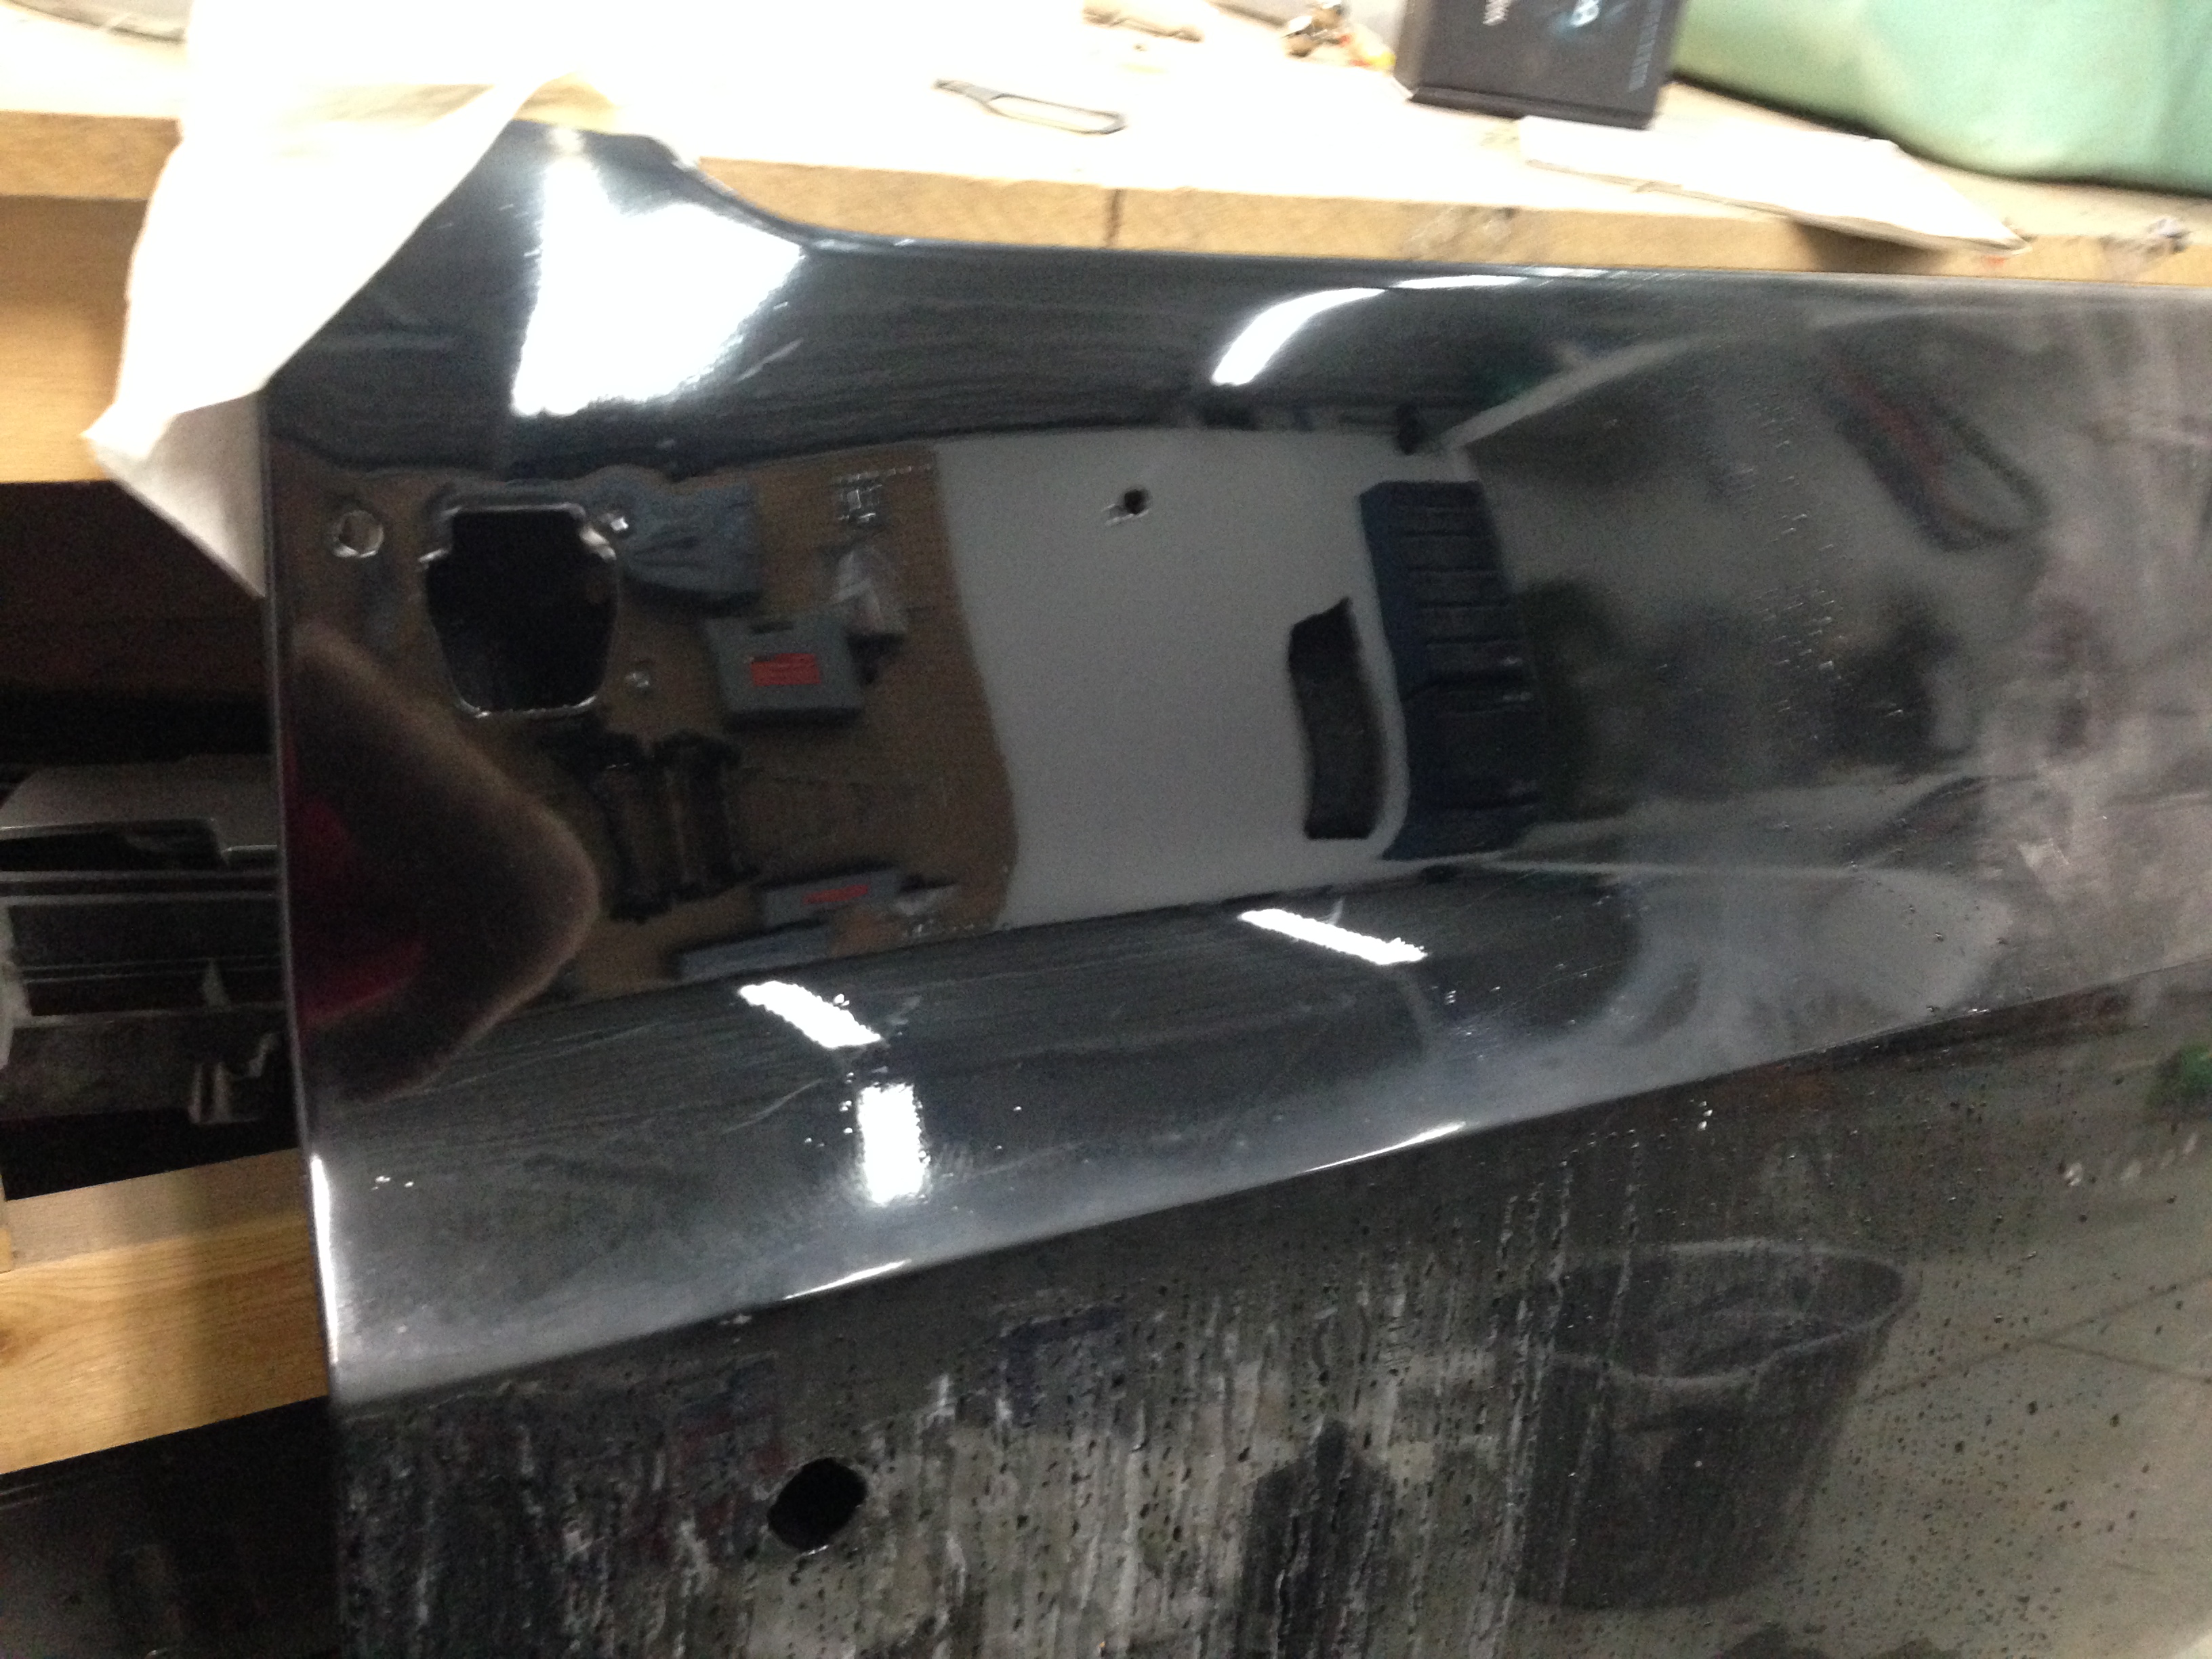
Tailgate

Tailgate repair came out pretty flawless. One thing I wish I had done is weld up the holes where the trim used to go through. I ended up trying to fill them, and you can tell where the holes were. Overall though, it looks great!
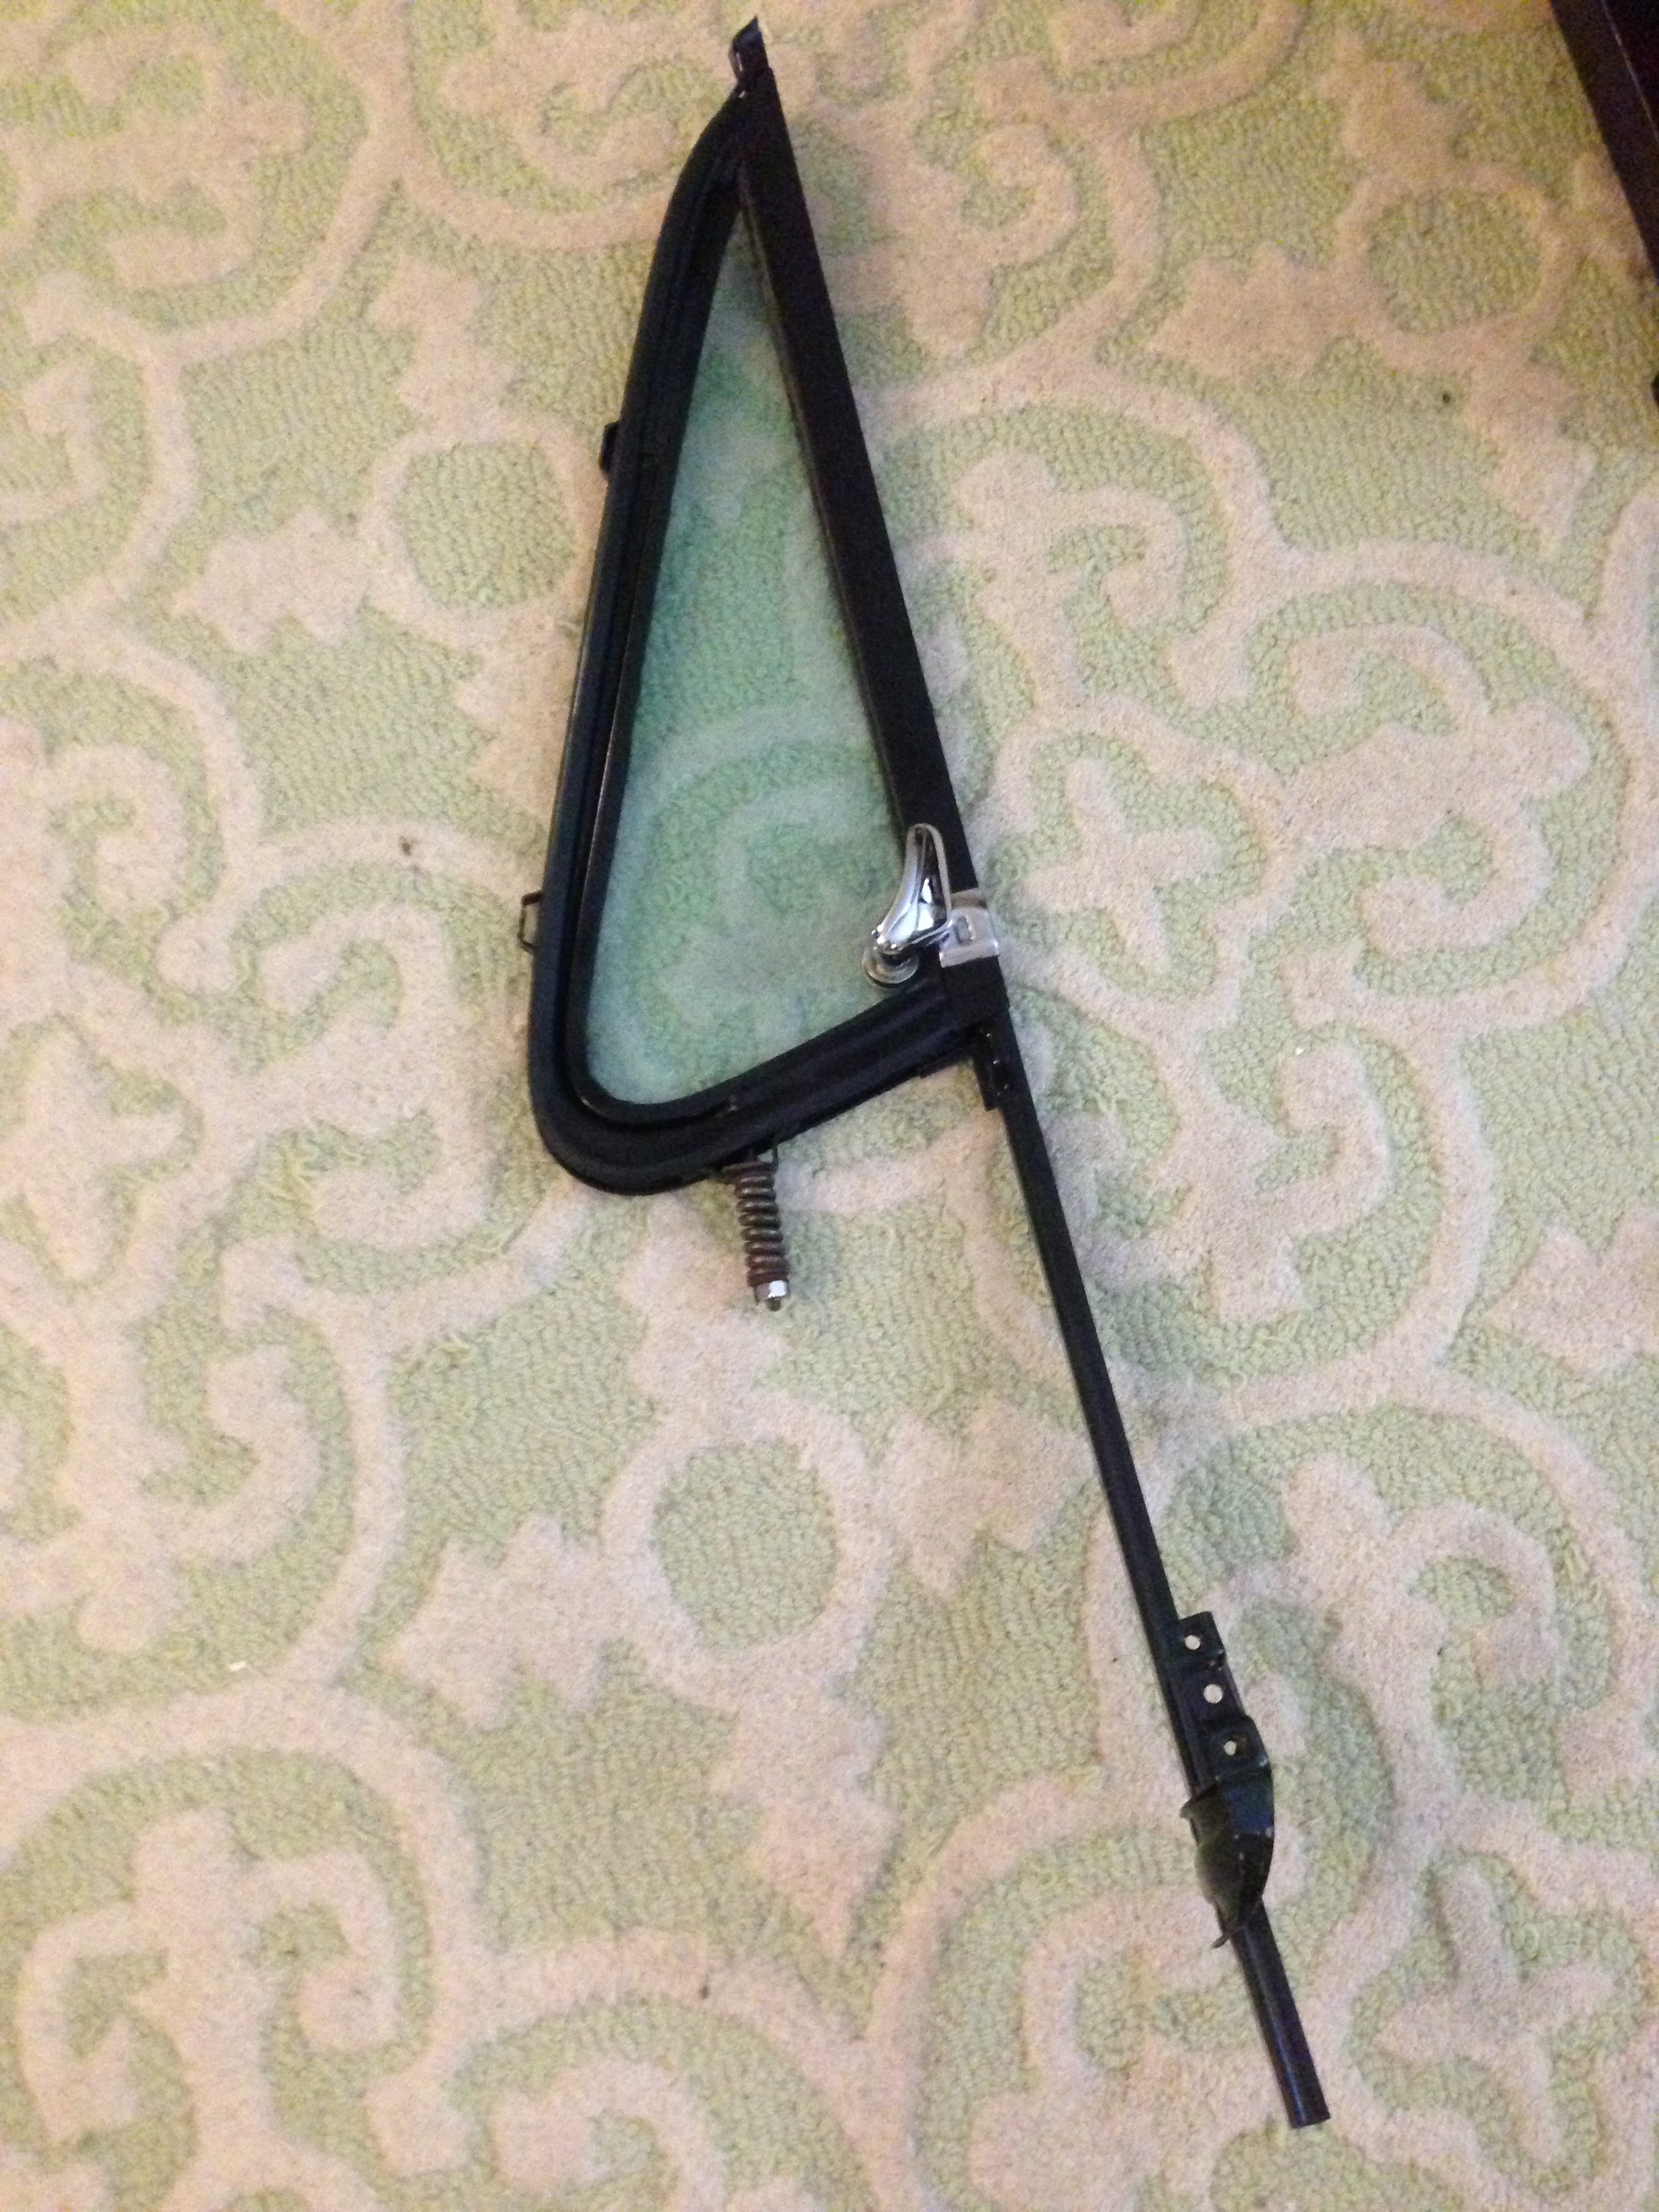
Vintage Air

Remarkably, this works! I had it charged and it blew cold. By the end of last summer, it had started to blow a little hotter, so most likely it needs charged again and has a leak somewhere, but I’ll have the AC shop figure that out. That kit turned out to be really worth it. It was a REALLY well put together kit. Very pleased.

So what does the future hold? Well, I just finished putting an AEM air/fuel gauge on in preparation for have a good friend and mentor tune the carb and troubleshoot some weirdness with the timing (that one deserves its own post). He’s a hotrodder and runs Holleys too, so it should be pretty straight forward. It’s possible he’ll be coming by tonight to get it so fingers crossed! 


Categories: Project Log Tags:

The Melting v-Belts Mystery: SOLVED

July 20th, 2017 Comments off

One of the major events of the past couple of years is that I FINALLY learned the primary source of my v-belt woes. The backstory is that for the last 9 or so years, I had a recurring issue: my alternator would eat v-belts. Also, I was burning up alternators. This problem persisted even when I swapped out all my pulleys, tried different alternator brackets, redid a bunch of the primary wiring for the electrical system, purchased actual belt tension tools, and went through about 5 different alternators. All in pursuit of keeping the belts from squealing and from melting belts (seriously – like throwing molten rubber onto the underside of the hood.)

I finally ended up taking it to a GM mechanic that was recommended to me and they discovered the problem:

ME.

The issue was that I was over tightening the post bolt for the alternator (this is the long bolt that serves as the pivot mount for the alternator). When you over-tighten the bolt, it distorts the alternator housing and causes the bearing to bind. This of course prevents the alternator from spinning freely, creates a TON of heat, and destroys the belt. I was torquing the HECK out of that bolt. The pulleys still have some alignment issues and so I still get a little bit of belt dust, but nothing like I used to.

Categories: Project Log Tags:

2017 Update

July 20th, 2017 Comments off

Long overdue update! I’m 5 days away from the 9th anniversary of getting the truck and about 3 years from the last time I posted any updates. So way to stay on top of things right?

I’m going to start trying to post updates of what has transpired in the last few years, but in short it comes down to this:

  • I had a son (who is awesome) and that of course has impacted the time I have to work on the truck.
  • I have pretty much everything I had planned to tackle on the truck “addressed” in one way or another with varying degrees of success.
  • I’ve learned a lot.

I’m going to be doing a lot of this from memory, so it won’t be perfect but I’m going to document it as best I can (some of it will be out of chronological order). I’ll just start with where I left off:

The Interior

The interior came out great. Couldn’t be happier – I still need to get new door cards because my repairs on my old ones didn’t hold up long term, but other than that everything is looking great. Here’s a list of the completed work:

  • Installed sound deadening, heat shield, and new carpet.
  • Repainted everything that needed repainting.
  • New dash.
  • Restomod on the gauge cluster.
  • Amp, speakers and custom sub enclosure and a nice head unit.
  • New seatbelts.
  • Made a shift boot for the Lokar shifter for the 700r4 (cause that isn’t an off the shelf kind of part)
  • Also made a arduino-based shift indicator system for said shifter.

I bit of info on the shift indicator: this was a fun one! The issue was that when I put in the 700r4 (used to be a th350) I *thought* the column shifter wouldn’t work anymore. (I have since learned that I totally could have used it). So I sprang for a pricey Lokar shifter. It is fantastic and well built and I have no real complaints, except that it was difficult to tell which gear I had selected. At the time, Lokar didn’t have what I would call an “affordable” option for an electronic shift indicator (it was like $250). So instead what I did was make a little bracket that hooked onto the shifter body and used a pushrod (similar to a cable for bike breaks or something) to move a linear potentiometer. The potentiometer then feeds into an arduino microcontroller which in turn controls a little led display that I worked into the gauge cluster. Then I wrote a bit of code that reads where the potentiometer is and outputs the selected gear to the display. It works surprisingly well! I will post some pics and a more detailed write up in the future because I want to clean up the wiring and enclosure. I eventually want to package it up and make it a lot more dynamic and flexible for other people who might need the same thing.

Actually now that I think about it, there were a ton of things I did in the interior that really deserve their own write-up, so I think I’ll tackle those one at a time in their own posts. Also there are scads of other things to cover for the other items on the truck I’ve finished up.

First, I have to go get all the pictures I’ve accumulated over the last 3 years and get them organized. Then I’ll start plowing through the updates!

Categories: Project Log Tags:

Tons of Interior Stuff

February 17th, 2014 Comments off

Big weekend! We were supposed to go to a wedding, but the planes got delayed due to weather, so instead I did truck work. Got lots of help from a buddy of mine, so things went faster than expected. We vacuumed and wiped down the bare floor and tackled the sound system runs first. We ran a set of Stinger 6 Channel RCA Interconnects to join the head unit to the amp behind the seat. We also ran the wires for the speakers themselves and put in a chassis ground for the amp.

We then began the extremely labor intensive process of installing the EVA sound deadener. What we learned is that EVA doesn’t have a great shelf life. I bought the carpet heat shield and sound deadener many years ago. The sound deadener had become very very fragile. It was like working with ancient parchment. We ended up having to use a heat gun and a lot of elbow grease to transfer it slowly one section at a time. It took about 2 hours.

The heat shield went a lot faster, the only tricky bit being getting the shift lever disconnected for the Lokar shifter (we ended up removing the 4 screws that mount the shift plates to the base and then disconnecting the shift arm from the lever arm). Then we slowly cut away the section for the shifter. We used Loctite spray adhesive to get everything to stick. That was all we got done saturday, so sunday I tackled the remainder.

The carpet was next and the several years it spent in storage had taken their toll. There are a few creases, but I can live with it. I decided to key off of the “humps” where the seat bolts in since the carpet had preformed areas for those sections. Once I got those glued in, I did the rear section and then moved forward. I took a lot of time to be sure to get the shifter area and highbeam cutouts as close to perfect as I could. I left the upper 6 inches or so unglued so I can easily access wires and whatnot. It came out really nice!

Next on the list was seat belts. I bought the set from LMC, not realizing it was a “universal fit” product. I won’t say this was “hard” but it was a little confusing. A little detail here in case you’re doing a set of these in the future: These truck have three belts. Two 3 point, and one lap belt for a passenger sitting in the middle of the bench. If you do the math, that is eight belt ends. Three points for each for the driver and passenger side and two points for the lap belt. GM doubled up on the mounting locations for the belts, so there are only four mounting holes. The primary mount for the shoulder belts were built into a kind of offset bracket. The universal belts don’t exactly match this configuration. Now, if you read the directions on the universal set, it clearly state you are NOT to double up belt mounting holes. Also, the 3 point is designed to be a direct floor mount though it does come with an L bracket if you need to change the orientation. Oh, and they use bolts with different threads than the original OEM holes. So, sounds like a lot of work. Whats crazy is that if you compare the OEM belt tabs and the new set you realize the new stuff is like twice as thick. After laying it all out I came to the realization that if I doubled up on the belt mounts and put the shoulder points on the L bracket I could install everything using the OEM bolts without having to do any mods. I still haven’t put the seat in so I’m not positive everything fits just right, but I think it will.

I also did a test fit of some of the trim and came to the sad realization that this crappy floorpan job I got is going to haunt me for the rest of this truck’s life. I had to cut a full 2 inches off the passenger side trim for it to fit the poorly fitted floor pan. The only fix for this would be to completely redo the rockers and floor pan. I just can’t bring myself to do that.

I got the new sub box installed too. I’m going to have to put in some splices because I made some of the speaker wires too short, but otherwise it came out great.

IMG_1674 IMG_1736 IMG_1737 IMG_1738 IMG_1745


Categories: Project Log Tags:

Steering column, lower dash, bench repair

February 3rd, 2014 Comments off

This past weekend I got several items knocked off the list. I removed the bench and masked and painted the visible bits (hastily, to be honest. We’ll see how it holds up). I masked off the interior and sprayed the steering column and the area behind the seat with bedliner. It came out really well! The steering column looks especially nice. I also took off the now vestigial column shift lever and cut it down and domed and polished the nub (hah!). This way I don’t have a shifter arm that is completely useless hanging out there without having to swap the column or have a big gaping hole there.

The bench seat also had some functionality issues since the slides were old rusty and tired and the cable connecting the left and right slide had too much slack in it to function. I replaced the cable with a screen door cross-support (the kind with a turnbuckle) and it was an absolutely perfect fit. Works great now too. I brushed the rust off and greased everything up and it slides much better now too. Looking forward to installing the seat again and testing it out.

I also masked and painting the lower dash and glove box, though I had to do it with rattle bomb because my compressor is giving up the ghost. It came out ok. I may colorsand it and buff it at some point in the future.

IMG_1673 IMG_1674 IMG_1676 IMG_1677 IMG_1686 IMG_1687

Categories: Project Log Tags:

Lower grille bracket fabrication

January 27th, 2014 Comments off

I tackled the fabrication of the driver side bracket for the lower grille support today. Mine went missing sometime during its stay at the paint shop. I thought it would be easy to track one down, but I thought wrong. I scoured the interwebs and the Pull-A-Part lot to no avail. This is one of those times when I think “you know, a parts truck would be a good idea”. Then I remember that I want to stay married.

Anyway, the only options left to me were to either start working the phone book to tackle the local junk yards or just go ahead and fabricate one. I opted for the later because it seemed like a lot more fun. A few hours in the shop yielded a functional replacement. It came out well!

20140126-164121.jpg20140126-164128.jpg20140126-164137.jpg20140126-164145.jpg20140126-164155.jpg


Categories: Project Log Tags:

Pull-A-Part trip and tail gate repair

January 26th, 2014 Comments off

Well, I didn’t find what I was after at Pull-A-Part. But I did have a great find anyway! I was braving the 20 degree weather in search of a bracket for the lower grill support (mine got lost somewhere). Unfortunately, the only two c10s were an 82 and 86, both of which have the updated front clip sans bracket. But the GOOD news is that I scored a tailgate that was in pretty good nick. My current one is actually in pretty good shape except for a really large (an inexplicable) hole on the top driver side. The bondo on said hole was applied with a front loader by the looks of it, so a patch panel was pretty much a must. I also snagged a set of door condits off an old Sunfire that I plan to use to conceal the speaker wires in the doors.

When we got it home, we did a little surgery and got the new patch panel in place.  It came out pretty well! I’ll still need a skim coat, but I don’t think it’ll be any more than a mm thick, so that makes me pretty happy.

image image image image image image image image

Categories: Project Log Tags:

2014 Update

January 24th, 2014 Comments off

Well it is 2014! A lot has happened, I’ve just been a slacker and not updated the blog (go figure). So I’ll just start from where I left off last time.

I got the truck back from the painter, but he was unable to complete the work due to a lot of various factors. He ended up getting really busy, so we just went ahead and had the truck towed back to my house as-is. He offered to finish out the work, but knowing his schedule I didn’t think it would be likely that that it would be completed in time for me to continue with the project. So instead I just said we should close out the deal and I’ll finish up the remainder of the project on my own. Sadly I’m also out that money, but sometimes that is the way life goes so I’m not going to dwell on it. Lesson learned. I was disappointed, but I do not believe he did it maliciously, I think he just got stuck between a rock and a hard place. The doors, hood, fenders, and various other parts were left at the shop. About a month after towing the truck, the shop the parts were stored in was shut down and I had to go rescue them. Long story short, I still don’t have the dash and I’m missing a bracket from the grill support (pull-a-part trip in my future).

IMG_0990 IMG_0998

After the truck got home, we pulled the old engine and I sold it. I then began the painstaking process of removing accessories, stripping the firewall and installing the adapter plate for the new Vintage Air system. After all the teardown, I sprayed the frame and everything else forward of the firewall with Rust Bullet.  I then topcoated that with Nason Ful Base in black and a couple coats of clear.  I also shot the inner fenders and the inside of the outer fenders. It isn’t the exact same black as the rest of the truck, but it is close enough. I also picked up some Victory Red for the dash area (the are UNDER the dash, really). I also had to preform some surgery on the front clip which had some rust on the bottom passenger side under the battery (very typical spot for rust). I fabricated a patch and welded it into place with my new Lincoln 150. I was surprised by how easy it was, and how well it turned out.

IMG_1041IMG_1063IMG_1104IMG_1119IMG_1125IMG_1137IMG_1128IMG_1174IMG_1139IMG_1134IMG_1175IMG_1172IMG_1171IMG_1100IMG_1099IMG_1097IMG_1096IMG_1200

I also set up a electrolysis vat using an old garbage can and stripped the rust off the headers. I then painted those in Eastwood’s brush on high temp header paint (I’d link it, but they no longer seem to carry it). They came out good! Since I had the cooling system out too, I took the chance to install my Maradyne Jetstream 2 fans. They are POWERFUL. I can’t overstate that. I no longer have any fears of overheating. When they spin up, you instinctively stand back. Super impressive.

IMG_1171

I re-ran pretty much all the wiring under the hood in the hopes that my electrical gremlins would be excised. Hopefully it will, but the jury is still out.

We dropped the new engine and transmission on the rails and put on the fenders and whatnot. During the break-in of the new engine the headers were glowing. It was pretty roxxors. And yes, the header paint seems to have held up for the most part.  There are a few spots, but nothing major. After break-in we did the final adjustments on the rockers etc, and installed the rest of the accessories. I got some new weather-proof project boxes and migrated the large collection of new relays and fuses (for the fans, headlights, foglights, and AC components) into those after painting them black.  Much neater now! The new AC system has about 40 billion parts, and a lot of them went in at that point. (that one sentence represents like 2 weeks of work). Around the same time, I installed a Lokar floor shifter on the new 700r4. It looks really cool, but getting the trany support to line up with the new transmission didn’t work out quite as planned. I’m still a little dubious that everything is going to work right, because I wouldn’t describe the mount as “square” if you know what I mean. I will be unsurprised if after I actually get it moving if I need to take it to a shop to get things straightened out.

IMG_1323

The headers during break-in

IMG_1324

More glowing header action

IMG_1342 IMG_1030

I also started migrating the inner door components to the new door shells. This involved a lot of stripping, painting, and new rubber installation.  I now have brand-new (looking) vent windows! I still have to finish the installation, but a lot of the hard parts are done. I also installed some sound deadener. Since I didn’t want to have to wetsand and buff around the door handle, I went ahead and cut and buffed that area. It looks great until you get RIGHT up on it at which point you can see the aftermath of the huge number of dust motes trapped in the finish. I’ve resigned myself to the fact that at some point in the future I will be stripping and repainting the whole thing, but for now, it is fine.

IMG_1621 IMG_1625 IMG_1626

I needed to run the power and speaker feeds for the new amp before doing the carpet and sound deadening, so I went ahead and tackled the amp box. With some help from some good friends, I modeled it in Sketchup and cut it out of MDF. It is a PERFECT fit. I’ll be finishing up its bedliner coating tonight.

IMG_1633 IMG_1635

So anyways, that is where we stand Jan of 2014. Next up is finishing the rest of the interior like the steering column paint, dash area paint, and the bedliner for the back of the cab. Then it is carpet and sound deadener time!

Categories: Project Log Tags:

Engine Time

April 26th, 2013 Comments off

IMG_0941Well, it’s been busy around here.  I spent the last few months finishing out our metal building as my new workshop.  That involved a lot of spray insulation, paint, construction, electrical work, and creative waterproofing.  I now have 10 new outlets on a new 50amp circuit and new breaker box, an insulated workplace and some good organization.  I did all this so that I could move all of my tools from our downstairs garage up to the new workshop to create space for the truck.  When the truck gets back from paint (which will hopefully be very soon) I will park it in the downstairs garage where I can pull the engine, install the new AC components and strip and paint the engine compartment.  The engine is pretty much done!  As soon as the engine compartment stuff is finished, I should be in the home stretch.

It’s been a journey!  Originally, I just wanted to paint the block.  Instead, I ended up starting with a different block, going 60 over (total cap should be around 361), roller rockers, high performance cam and a bunch of performance hard bits.  New intake, covers, heads, yada yada.  I of course have no idea how to do any of this, so I hired a friend’s recommendation to help me out.  He has been awesome, and pretty much made every decision on the engine.  He also talked me into a (purpose built) 700r4 conversion that he swears will not give me any trouble.    It looks AMAZING.  Can’t wait to get started – really praying that the truck gets out of paint very soon.

Categories: Uncategorized Tags:

Garage

March 29th, 2013 Comments off

New garage pics!  More updates to come…

Categories: Project Log Tags: